Module 3 Formstorming
Weekly Activity Template
Yinman Tang
Project 3
Module 3
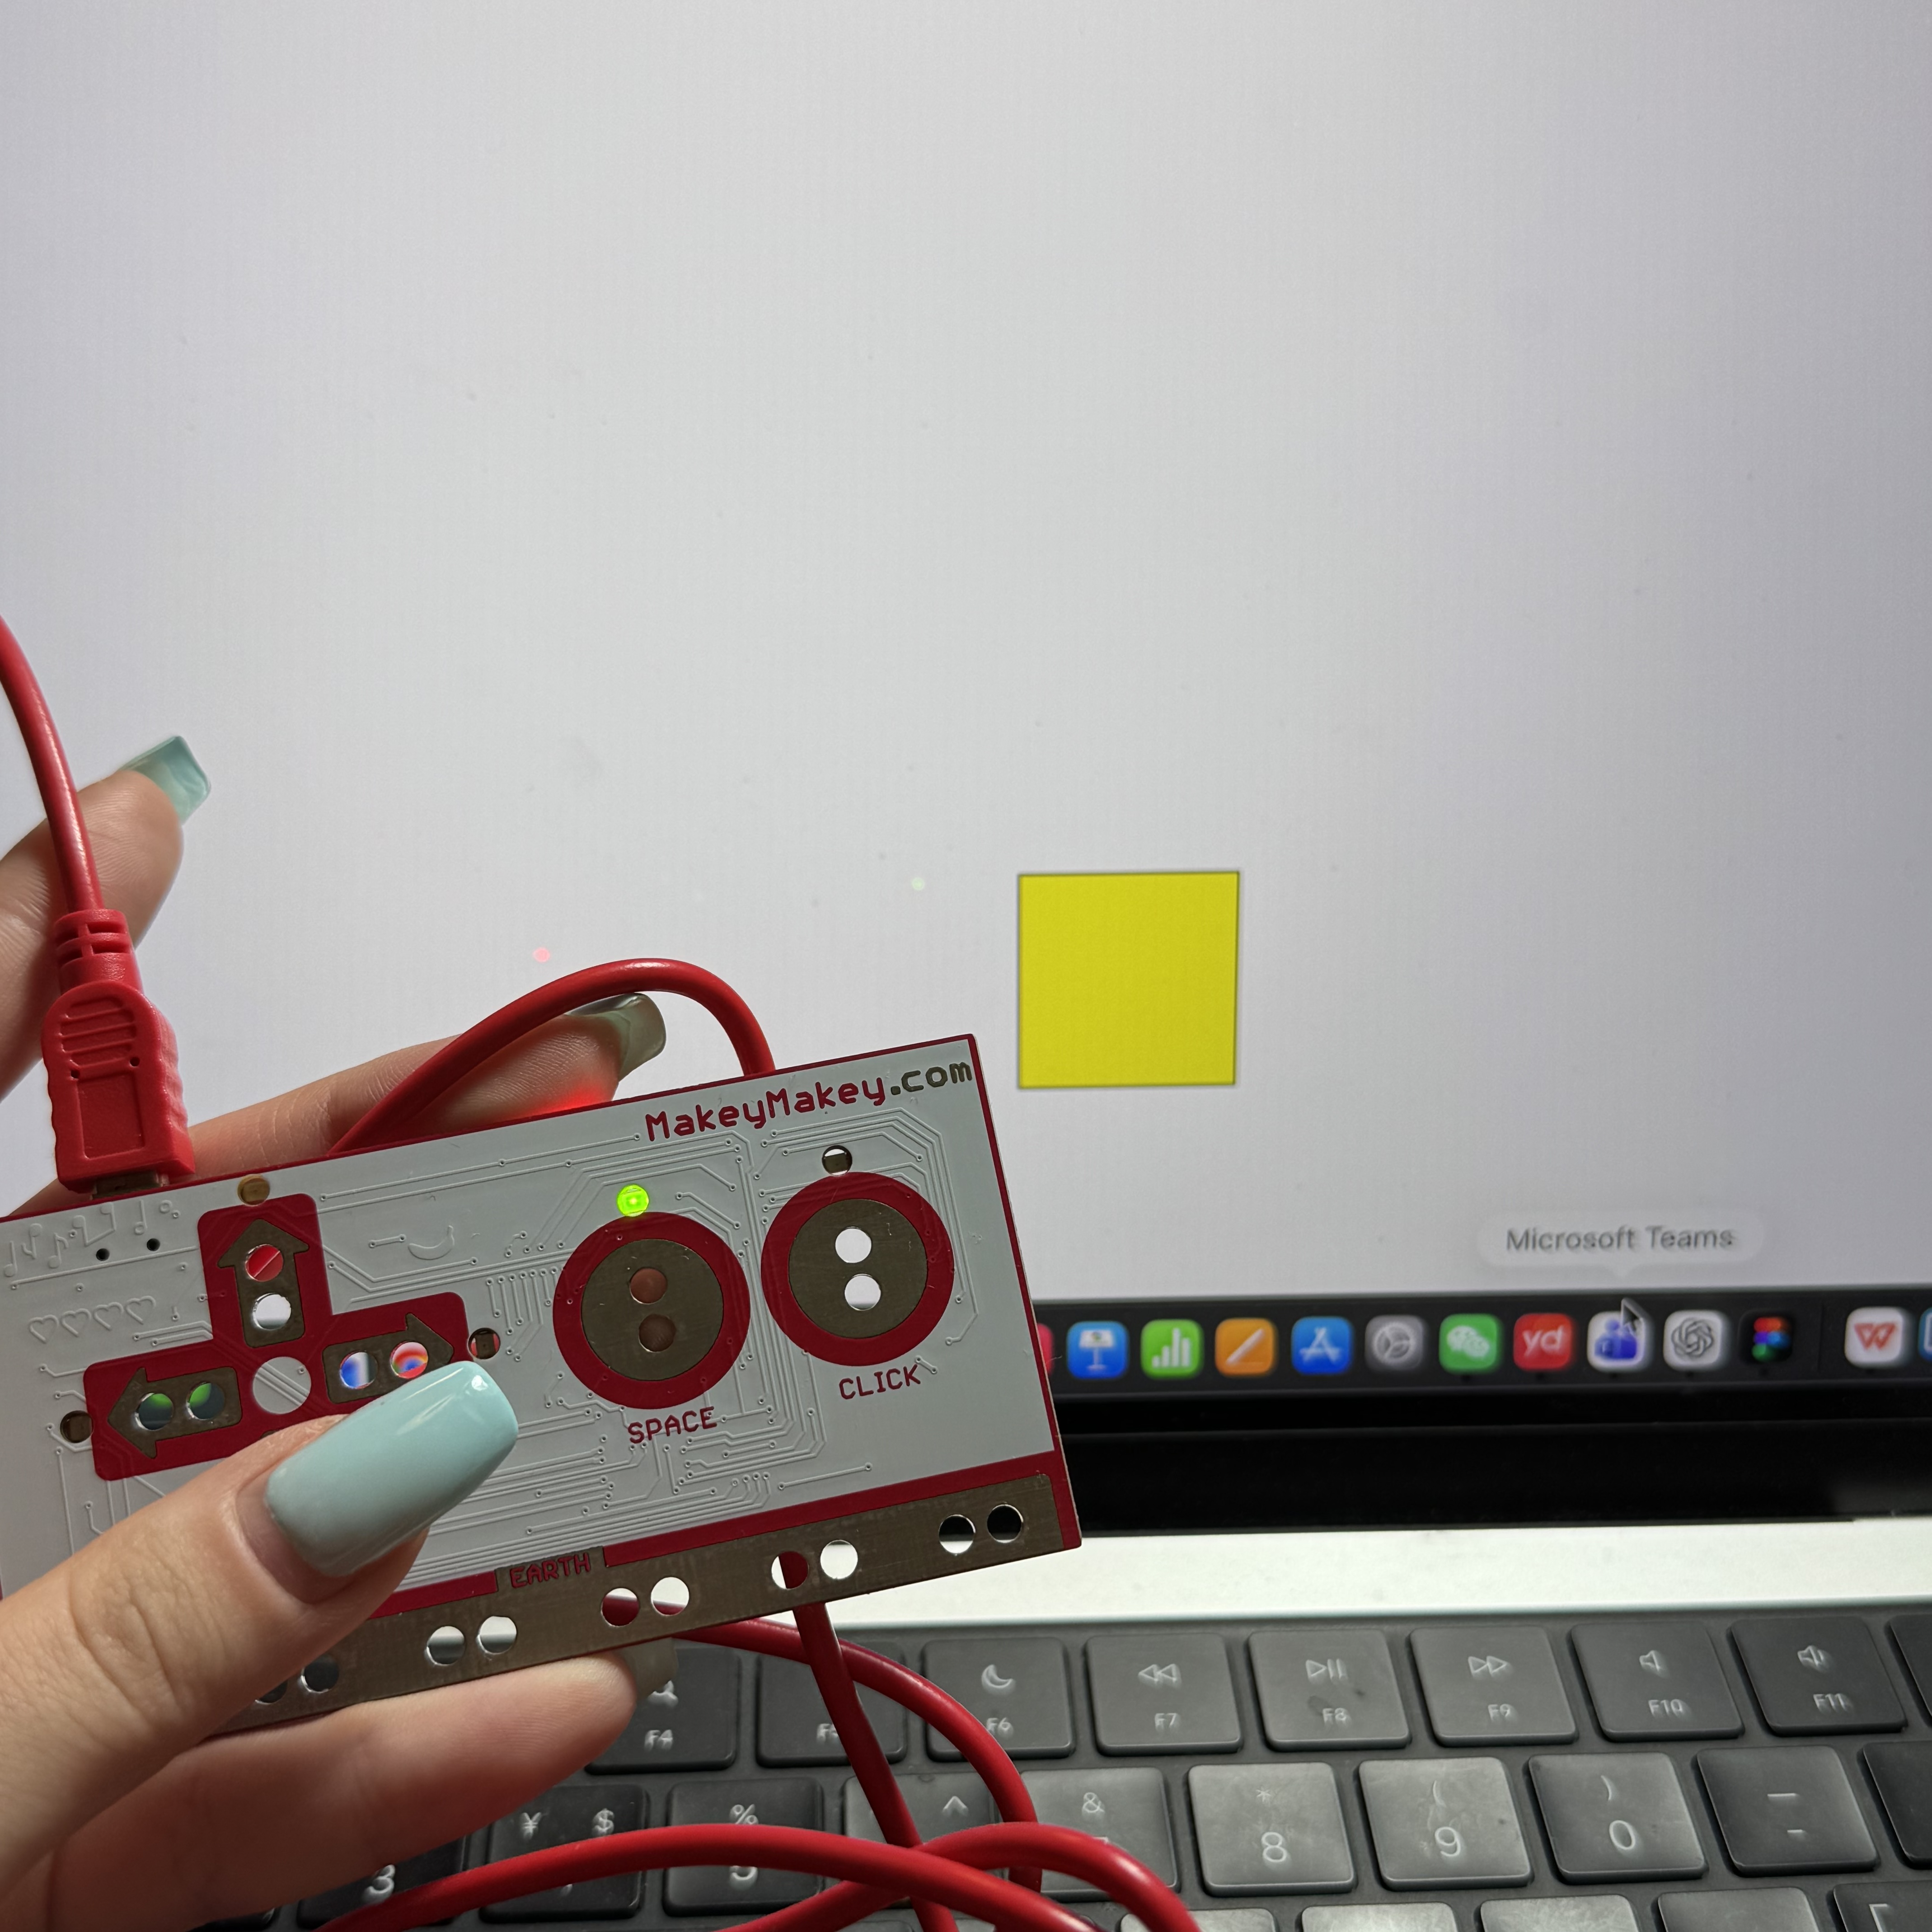
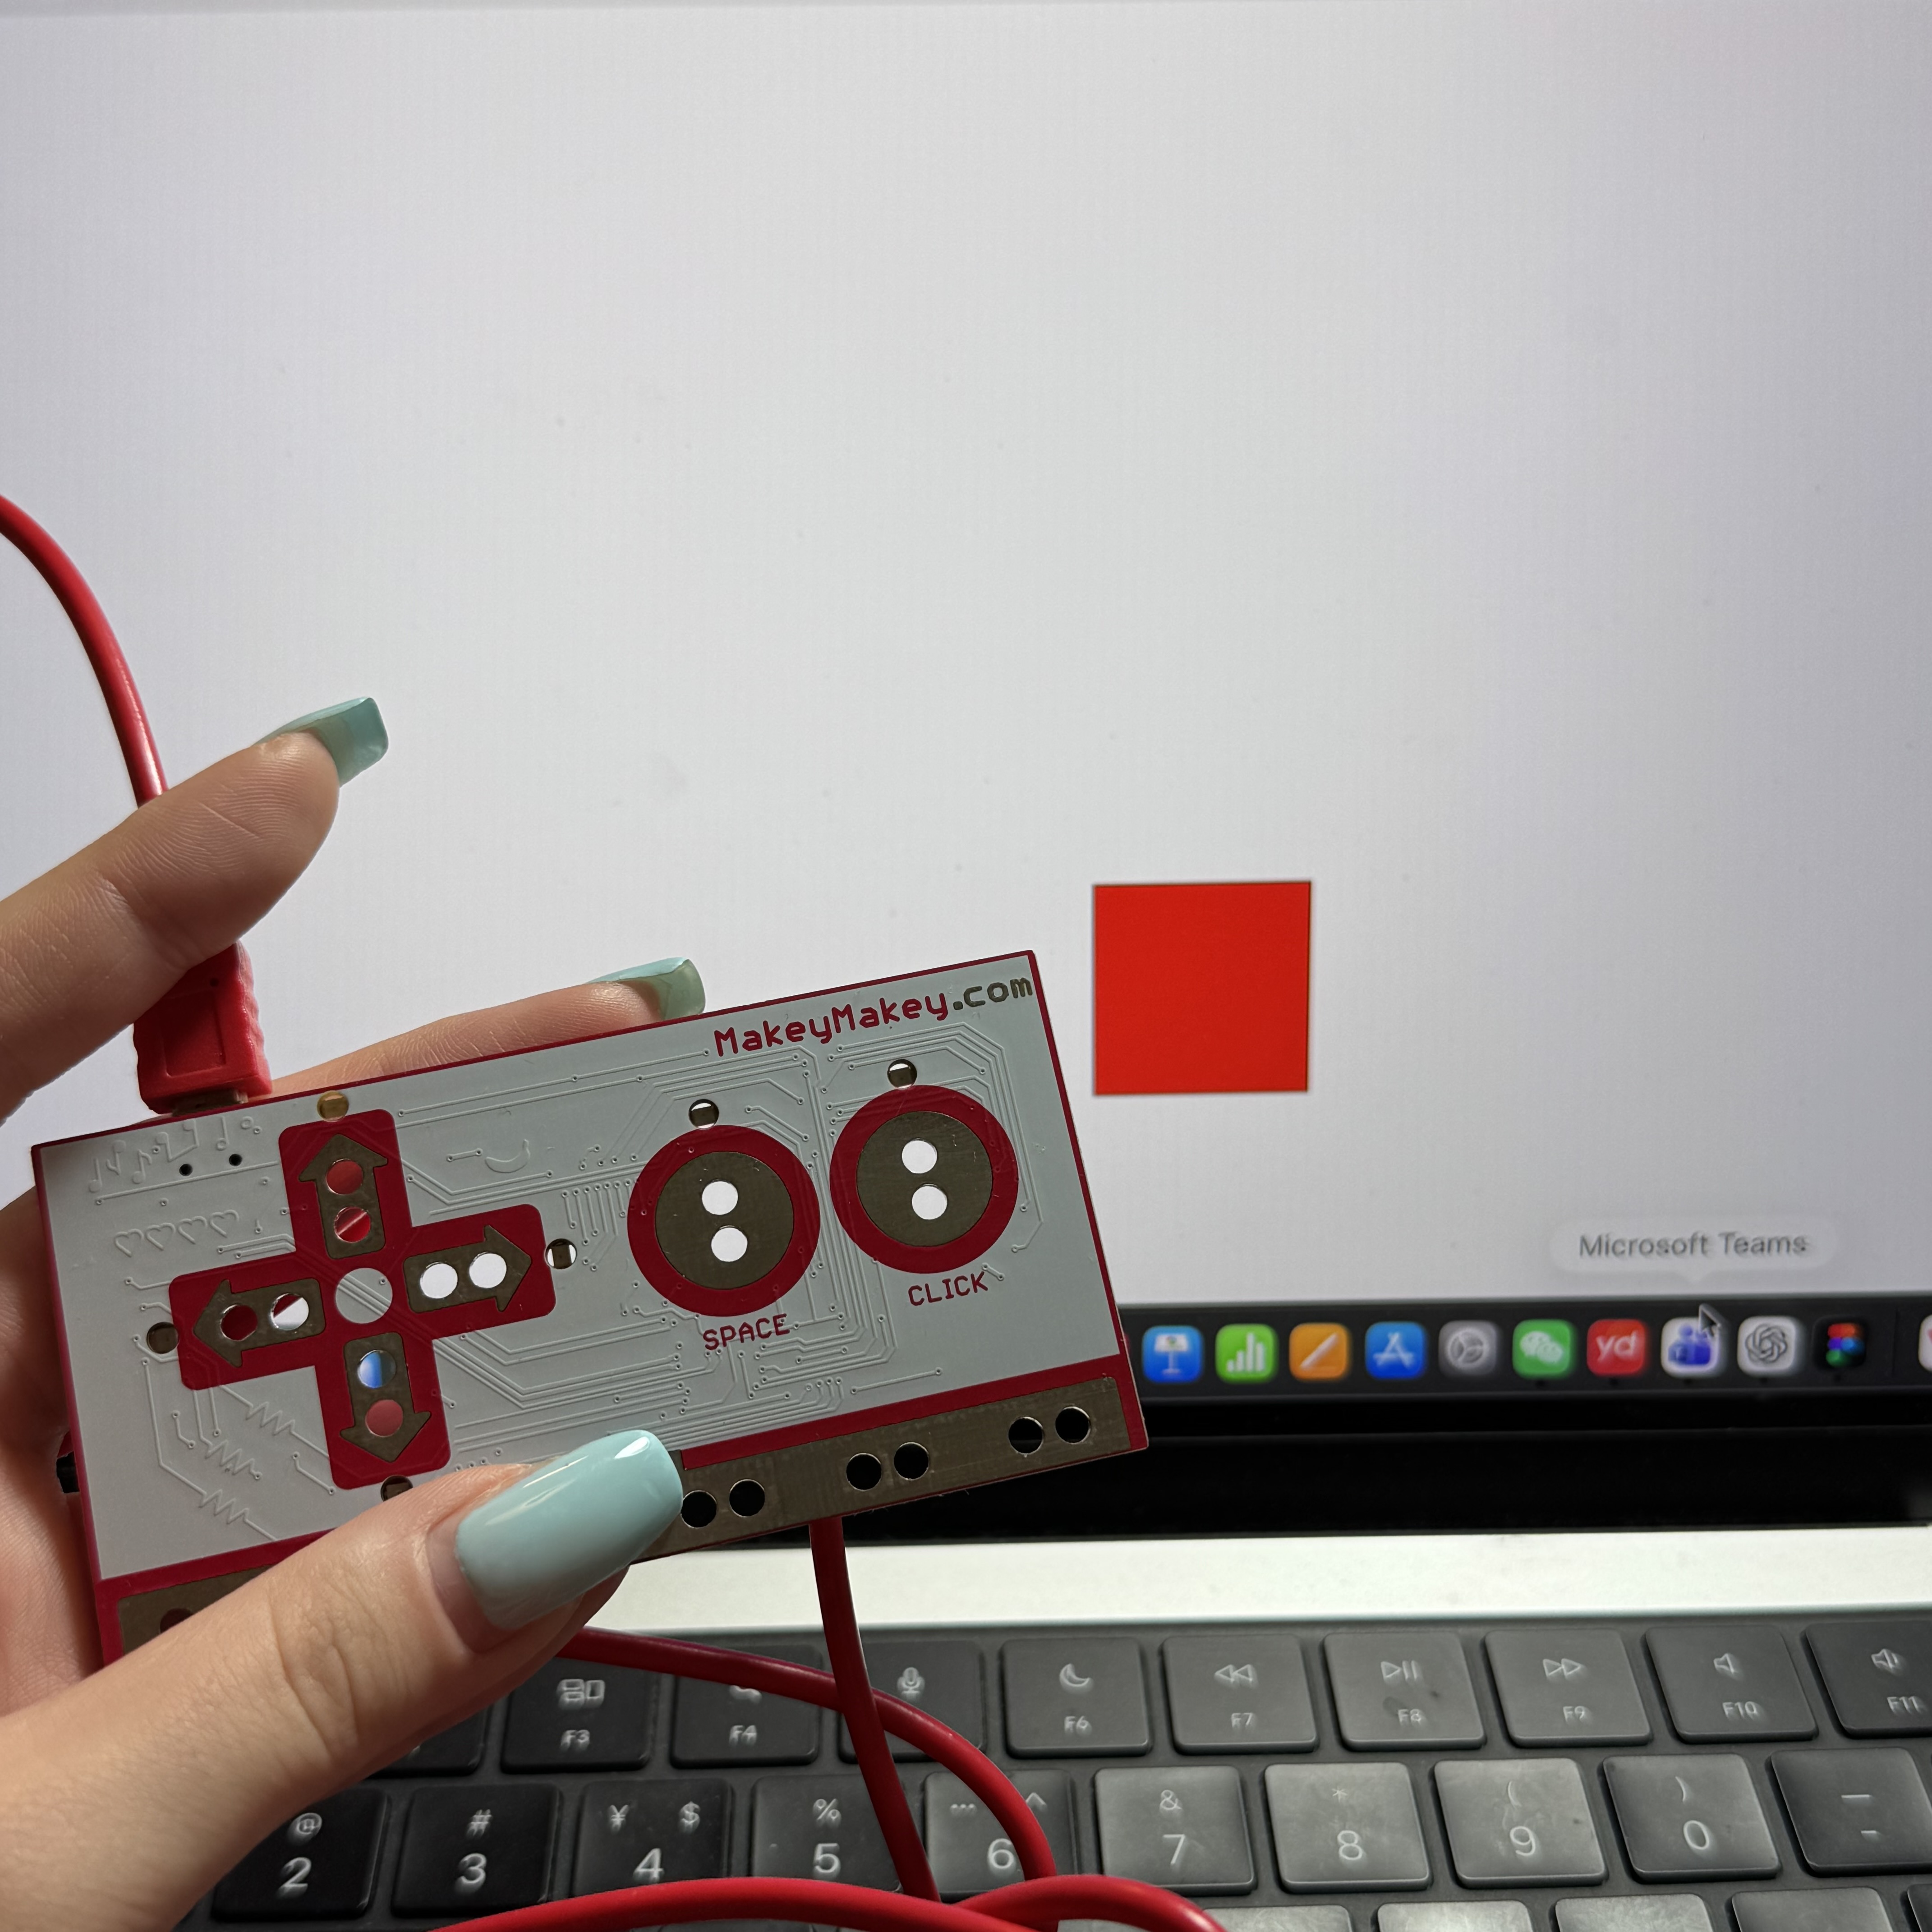
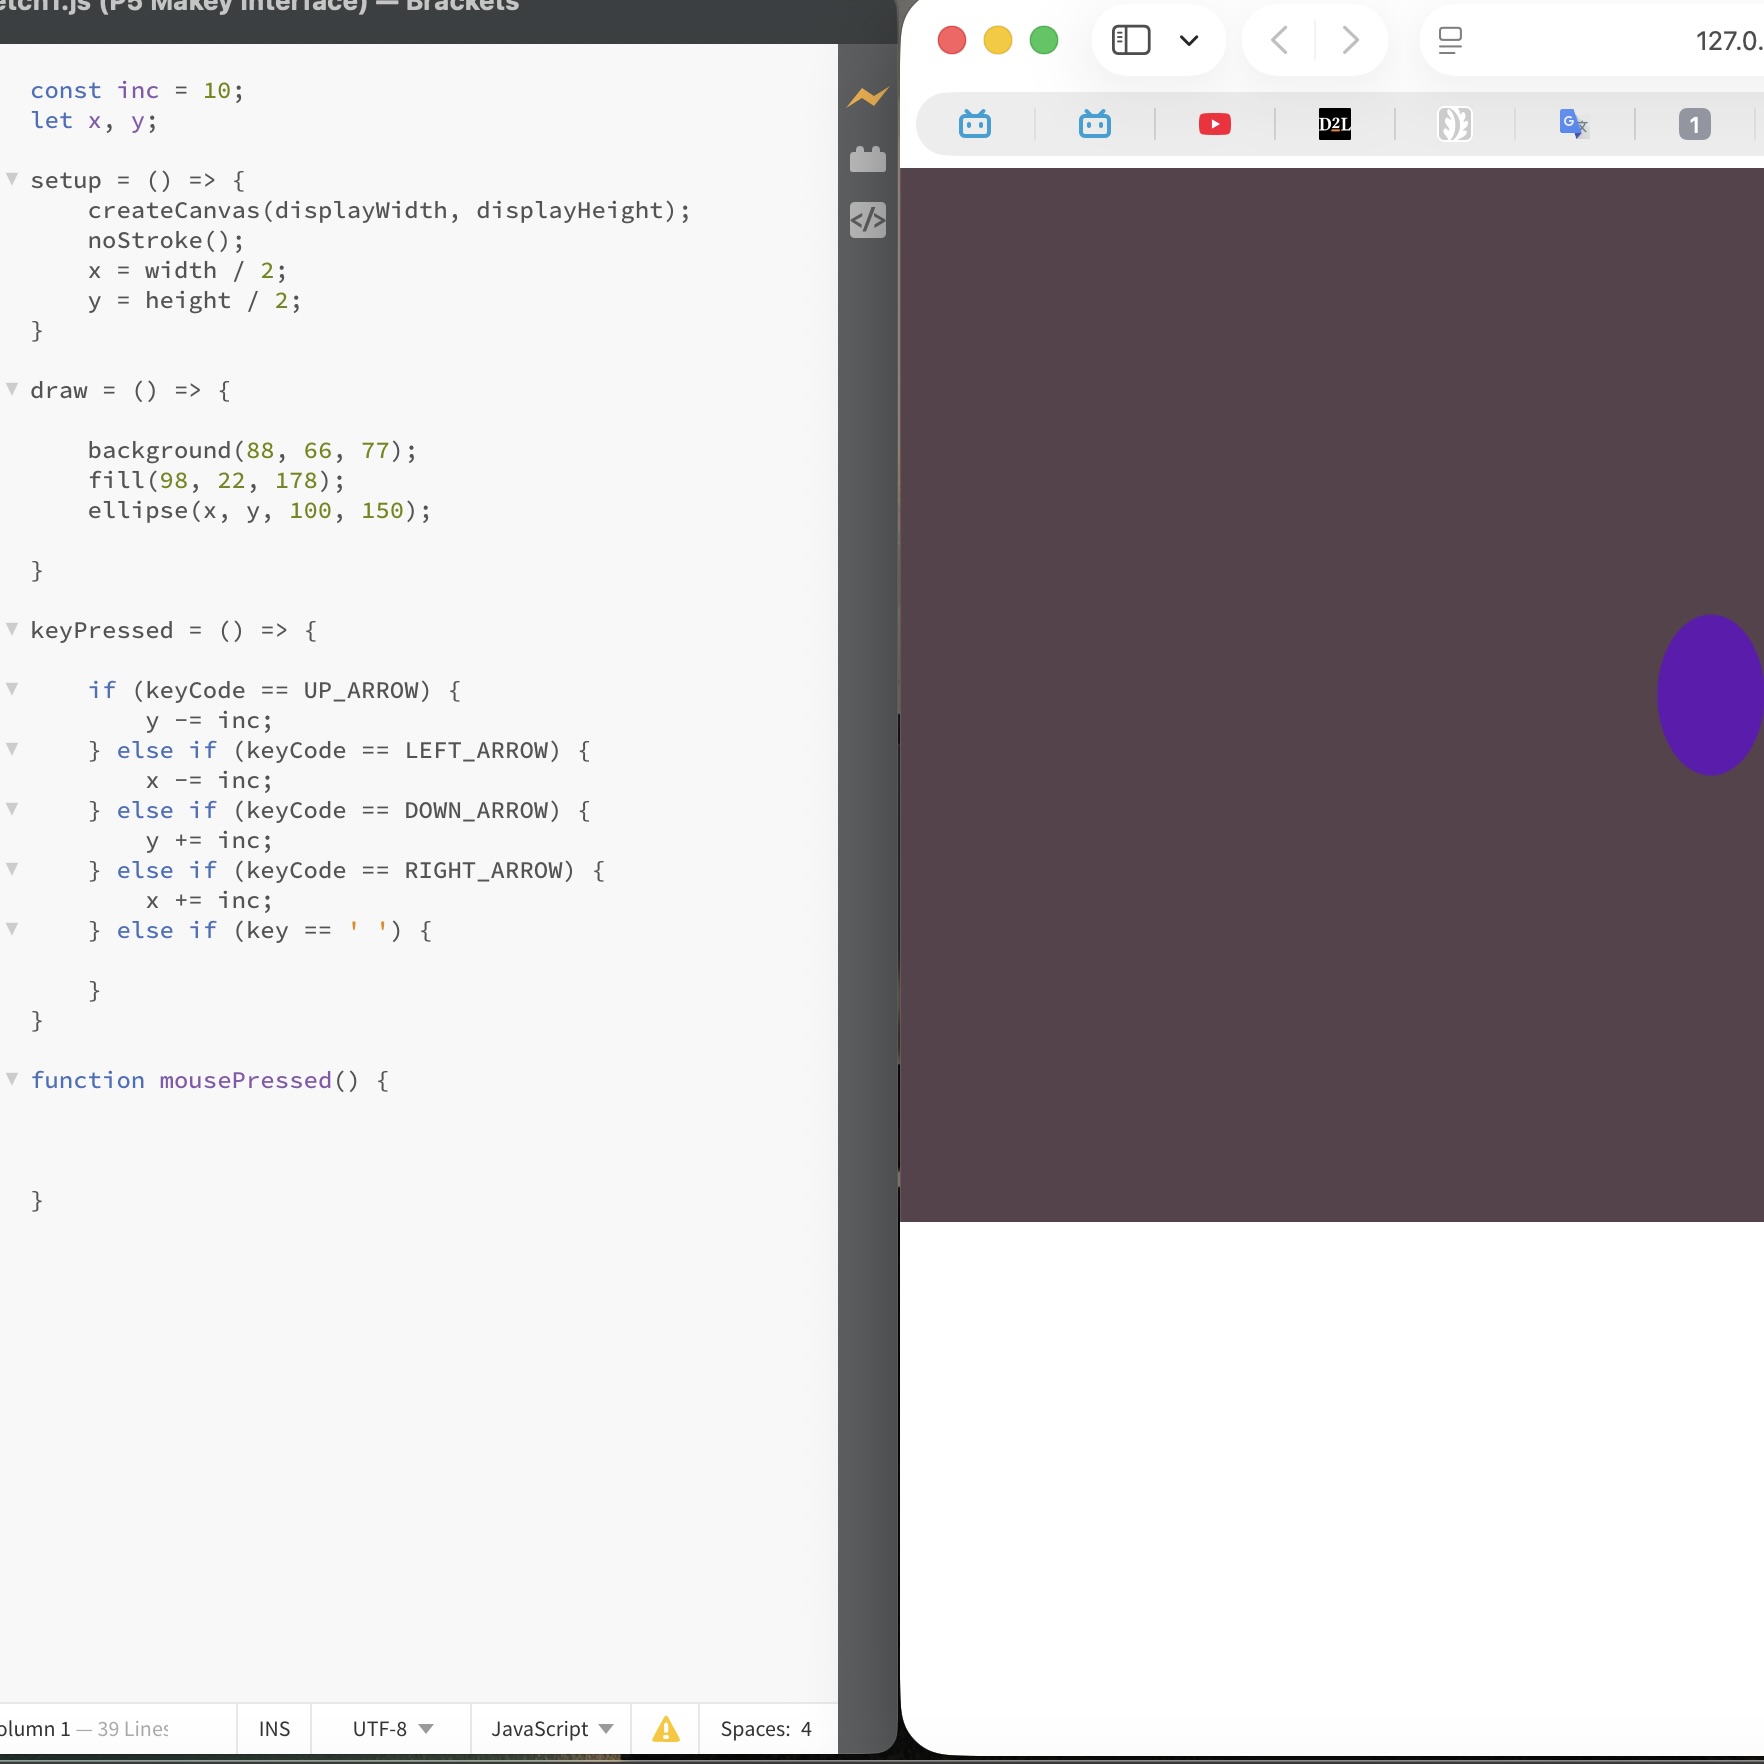
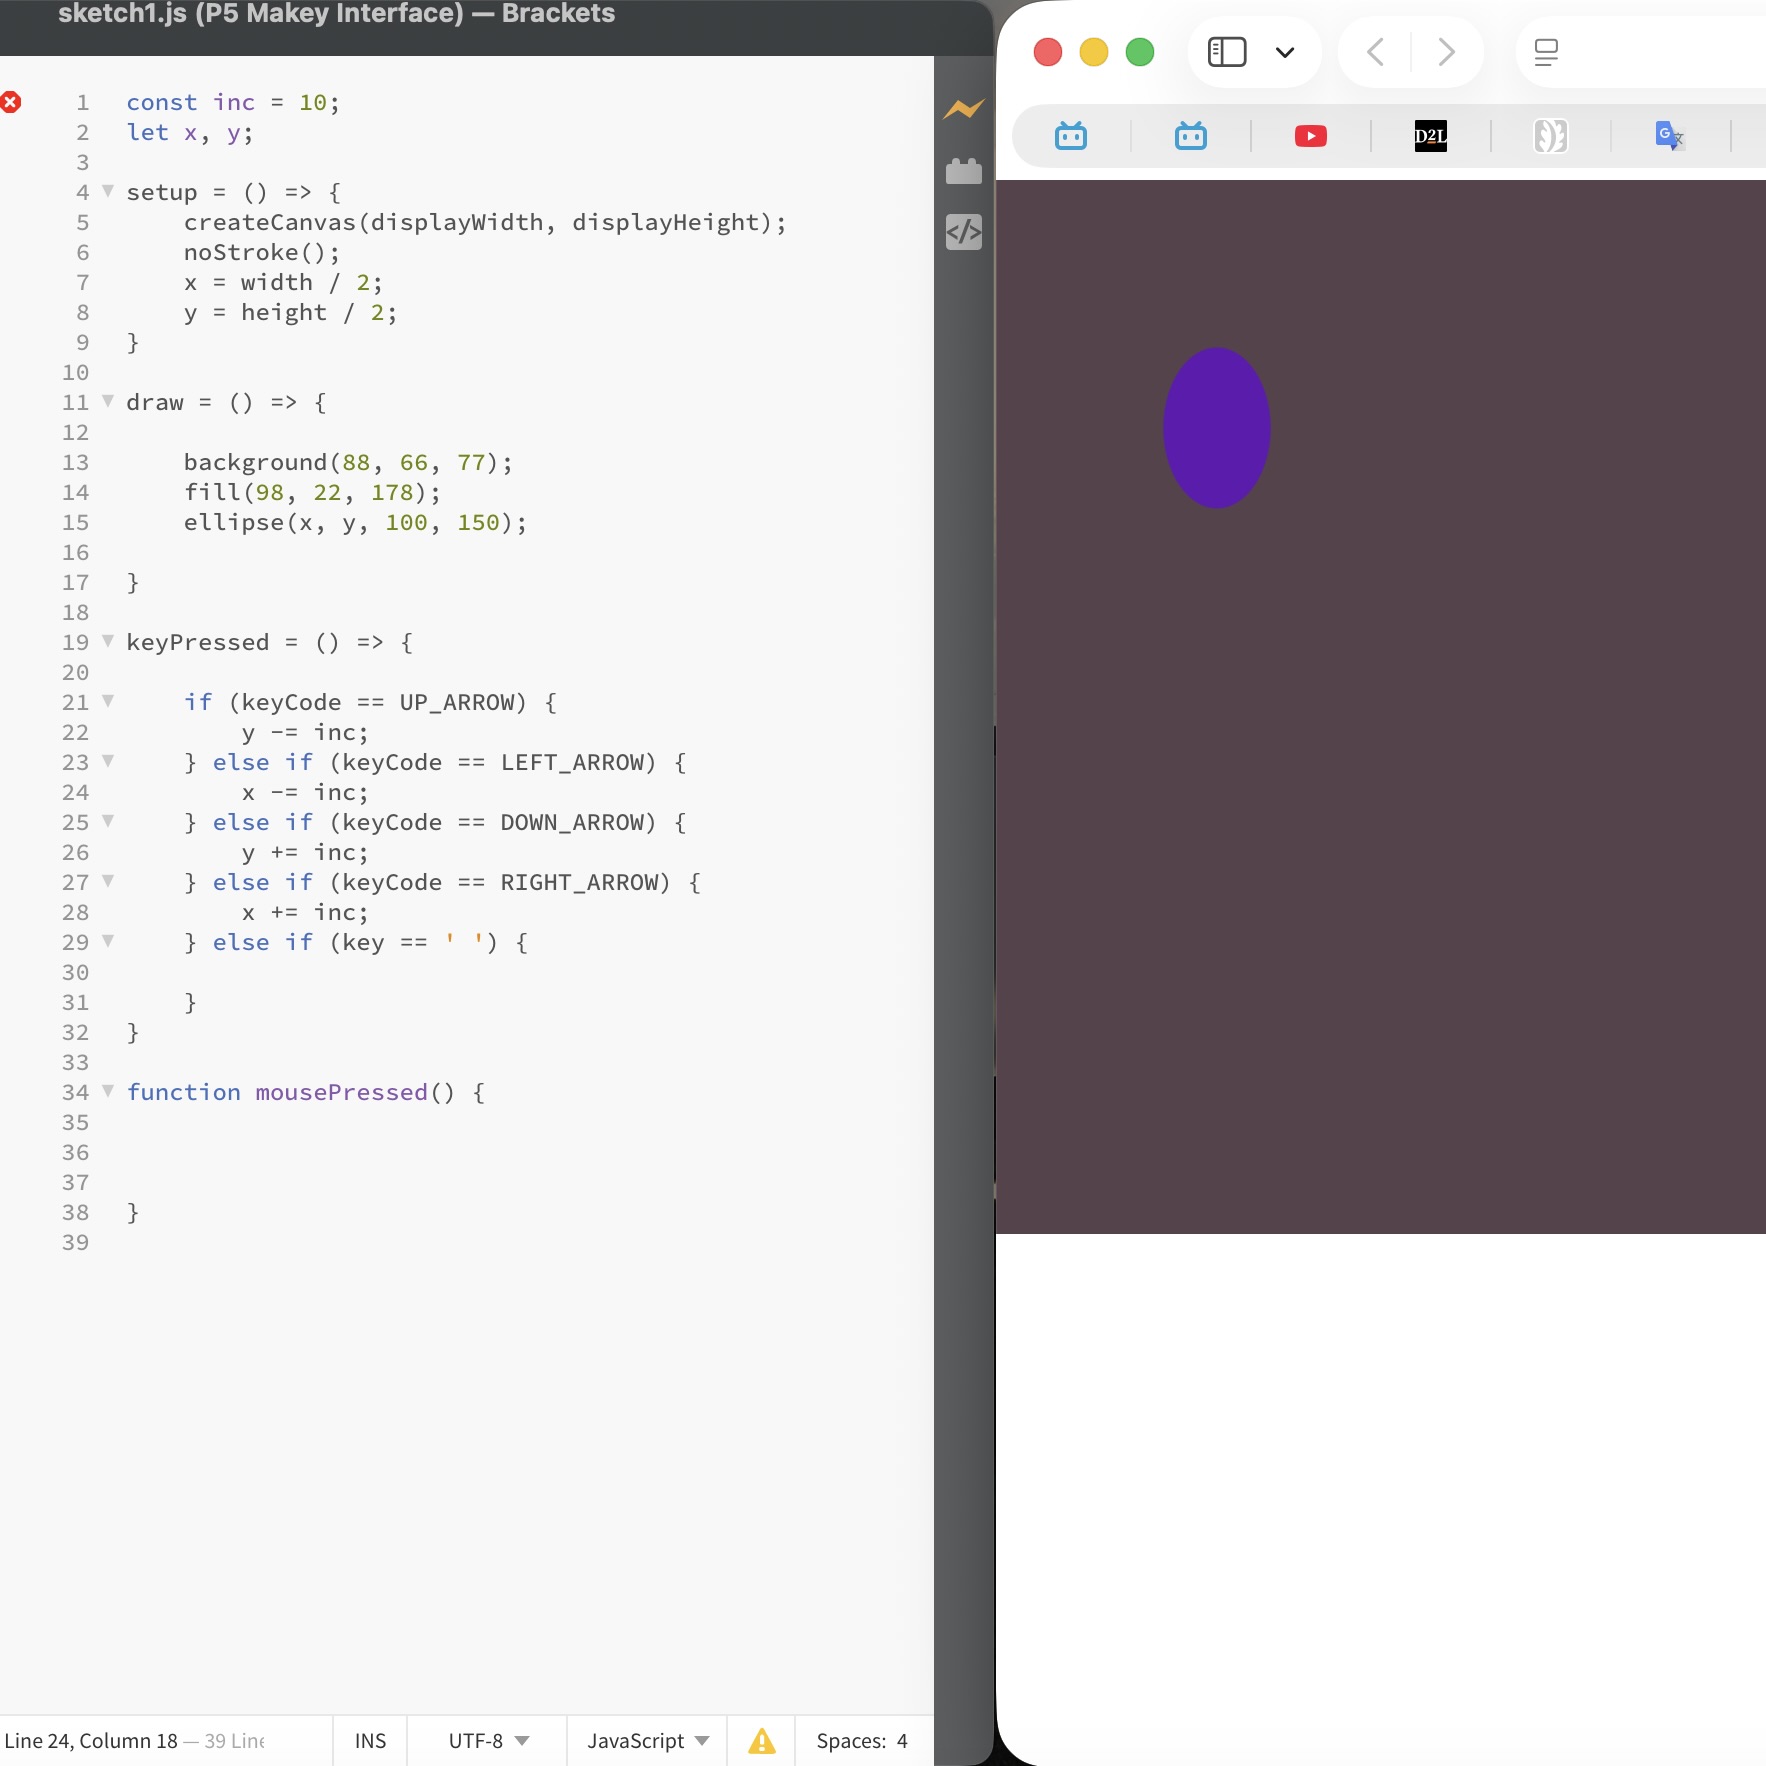
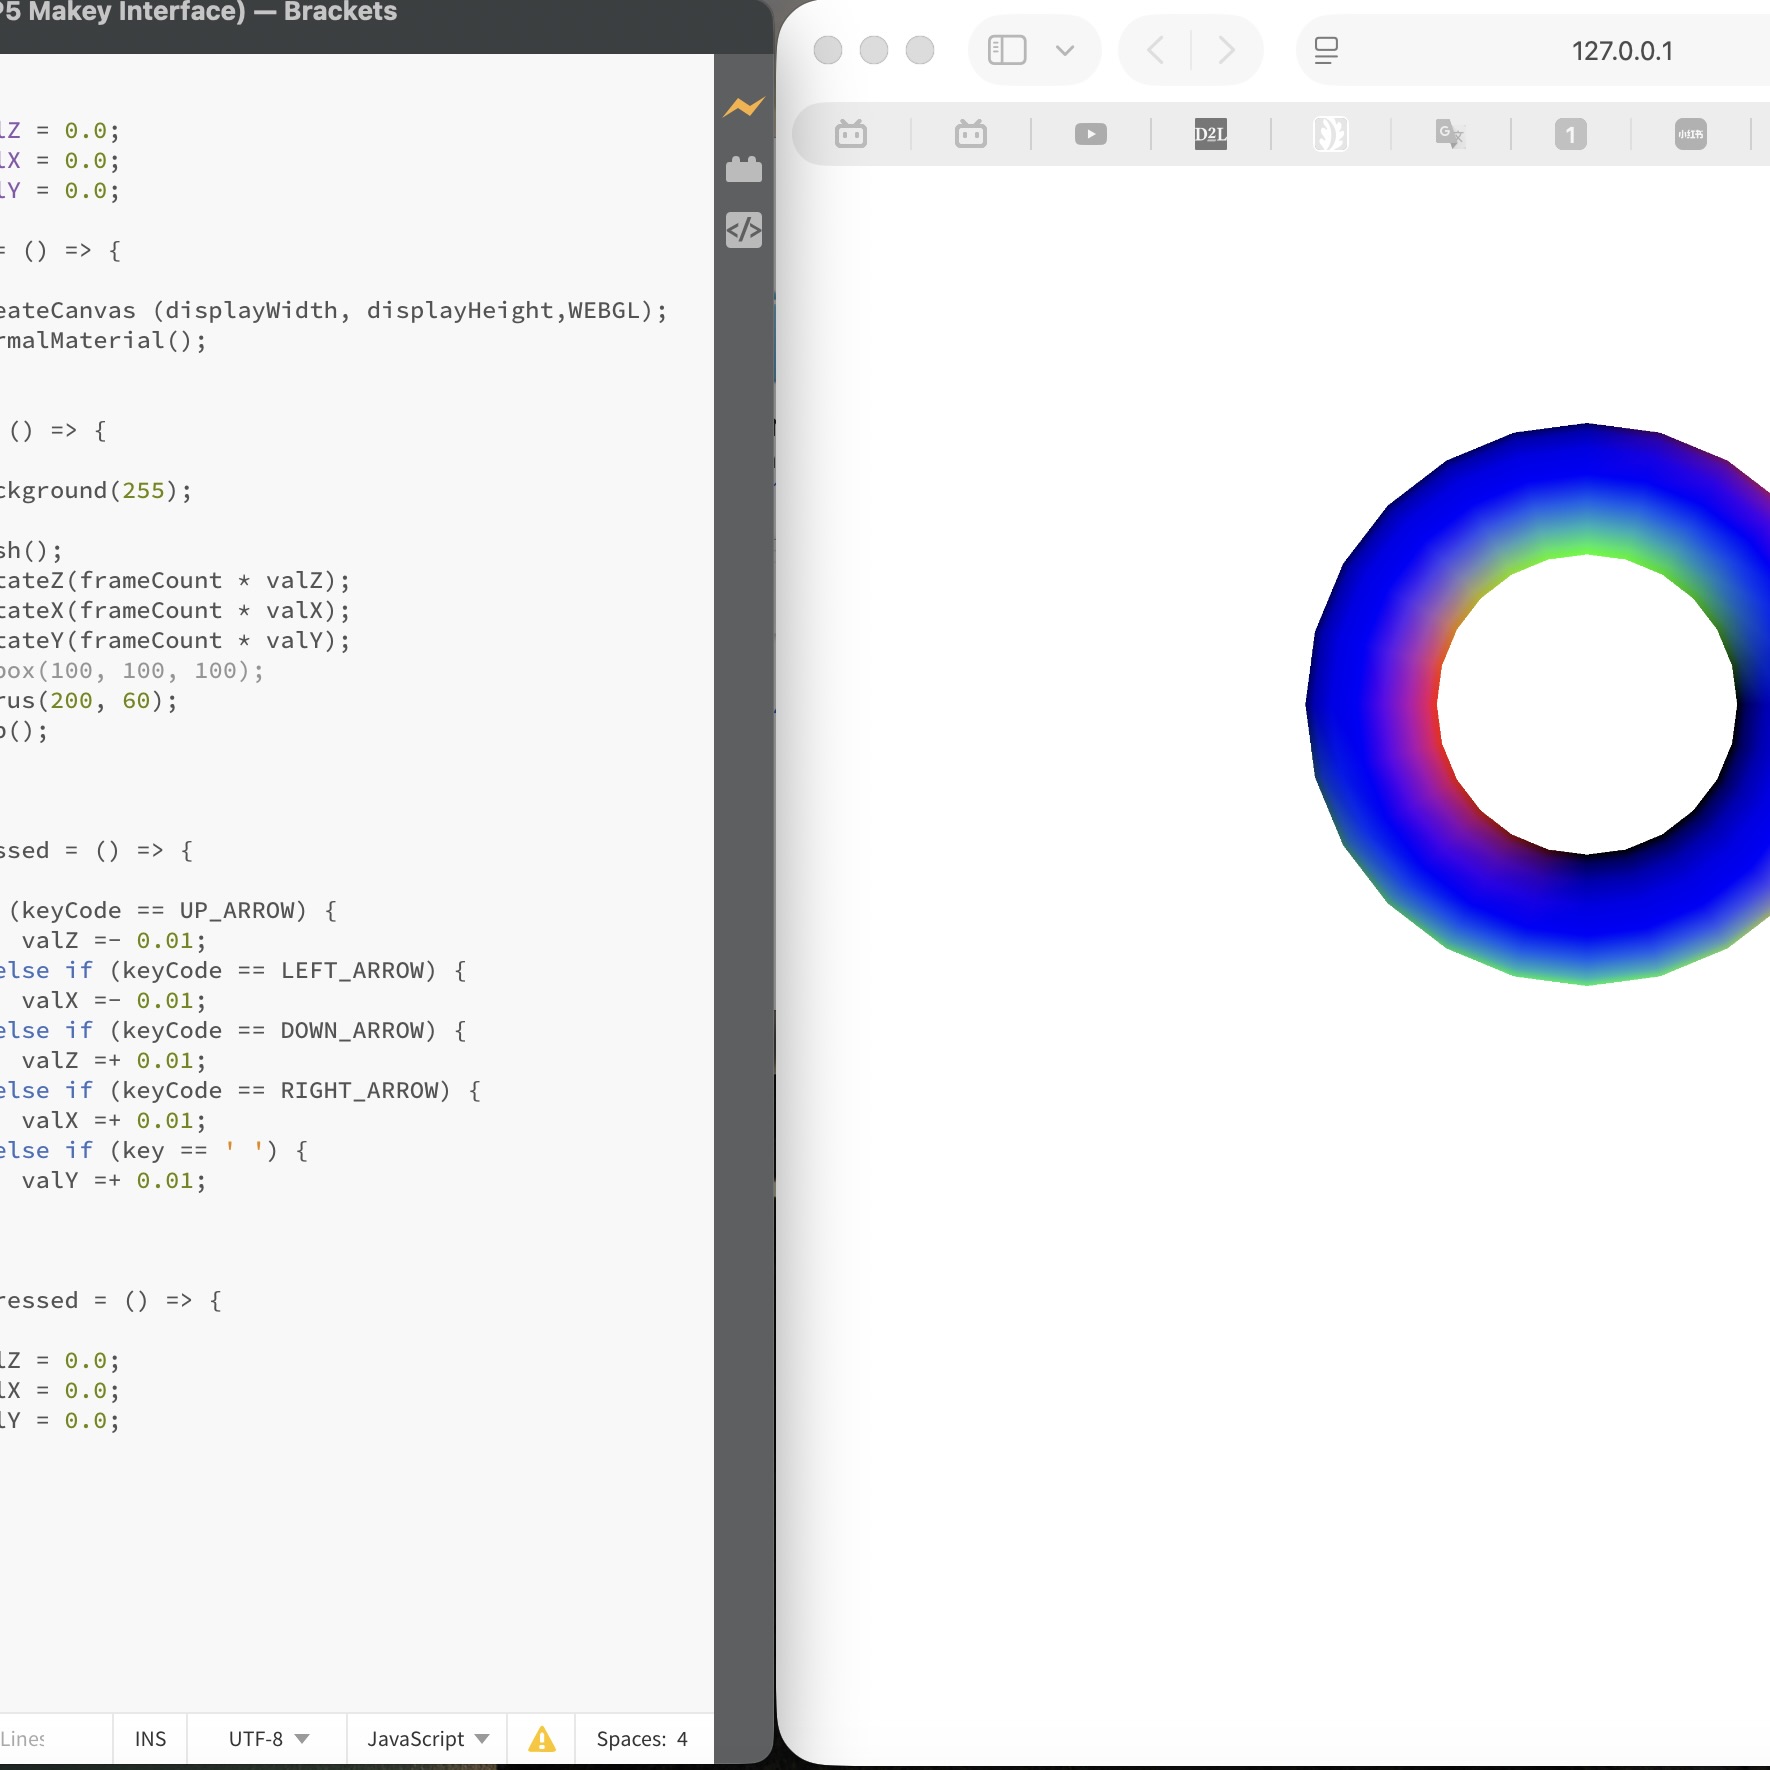
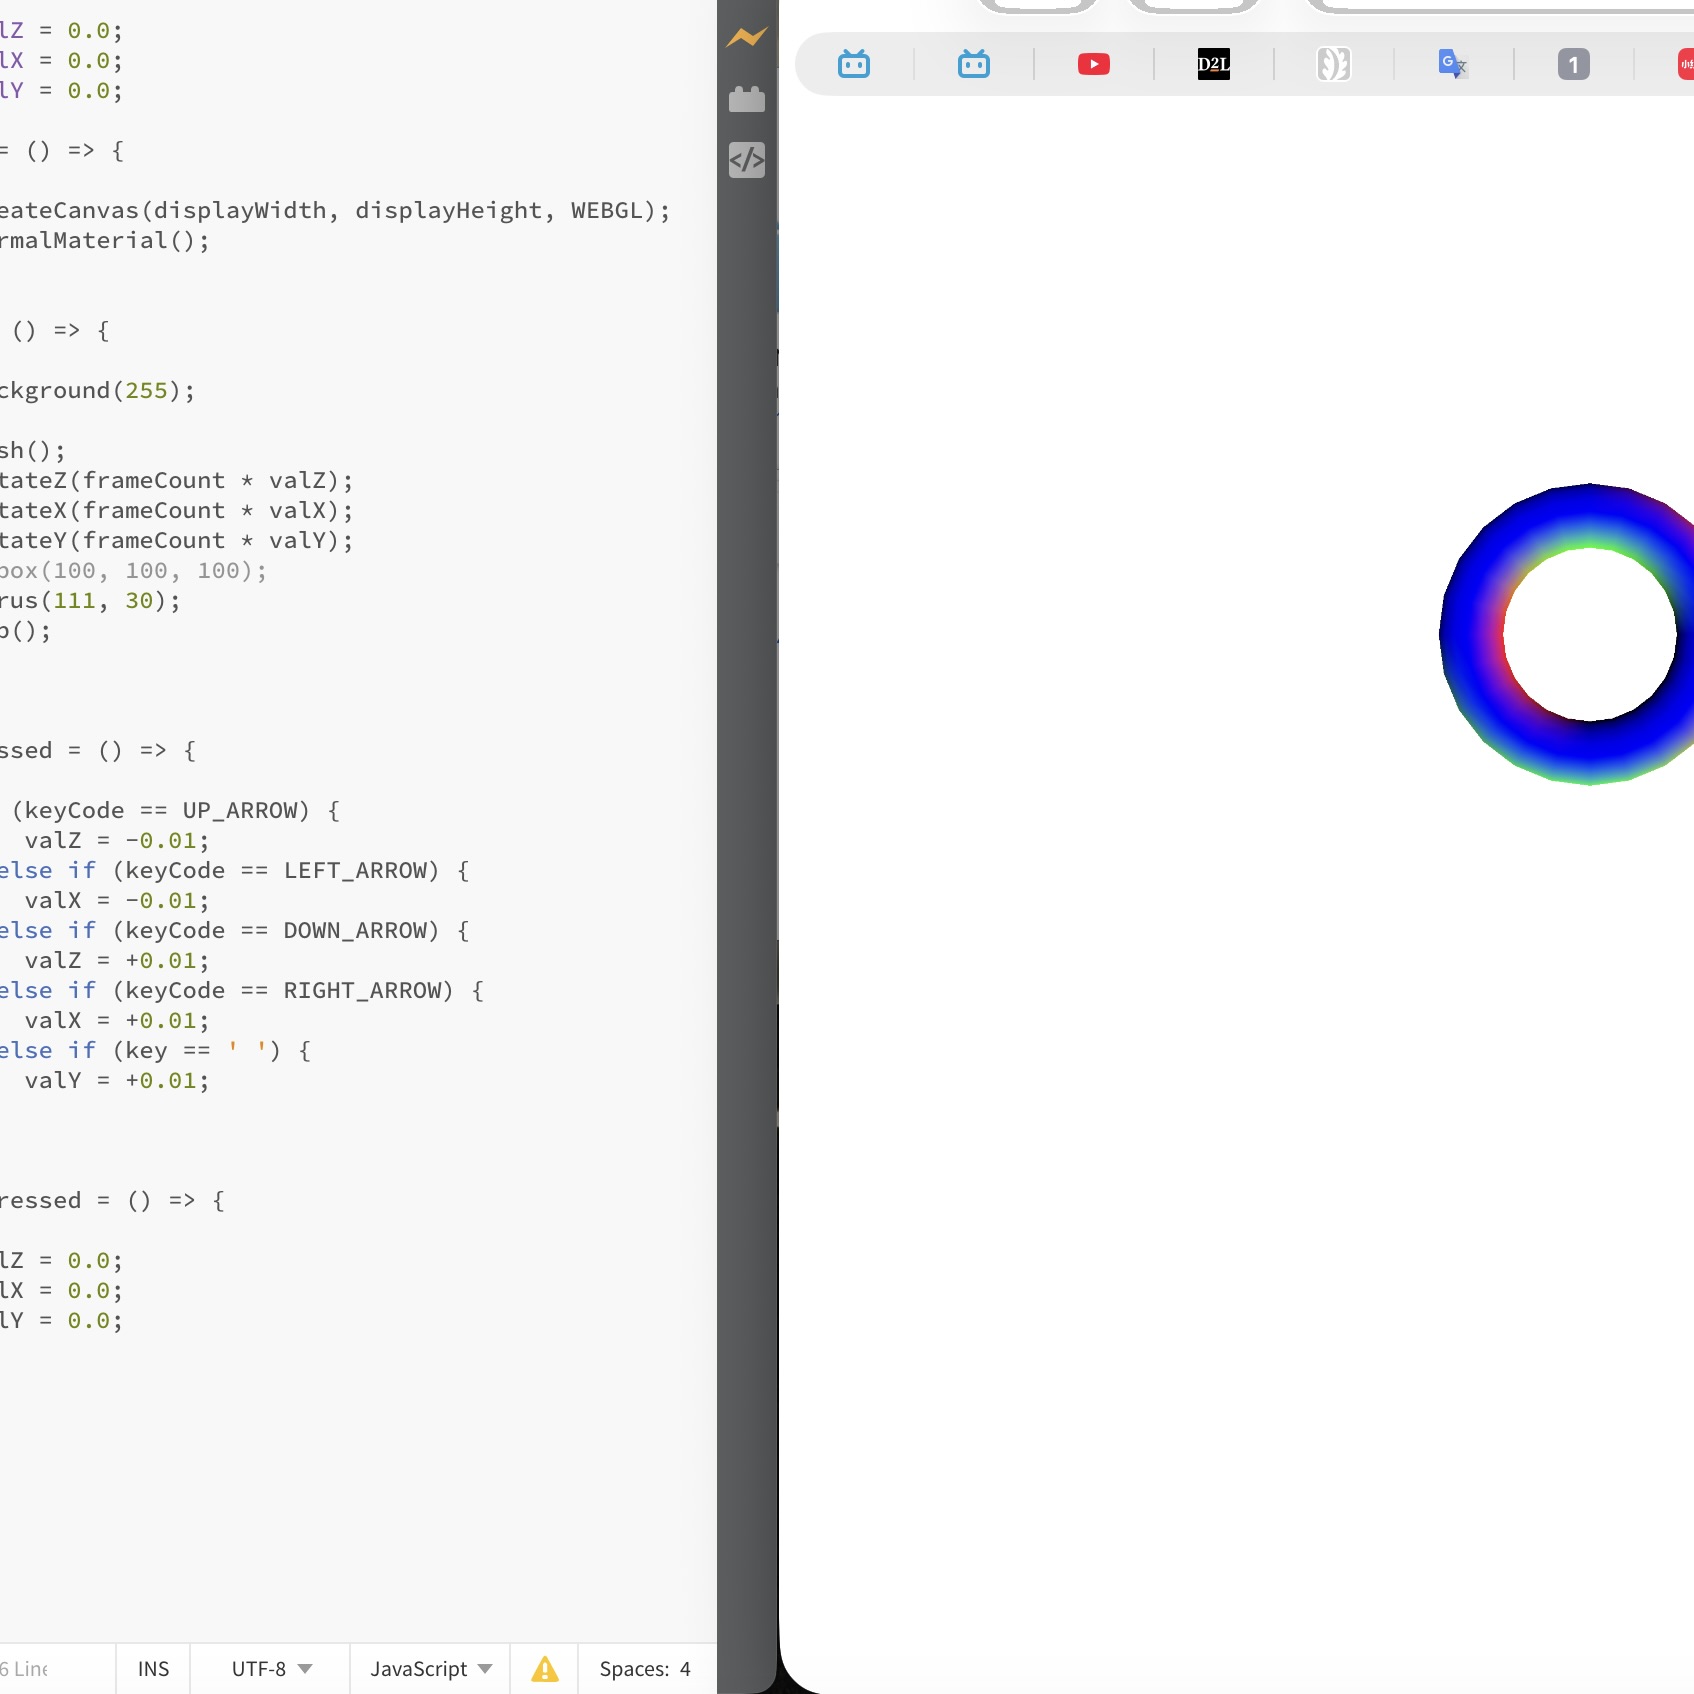
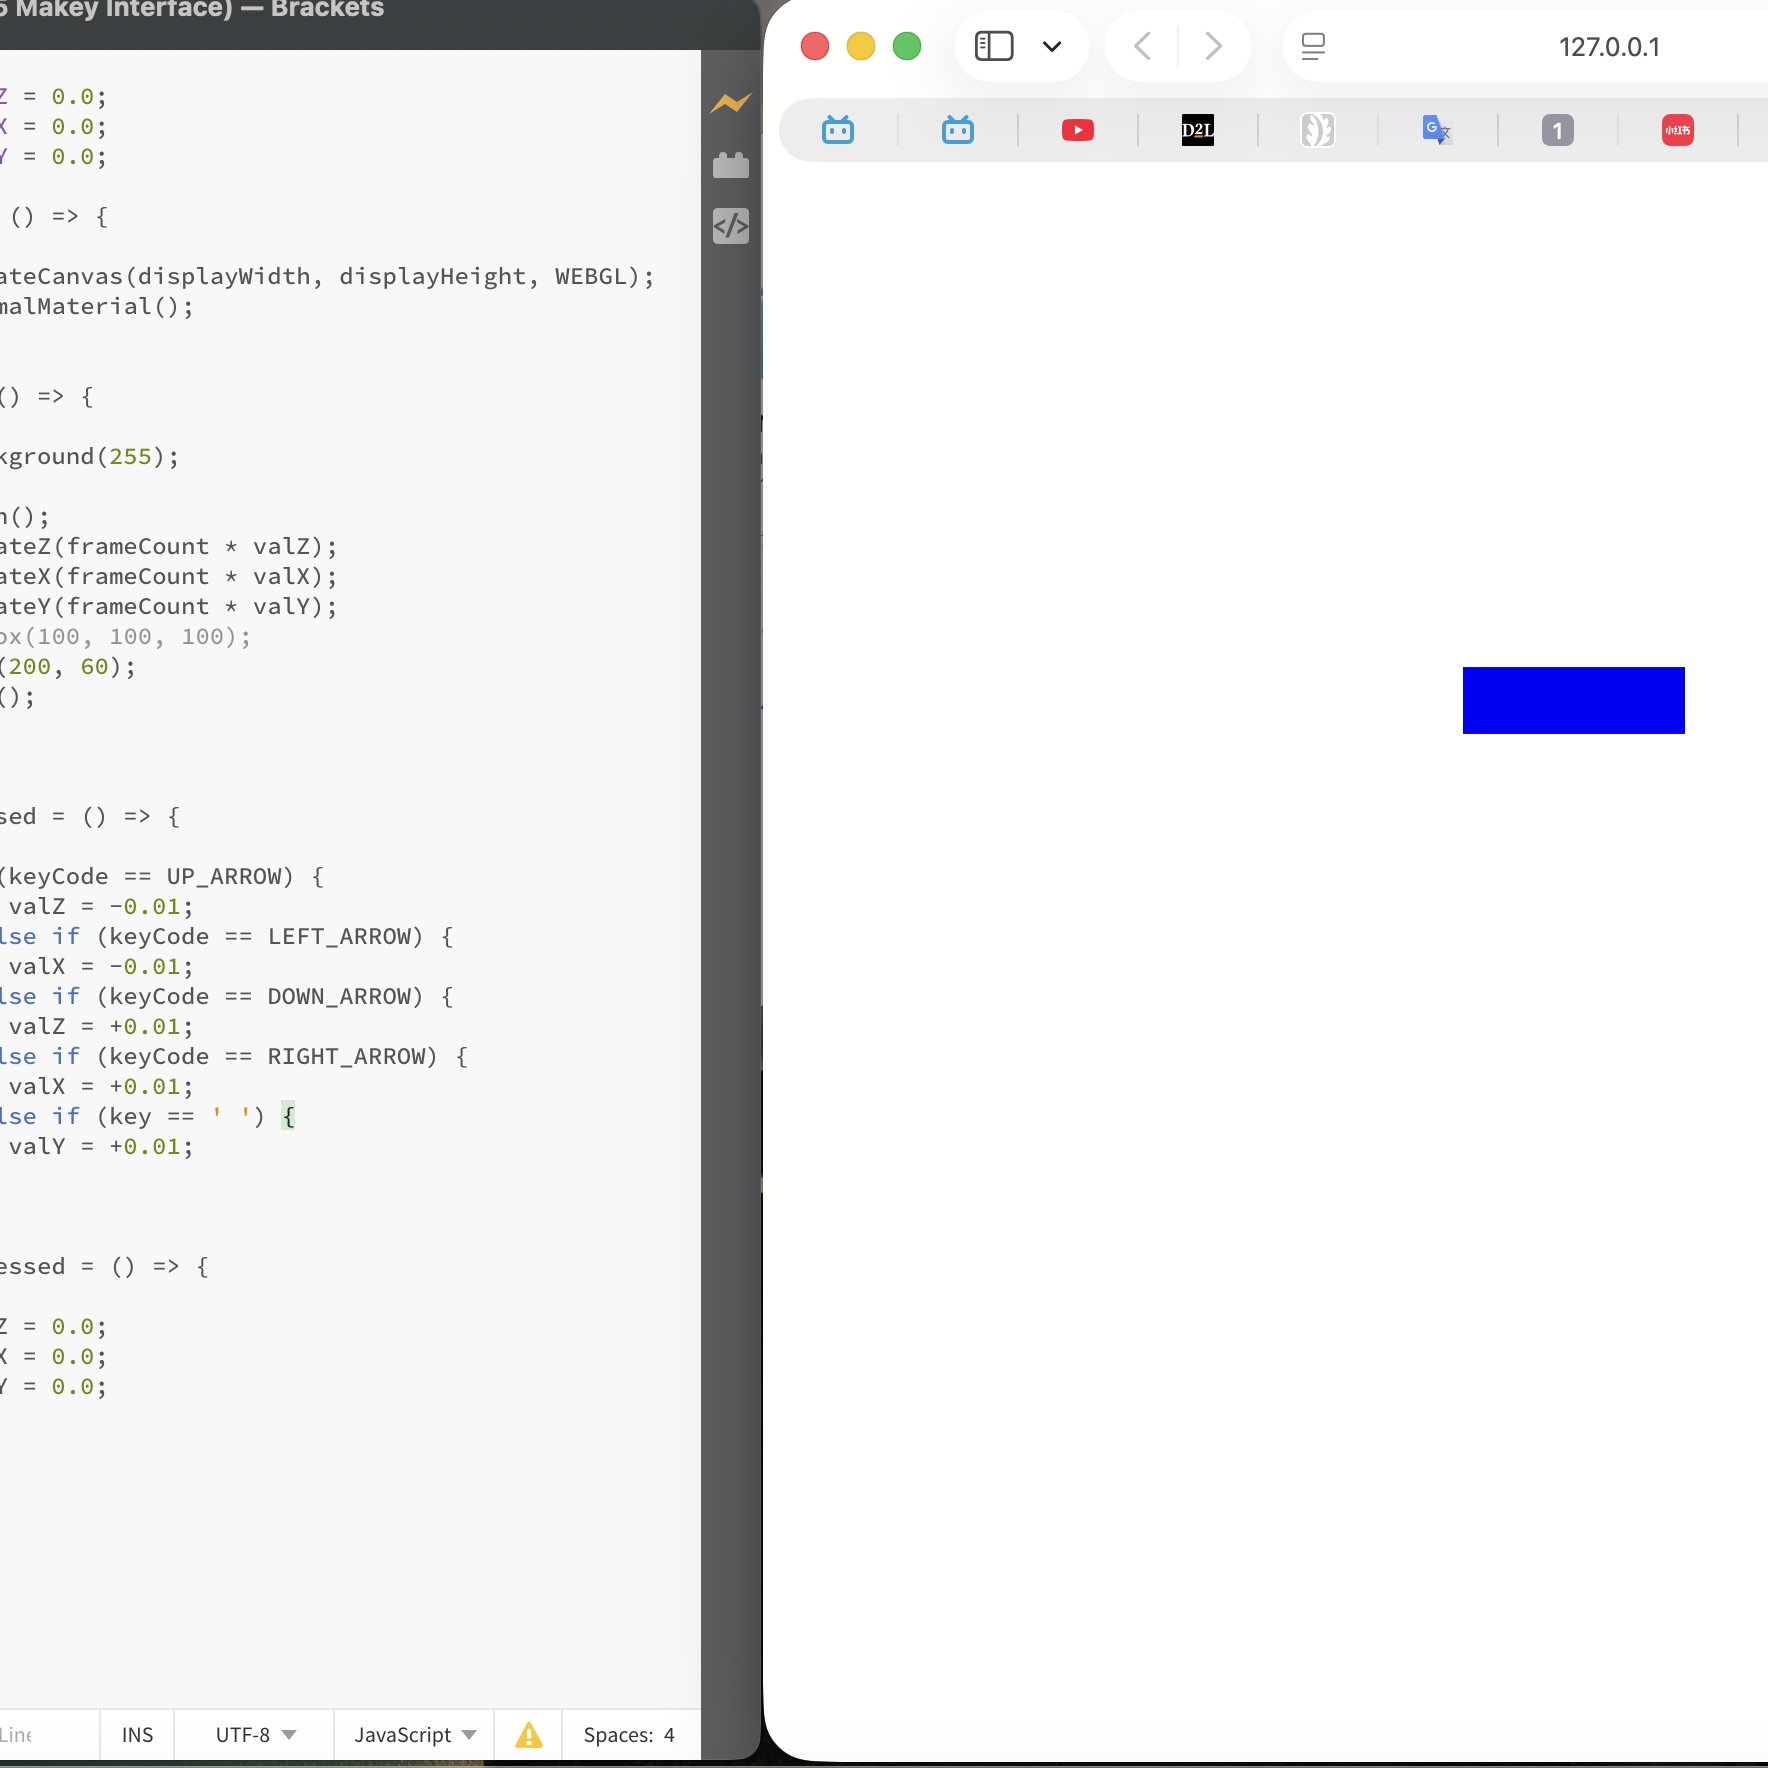
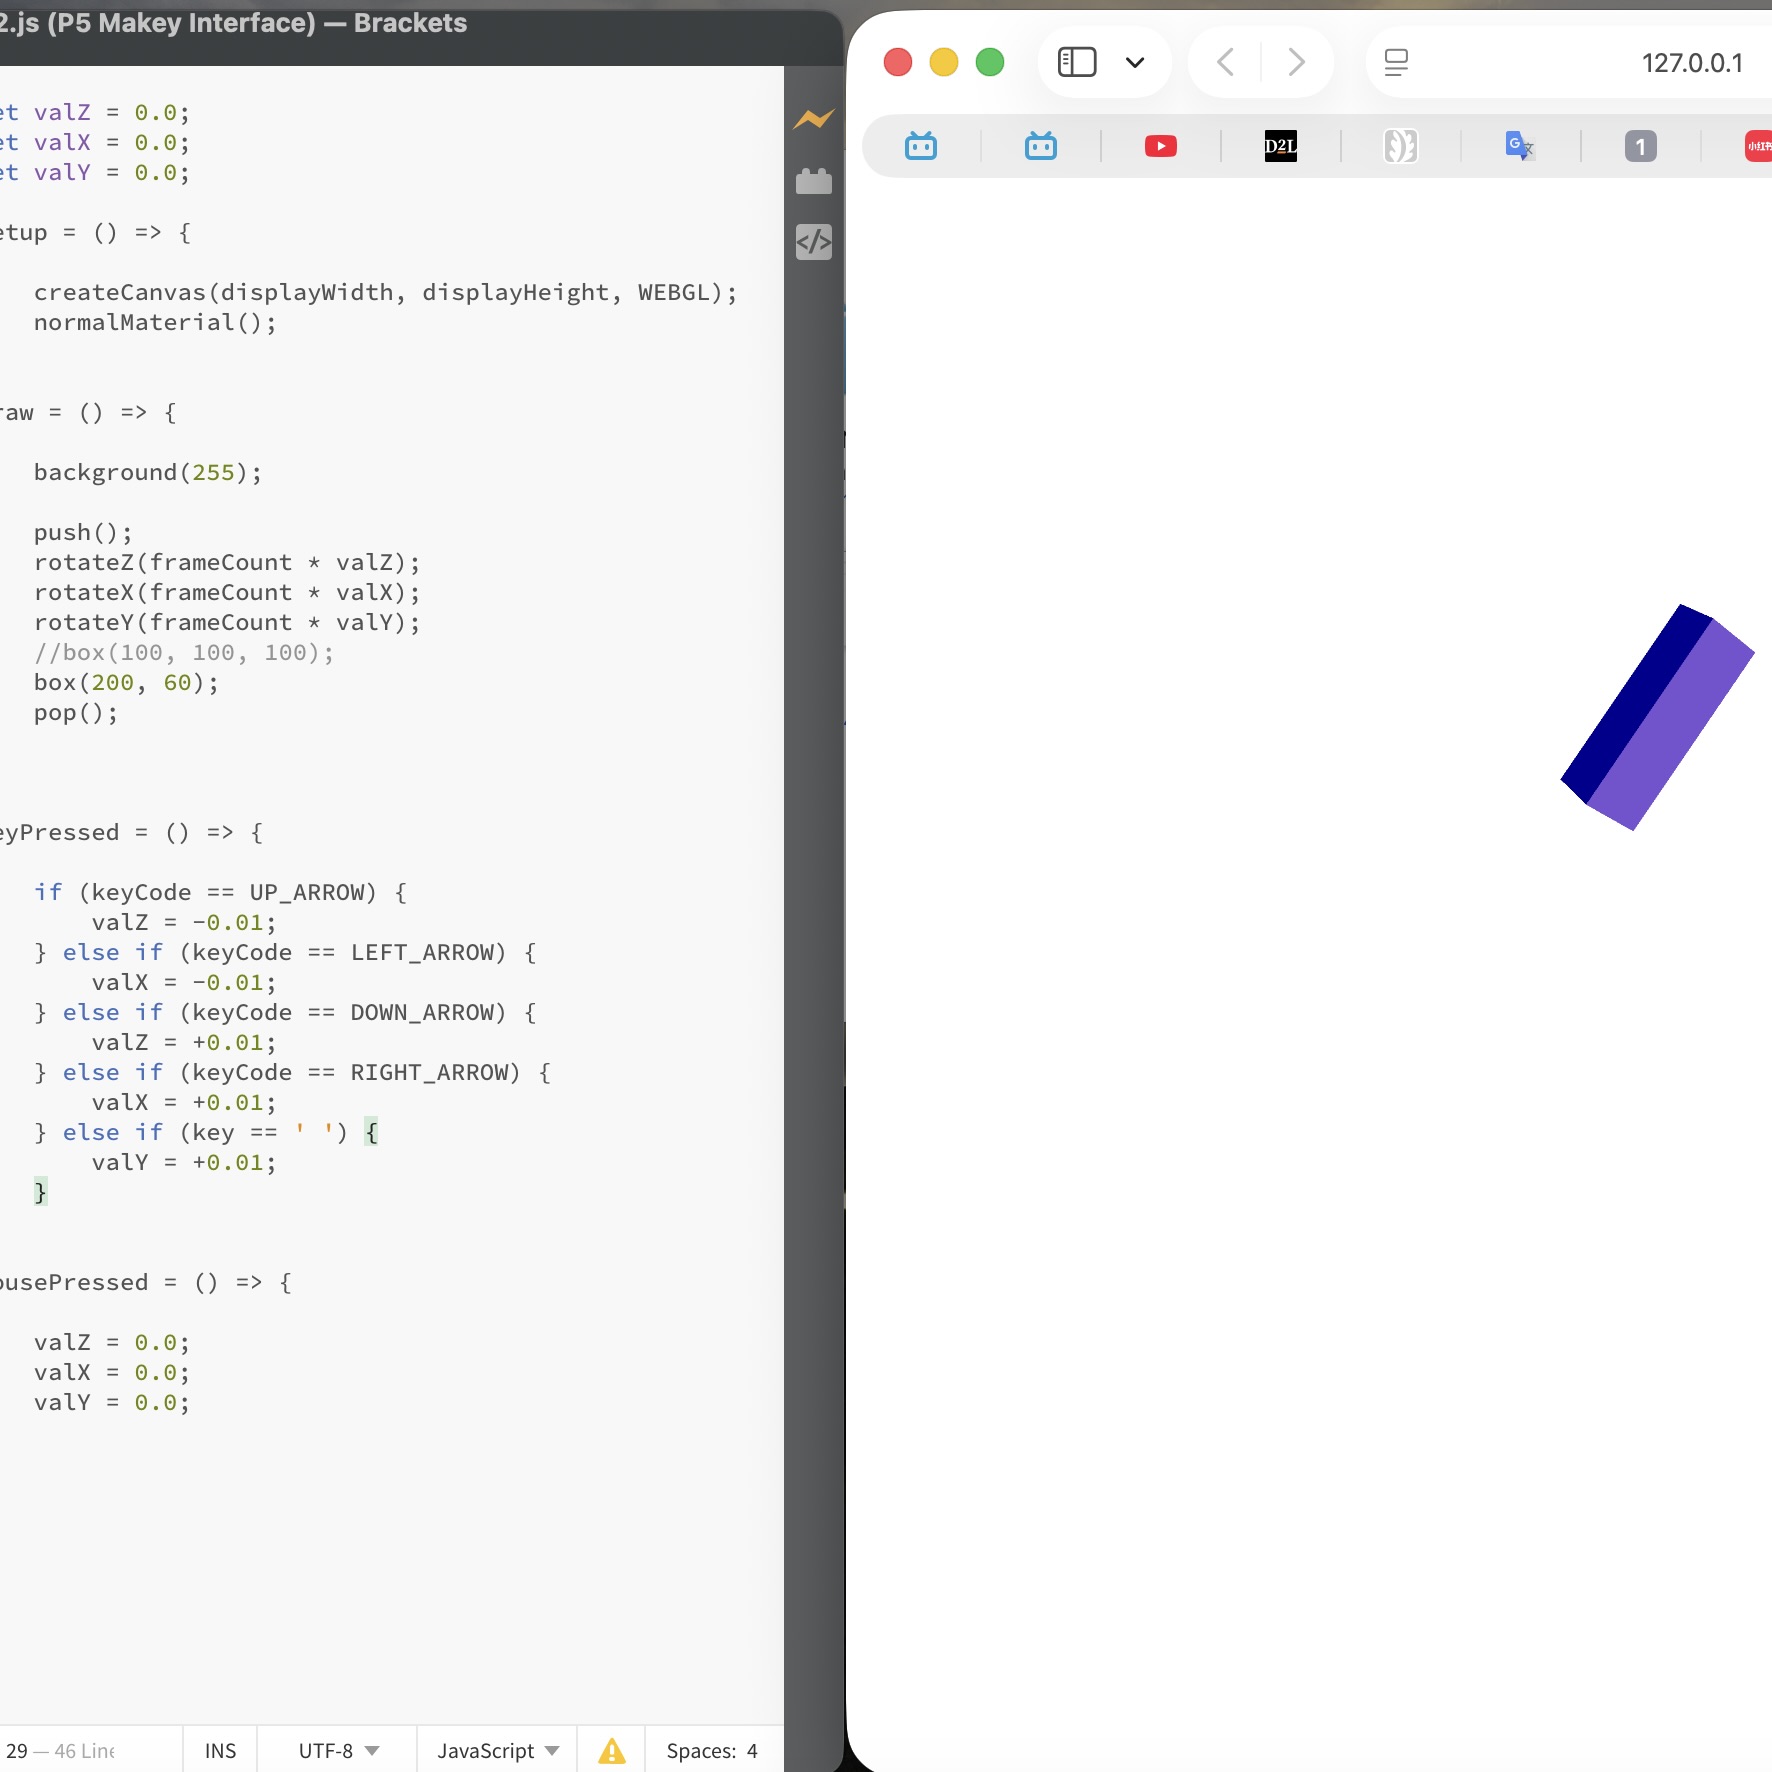
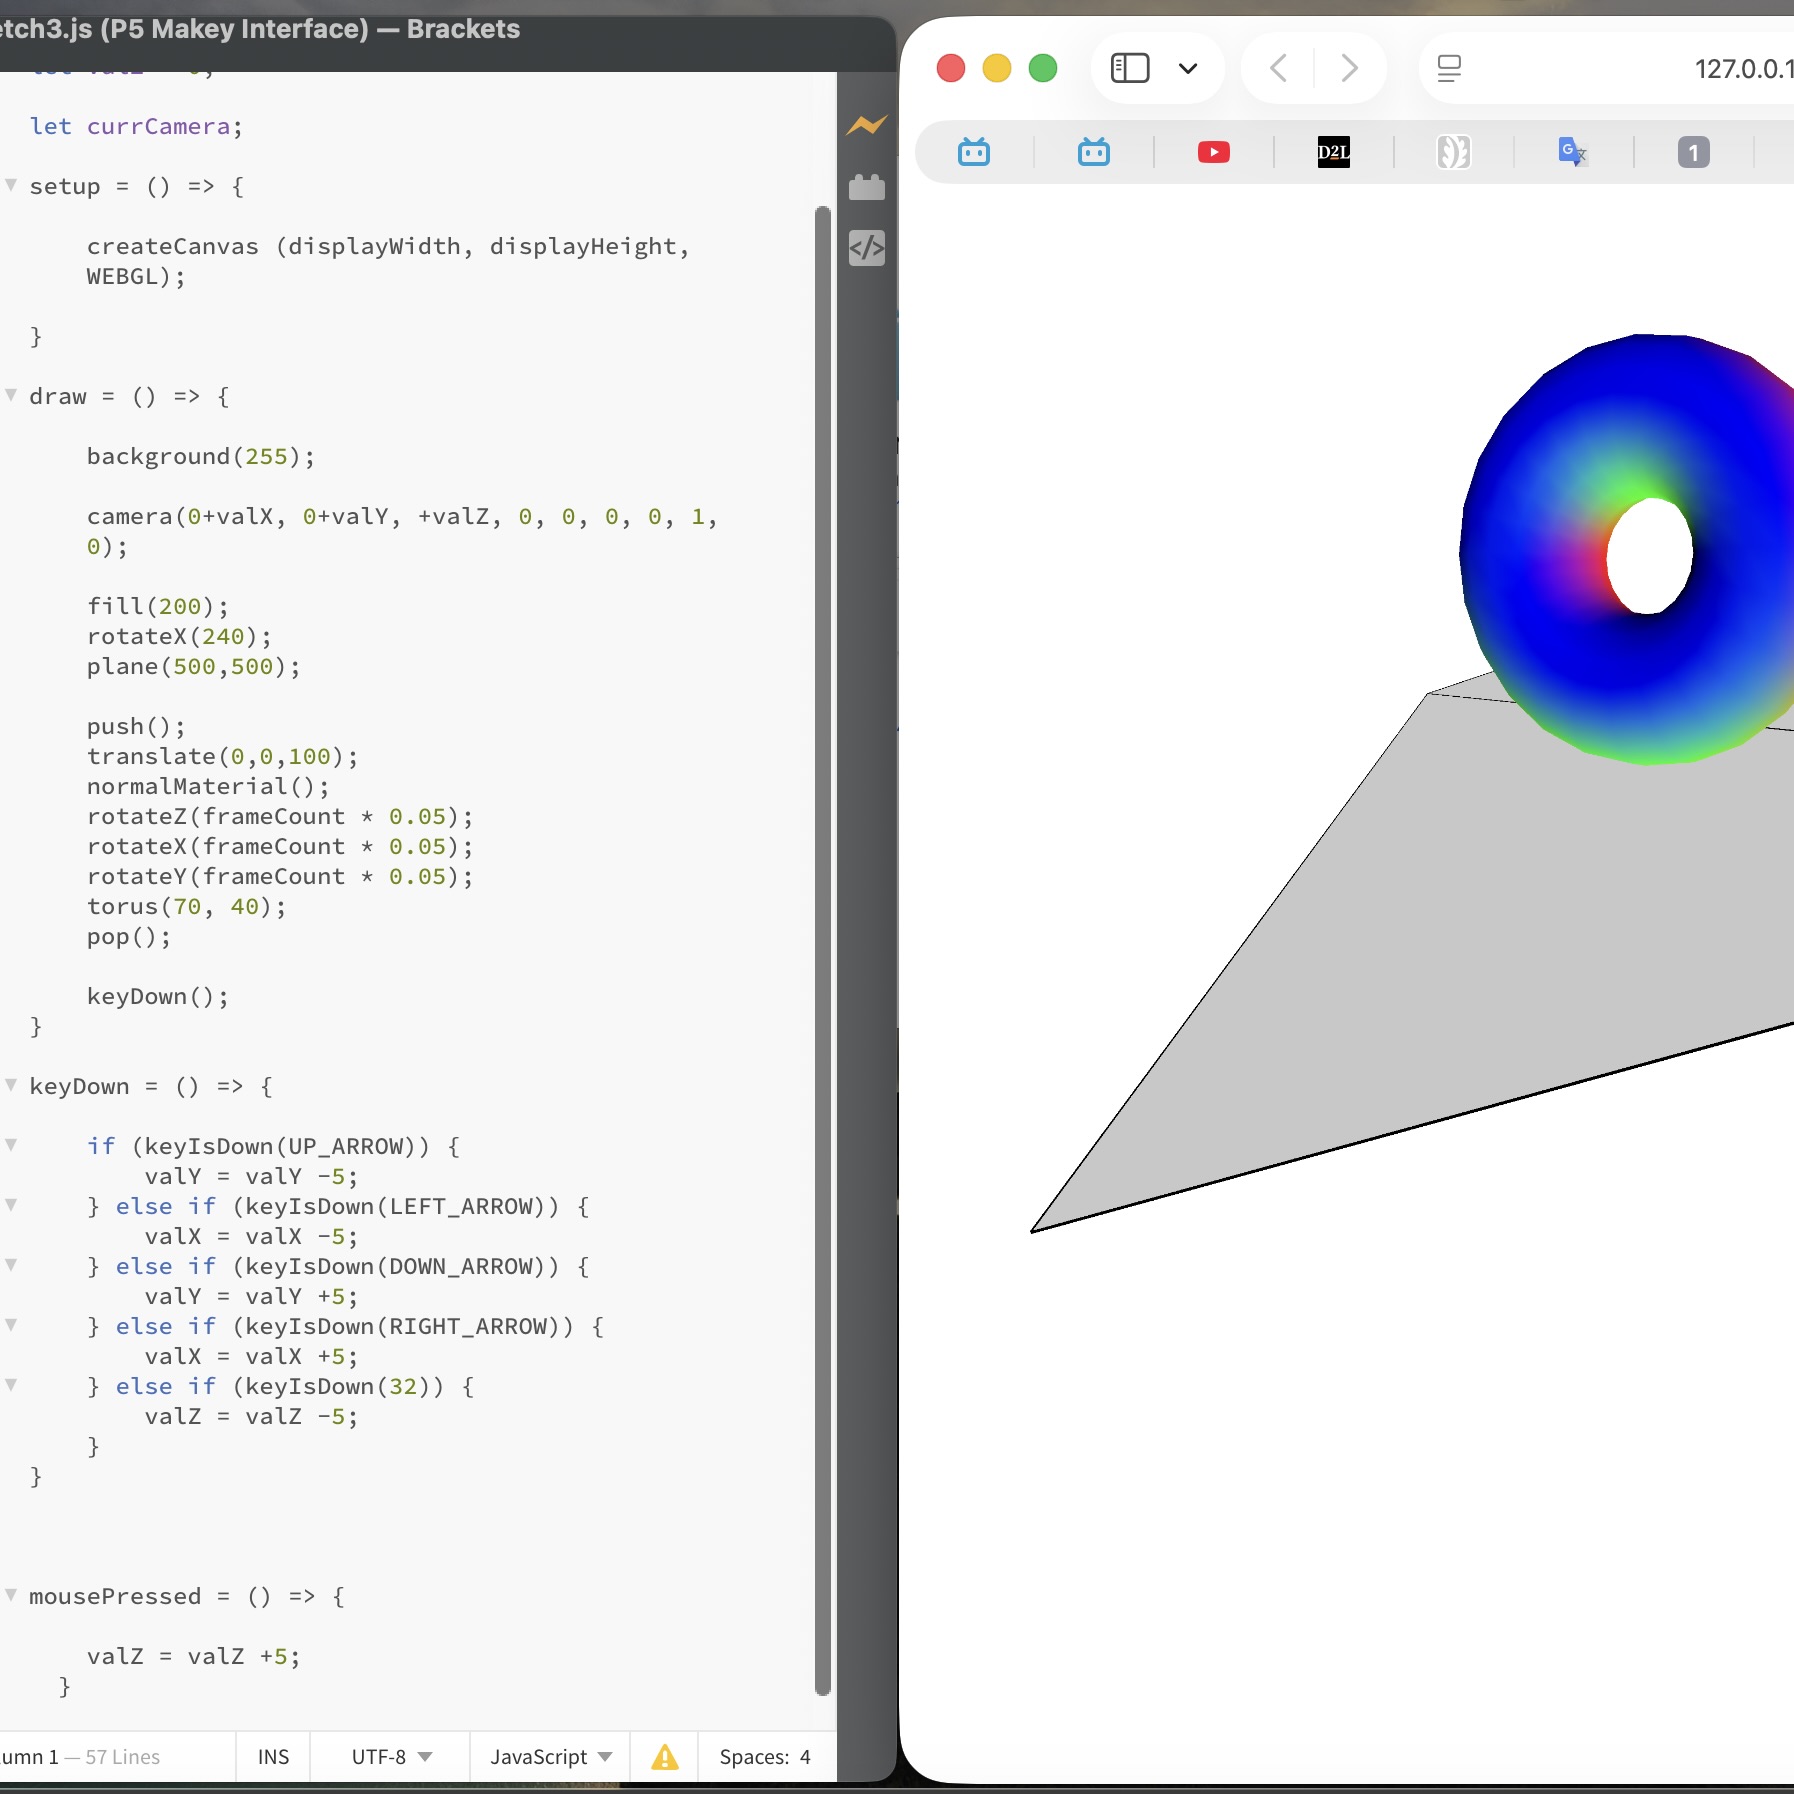
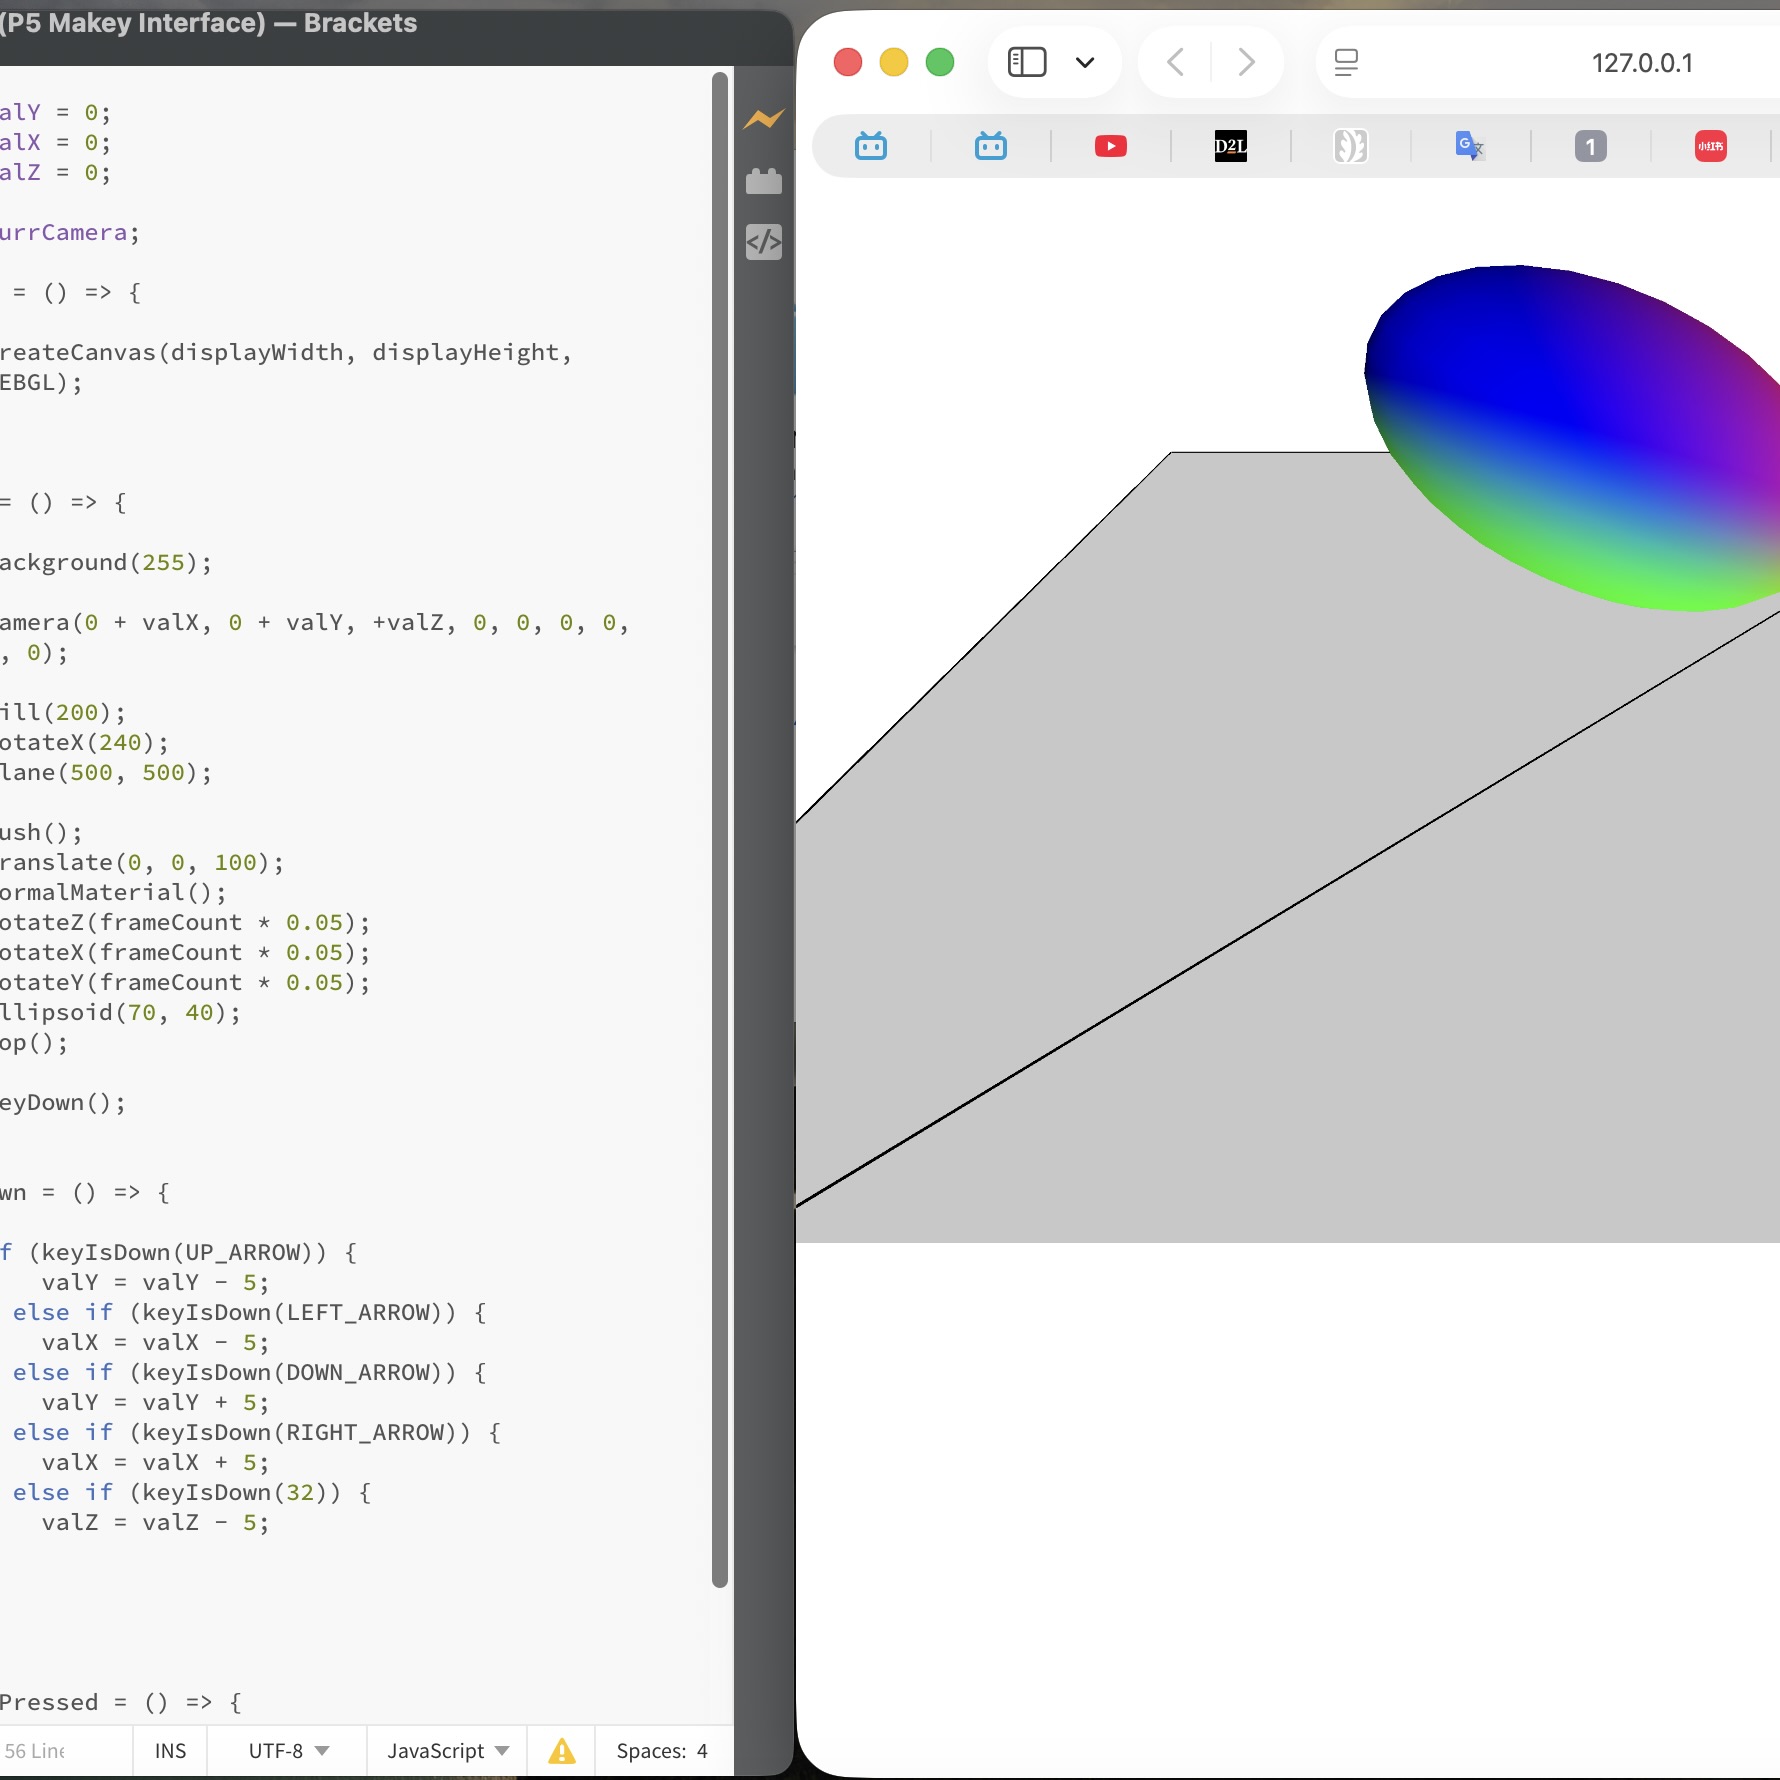
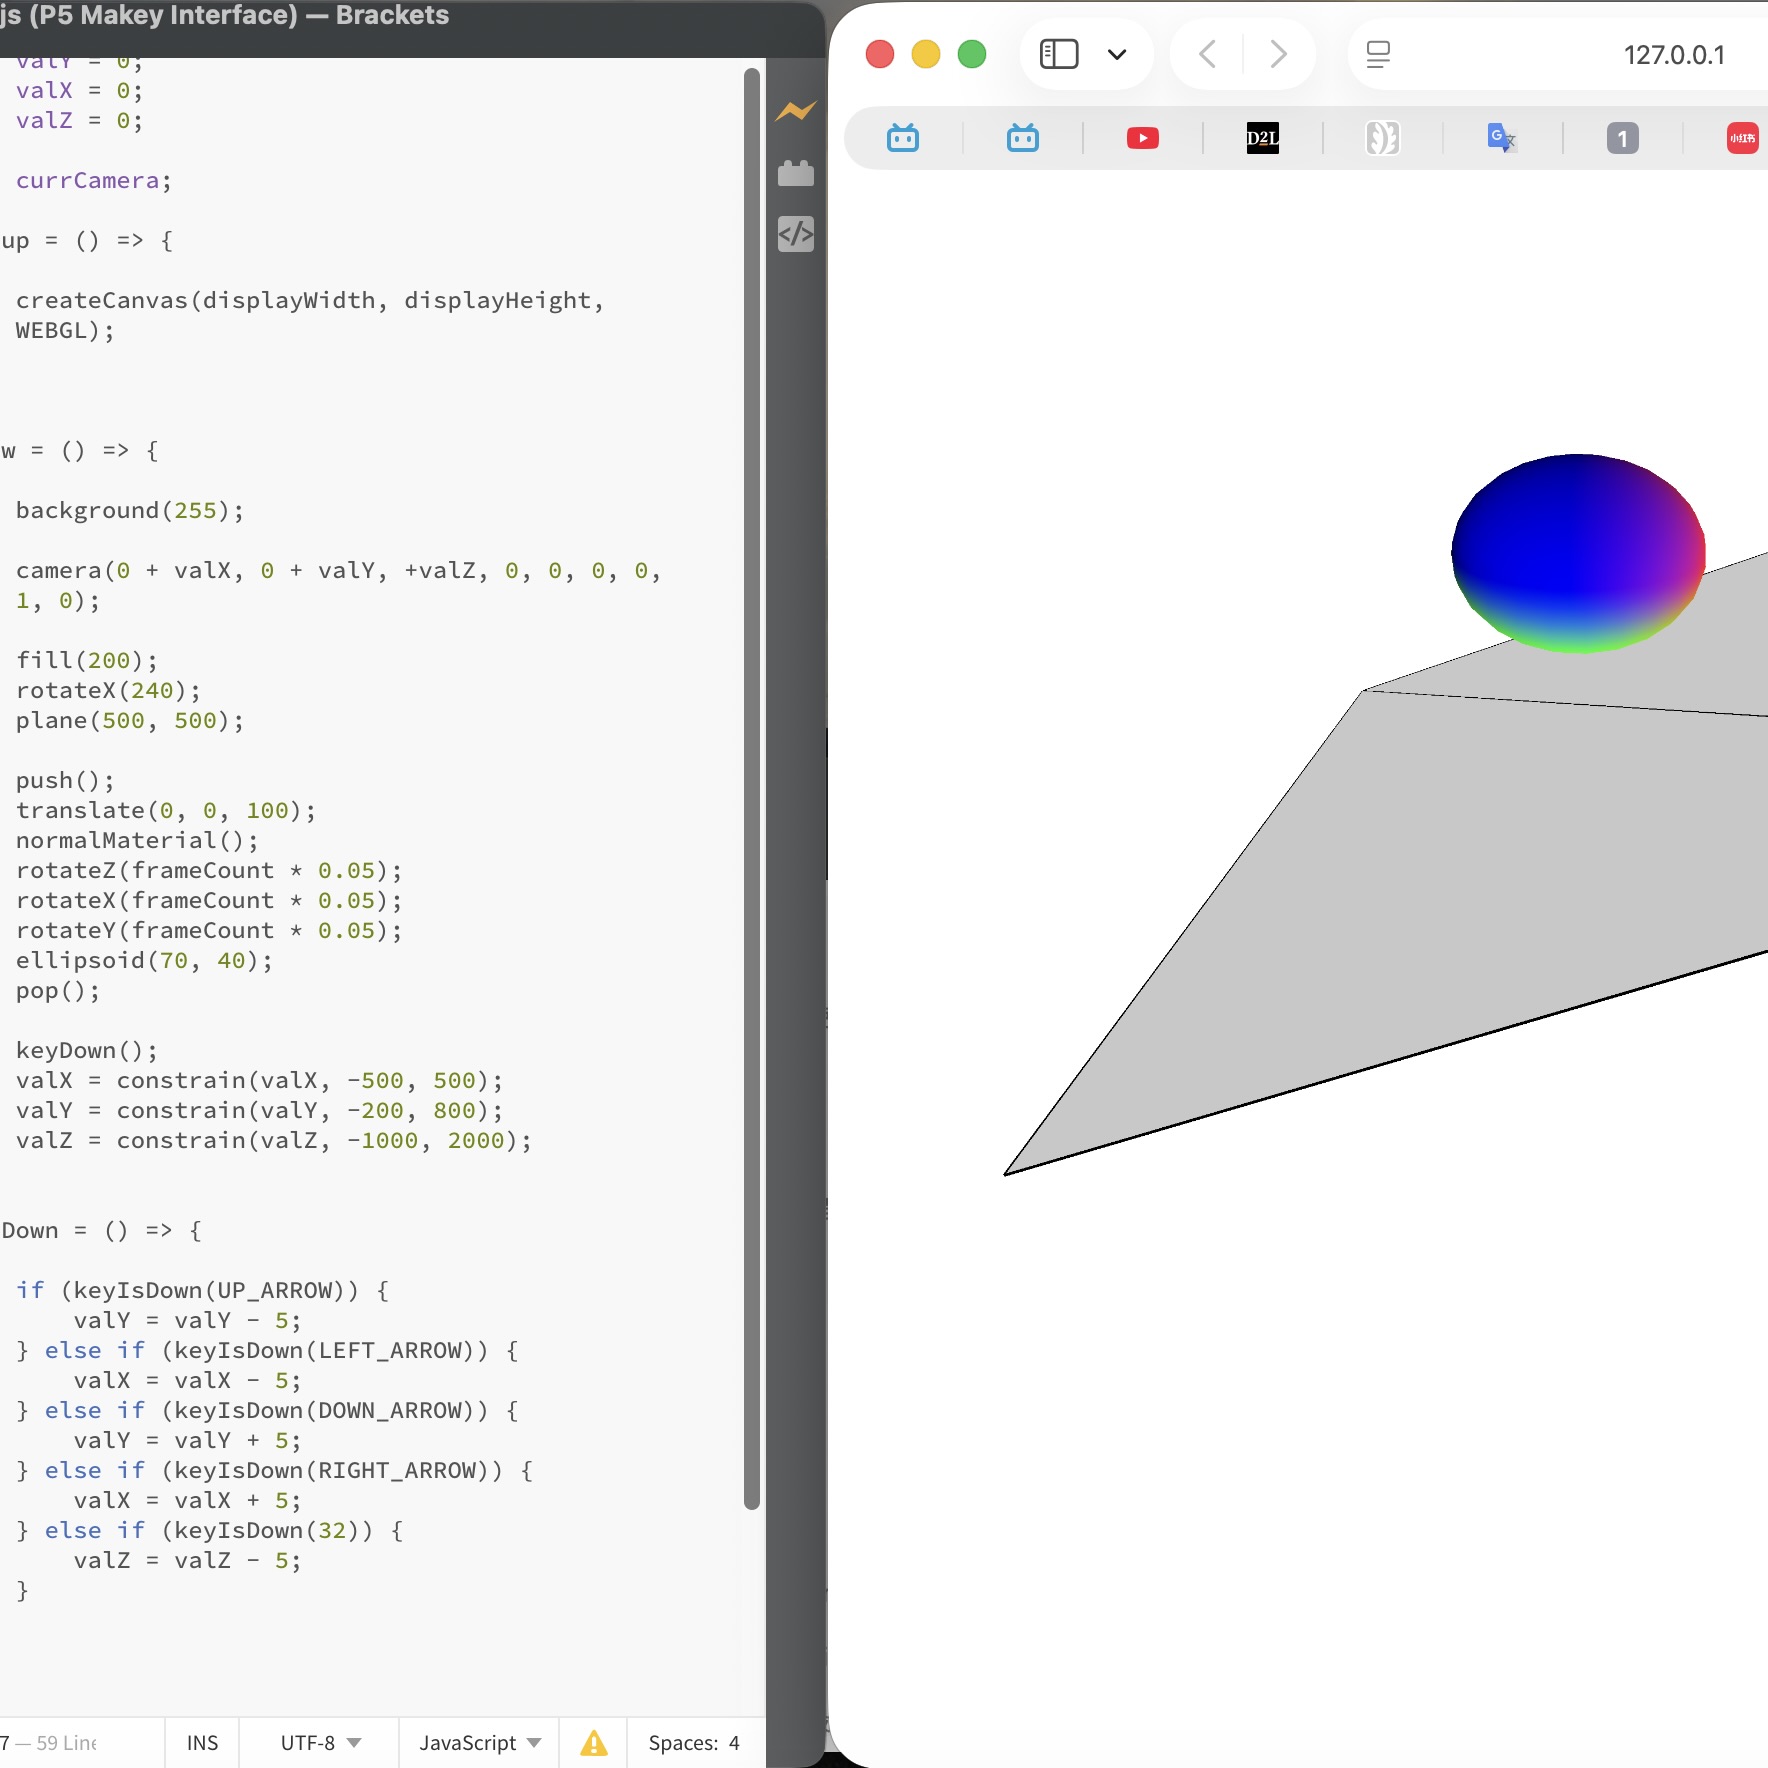
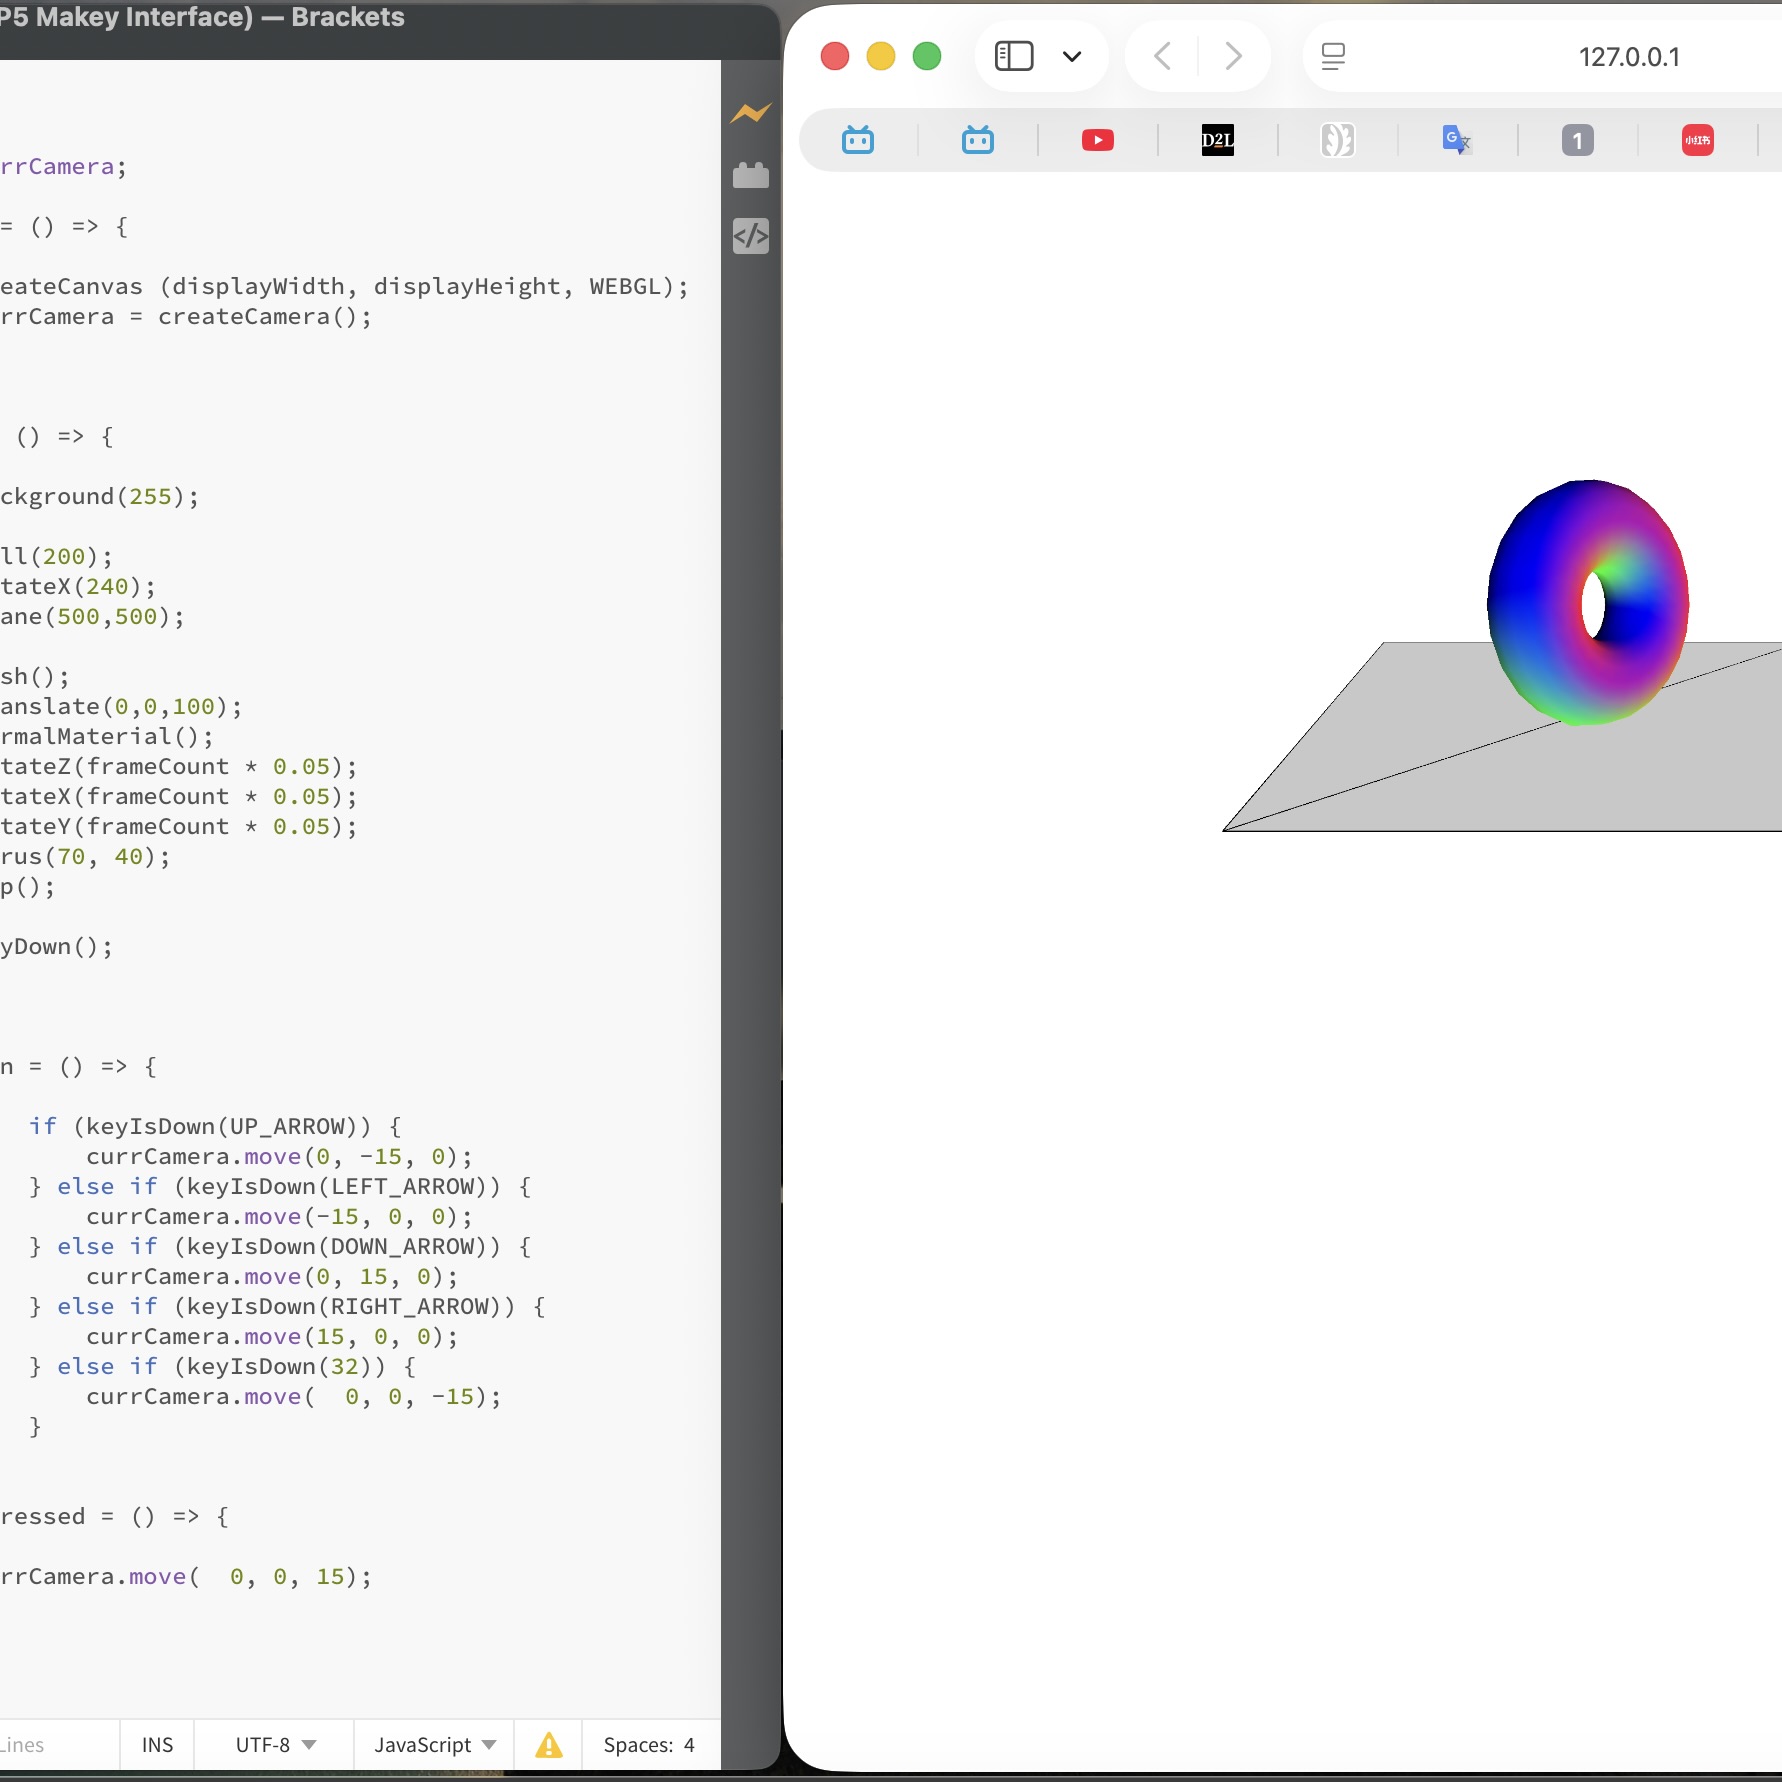
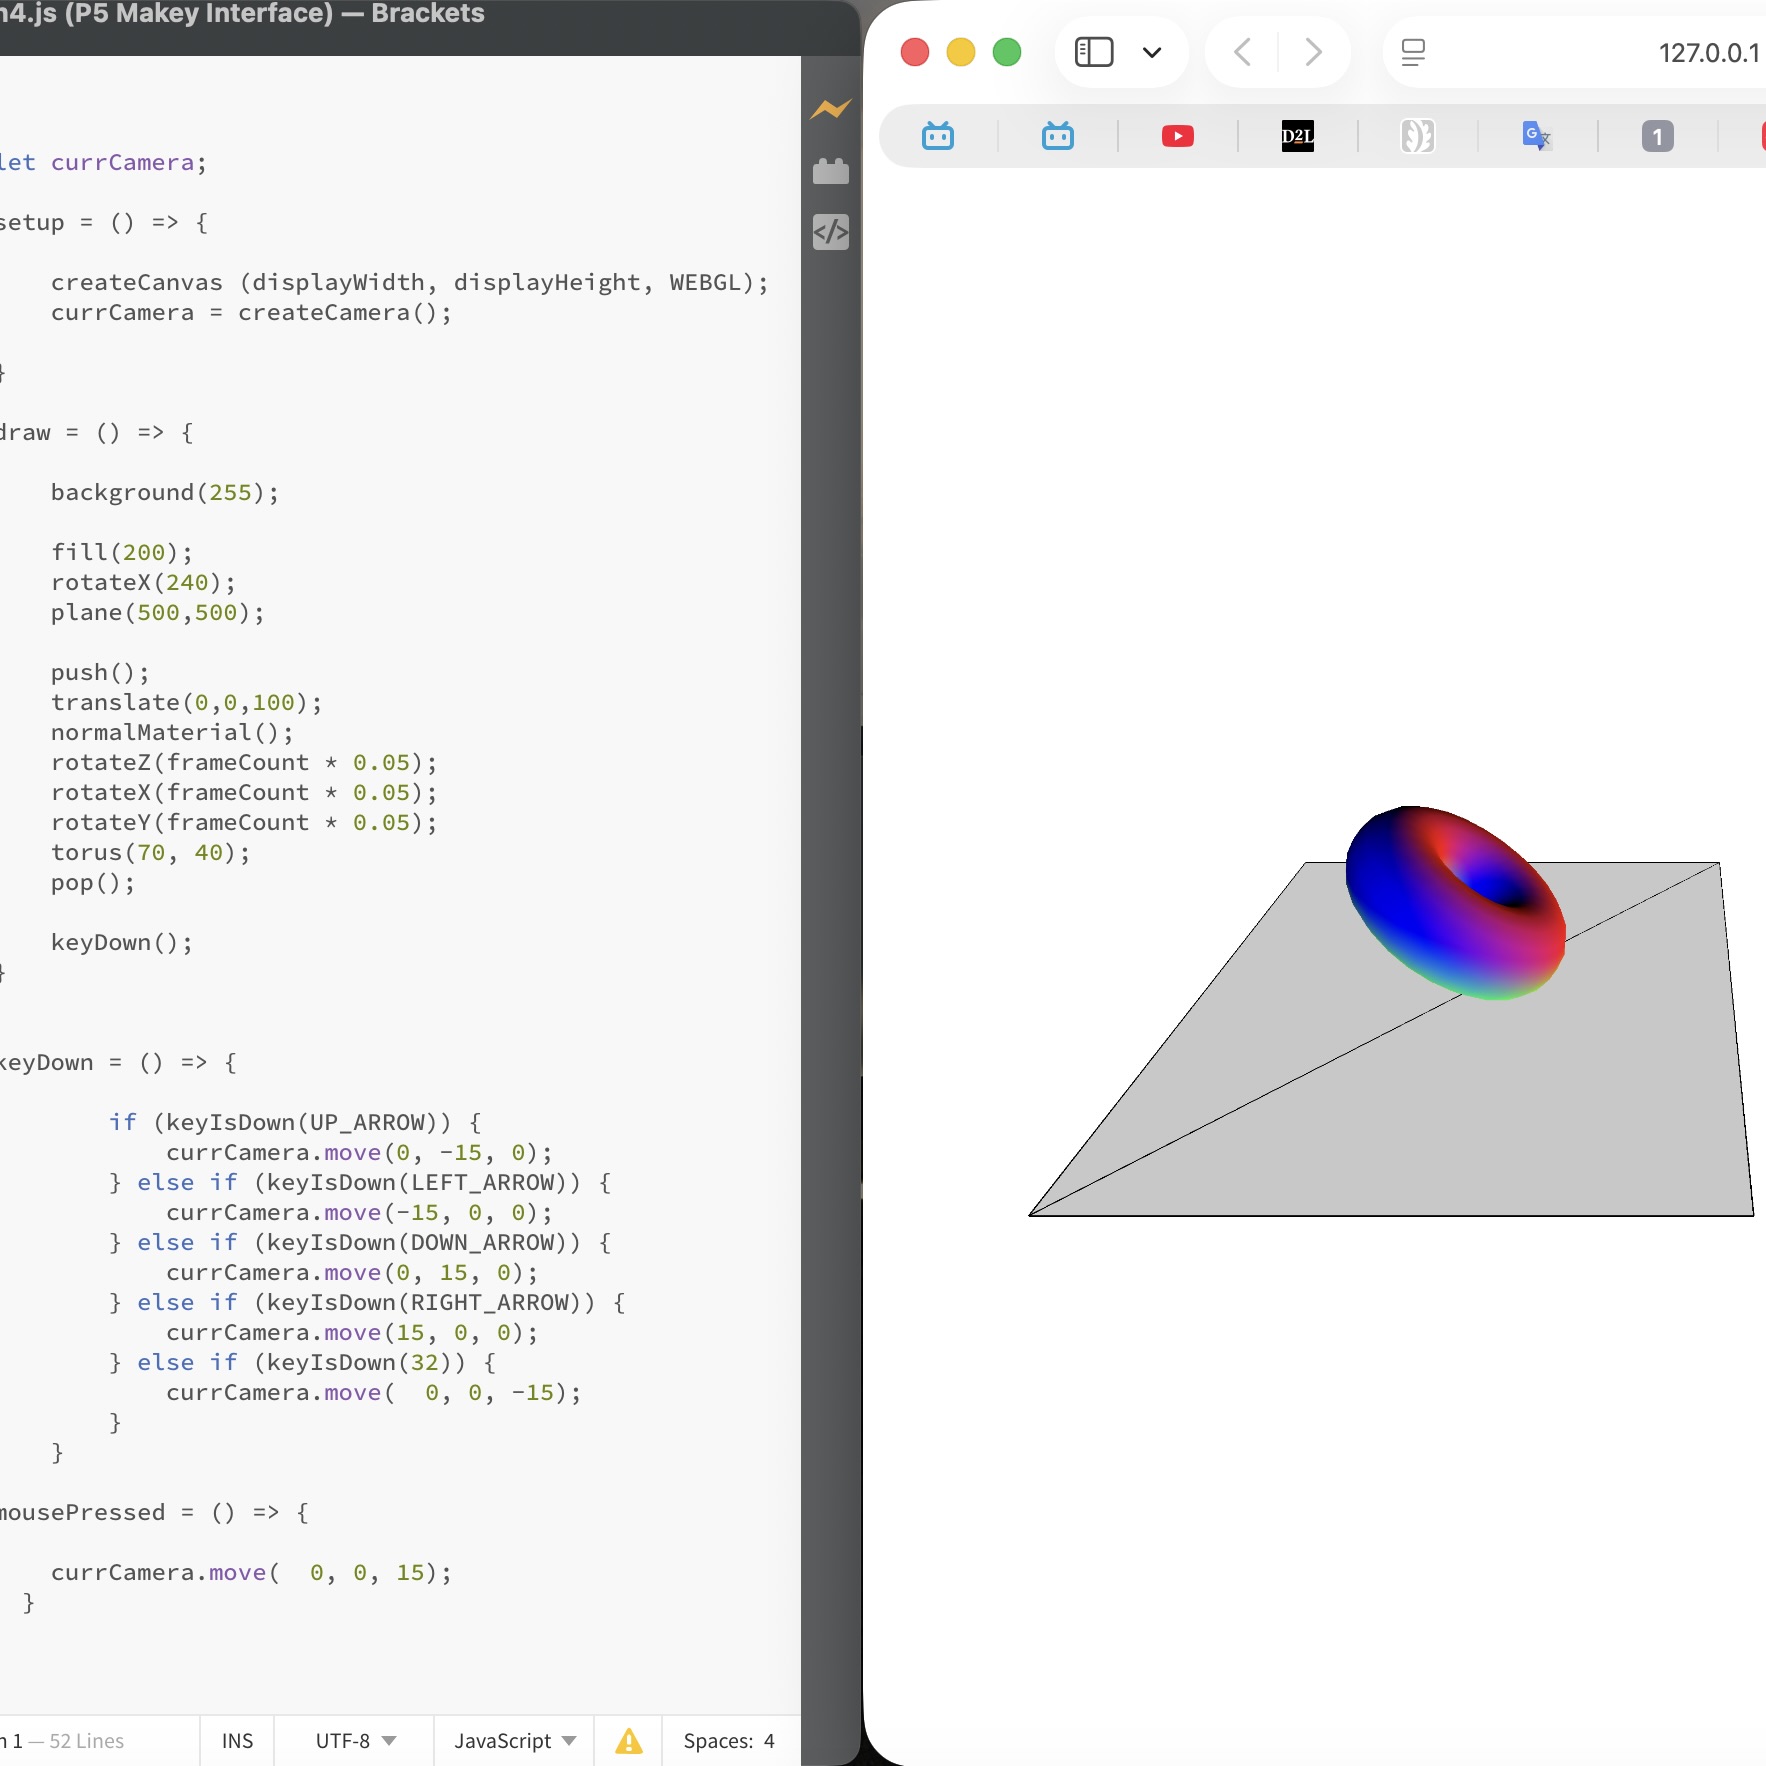
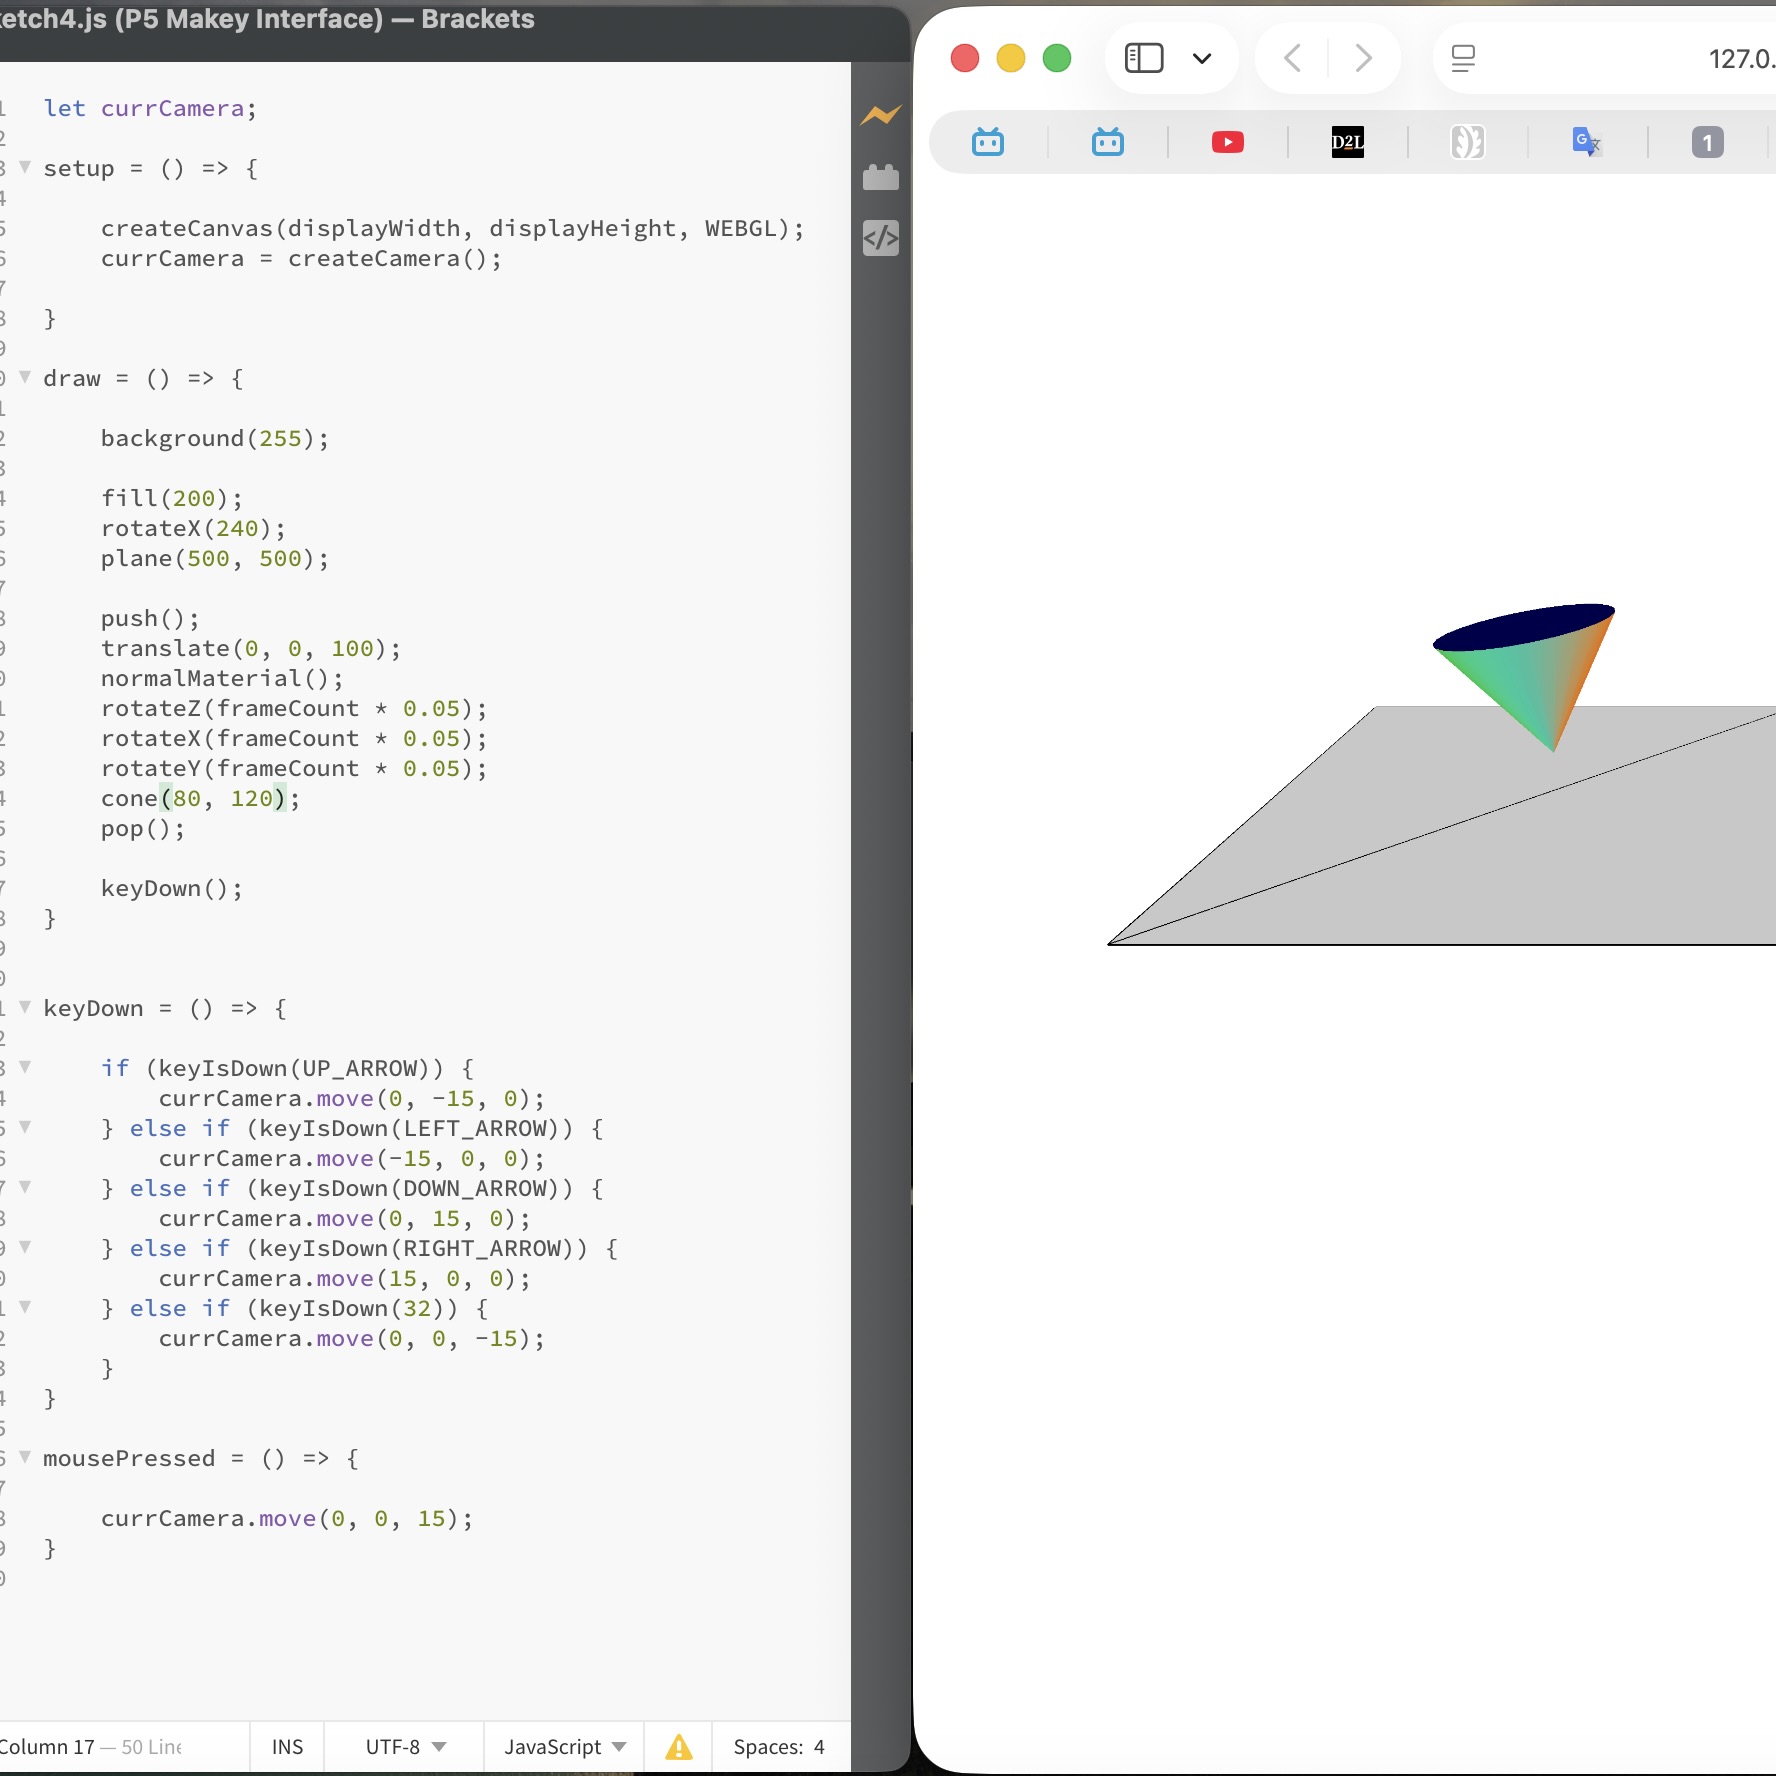
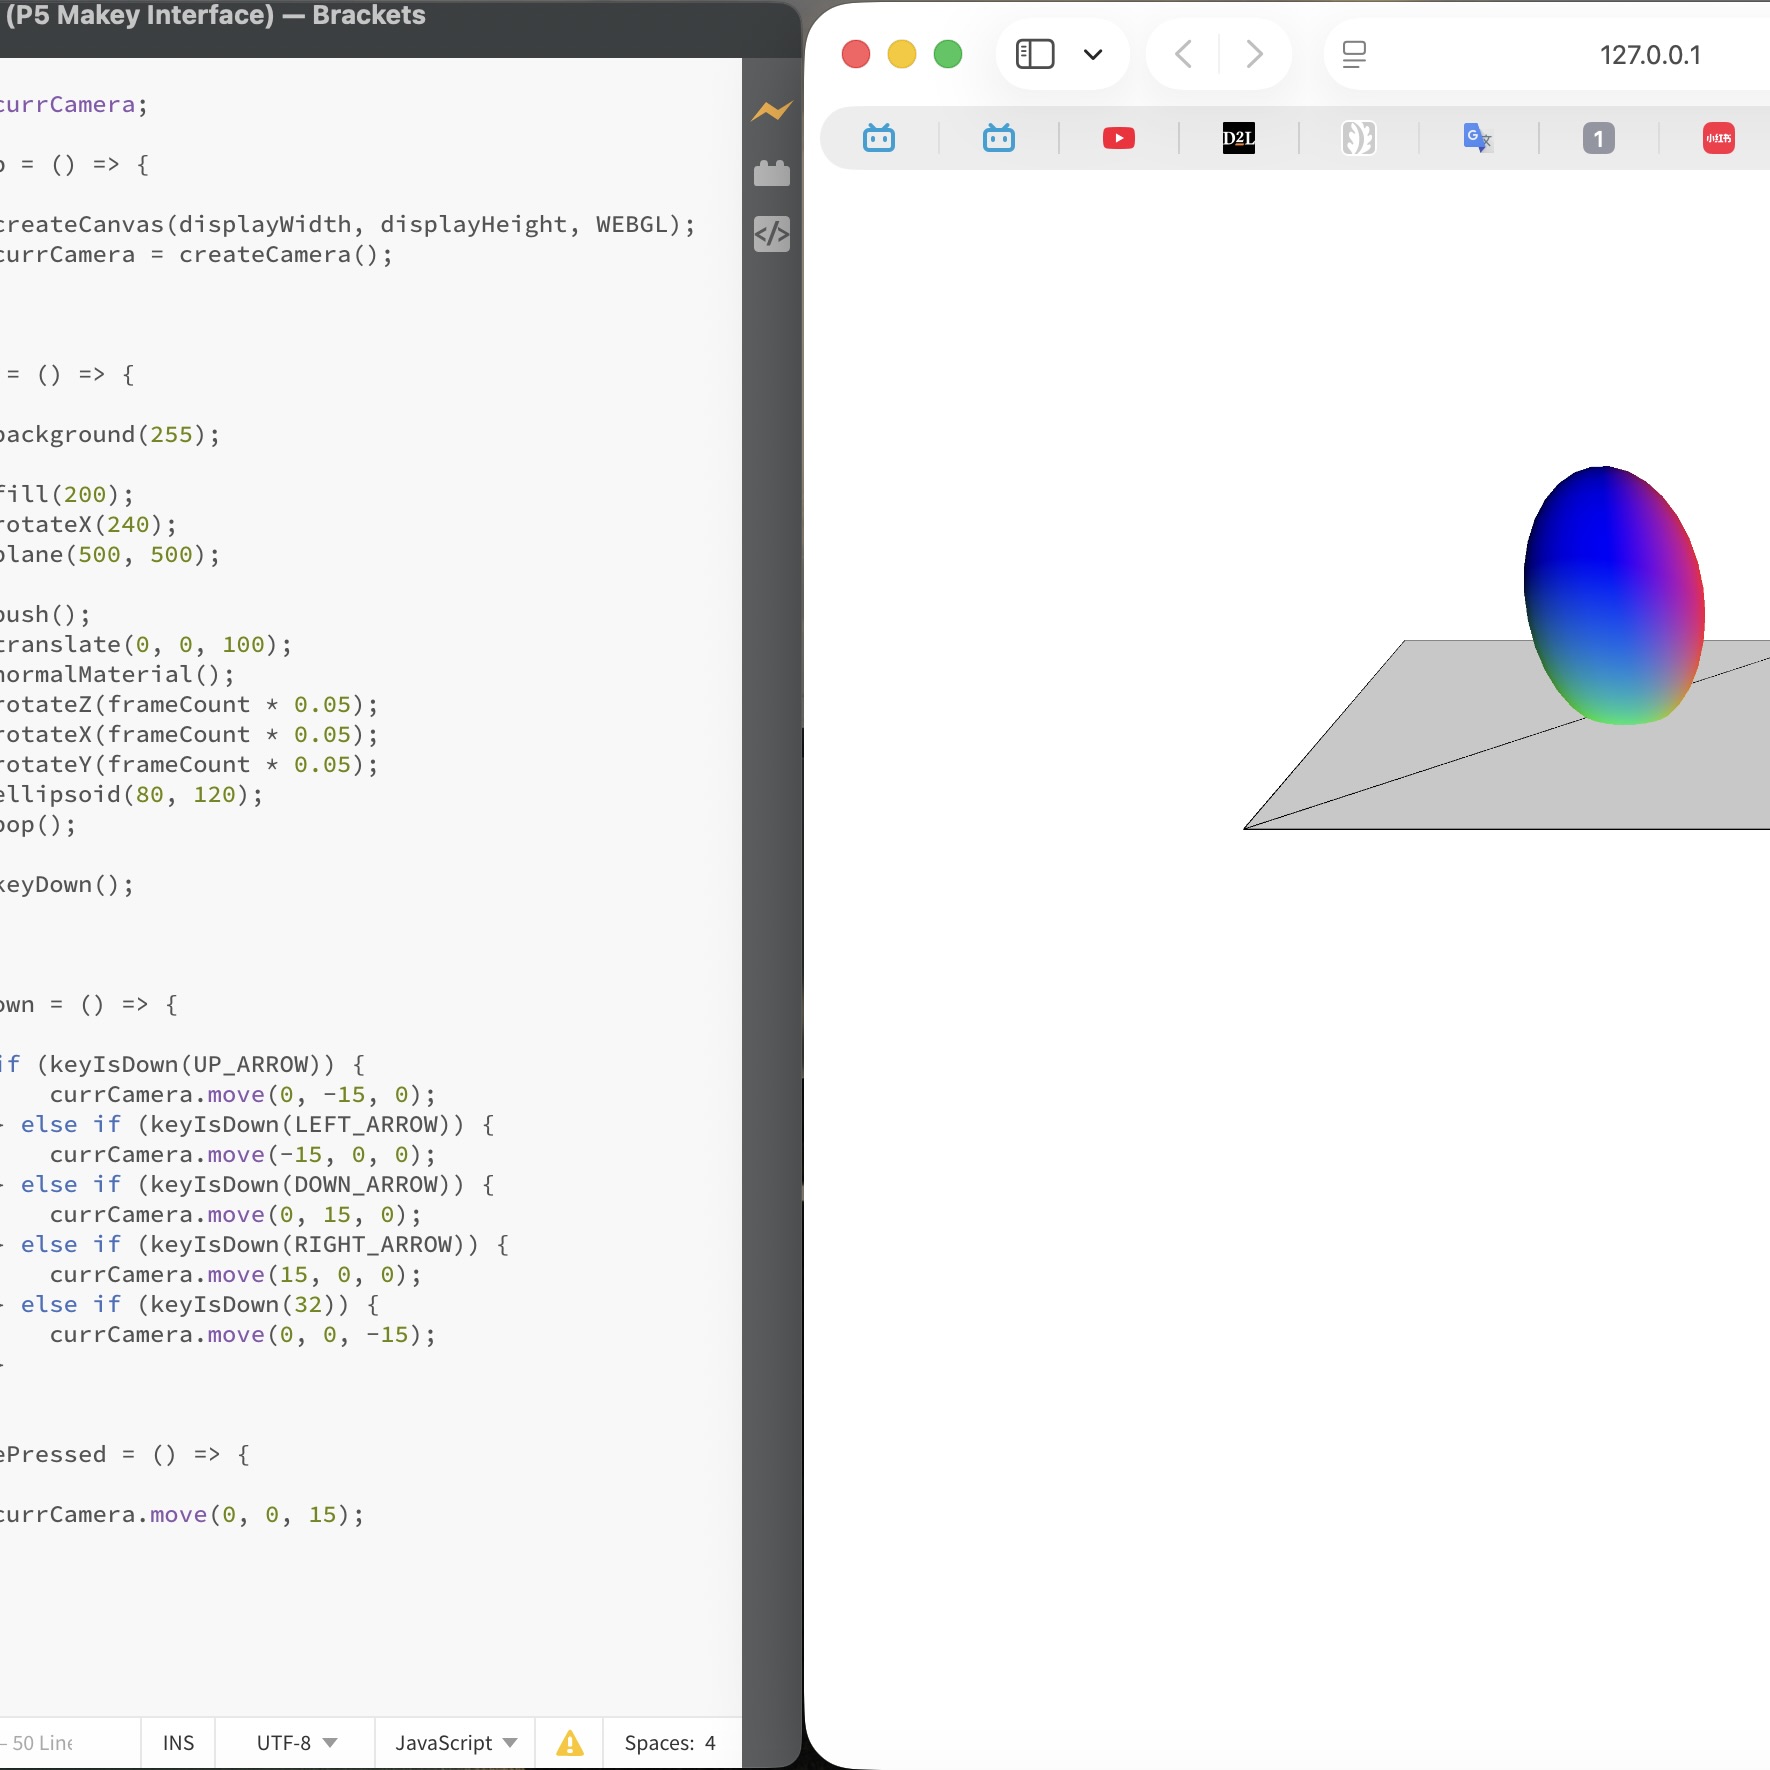
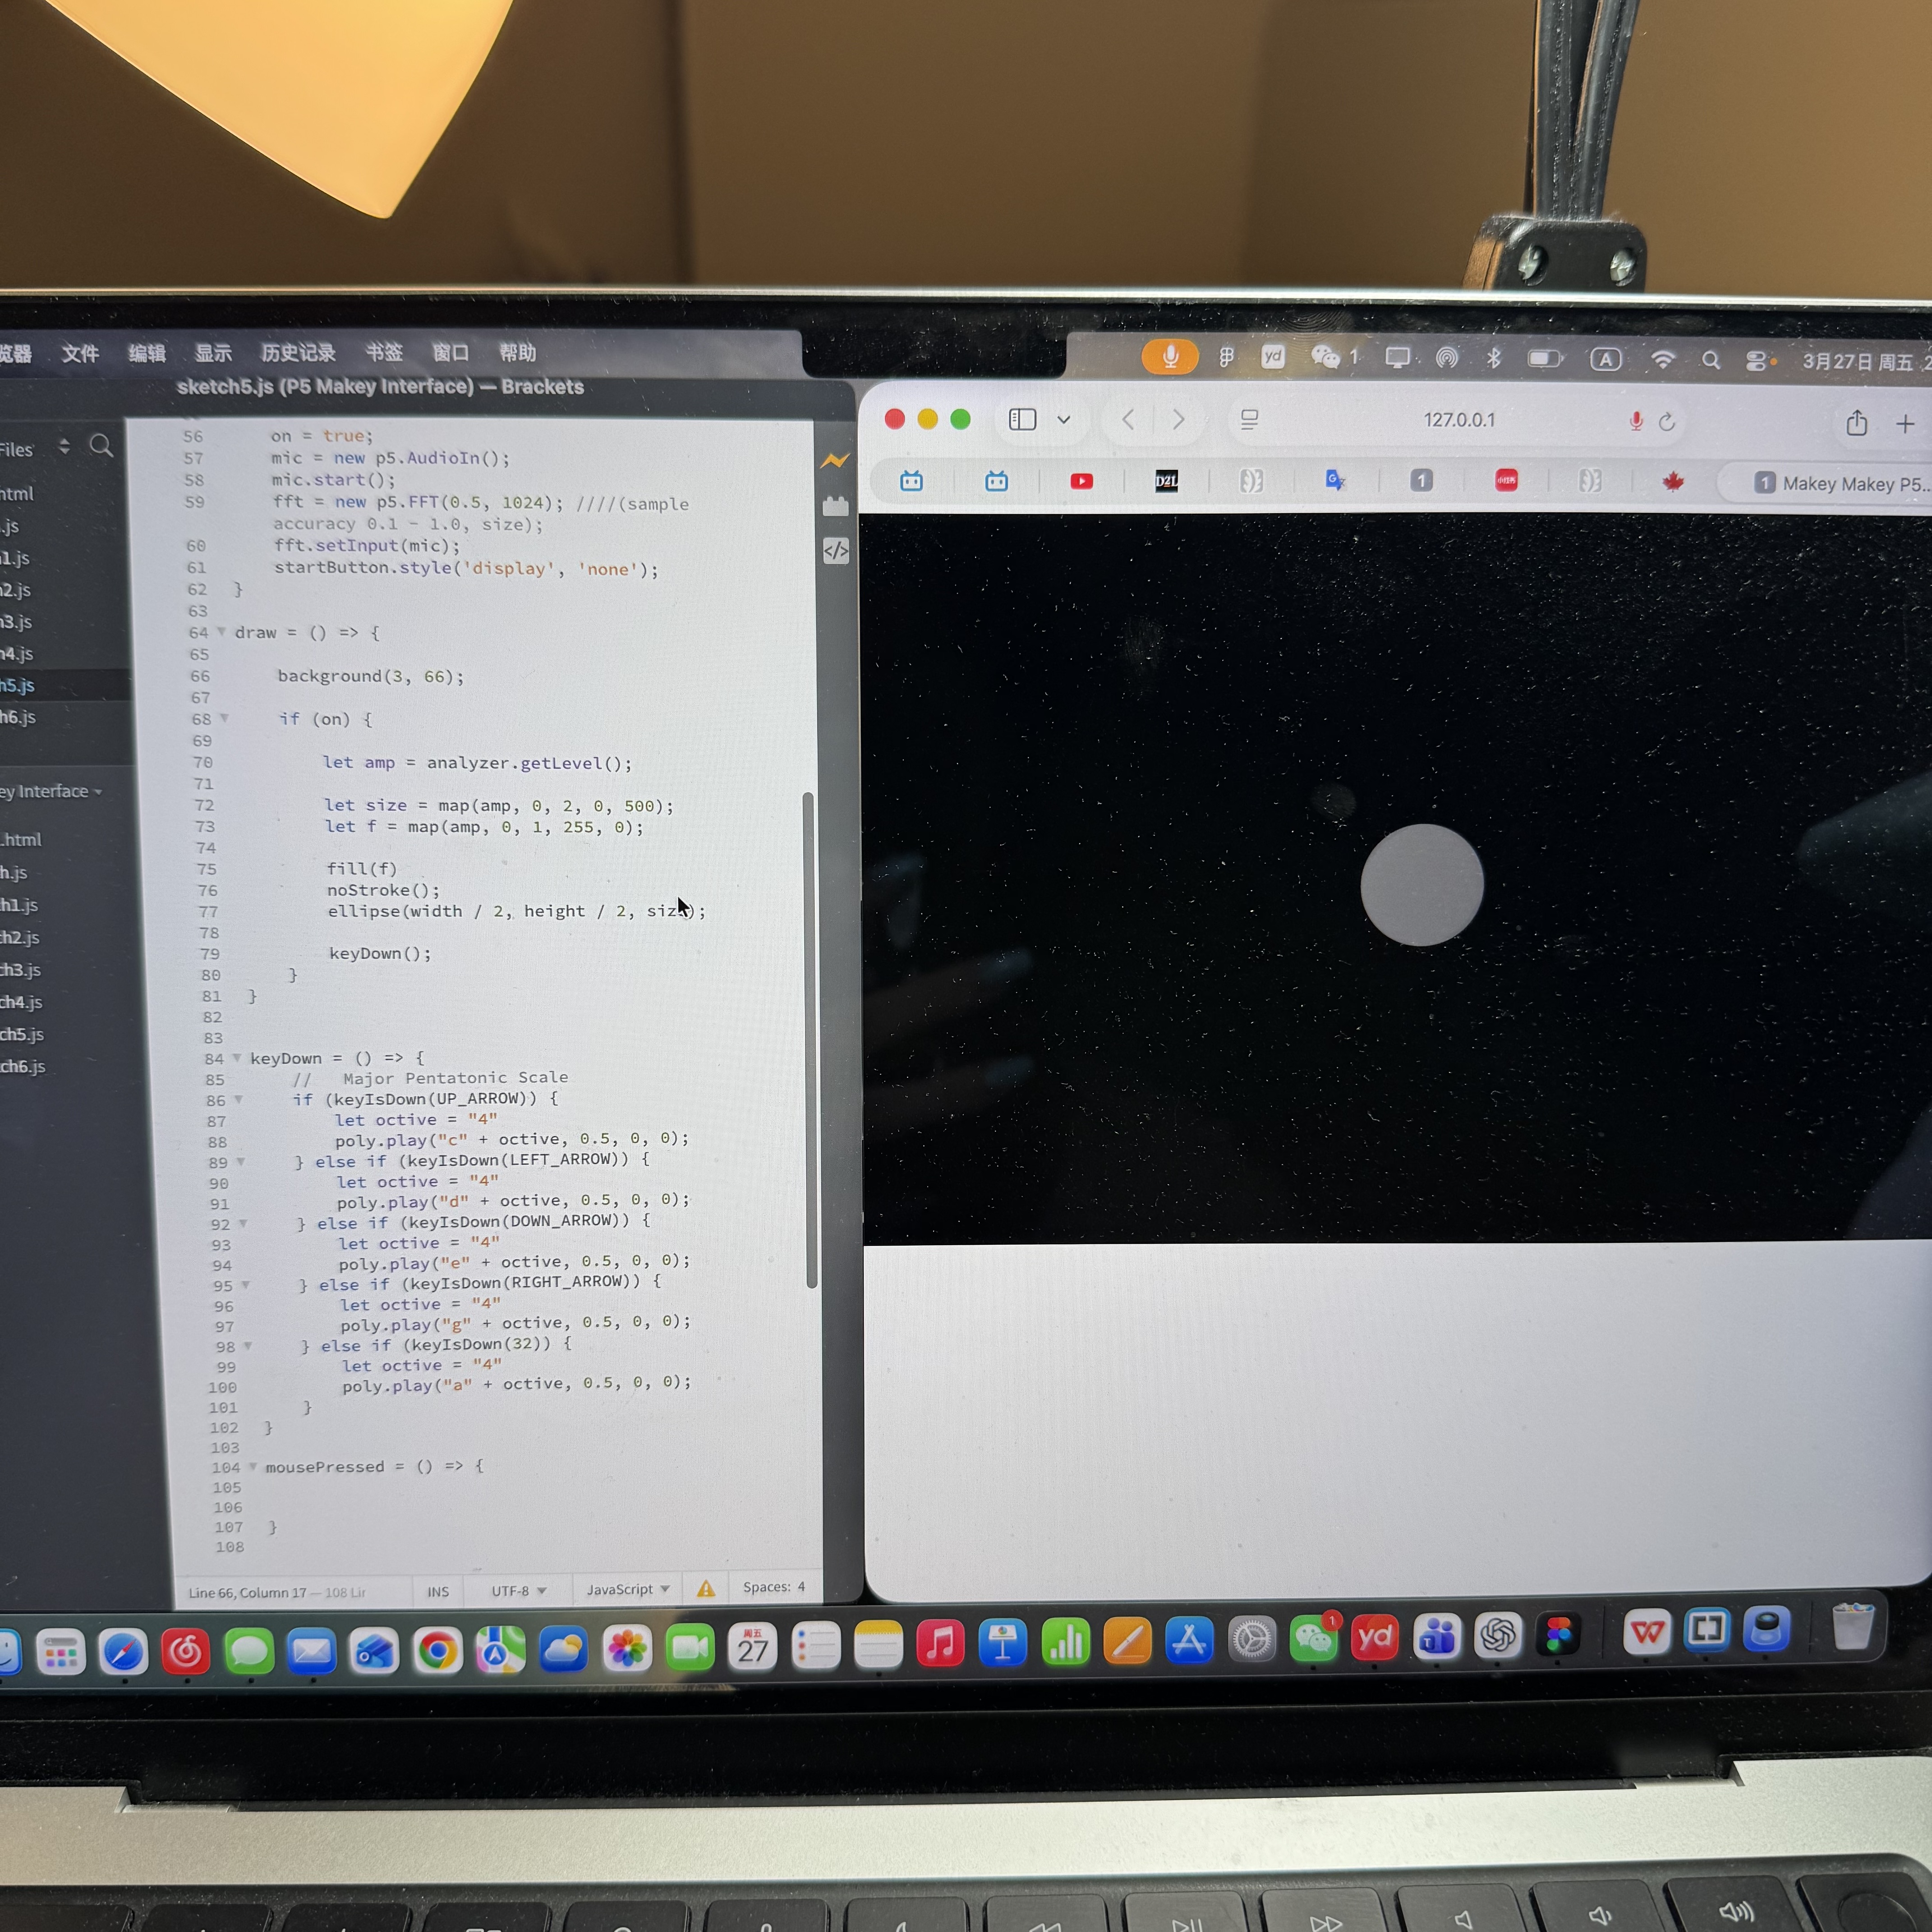
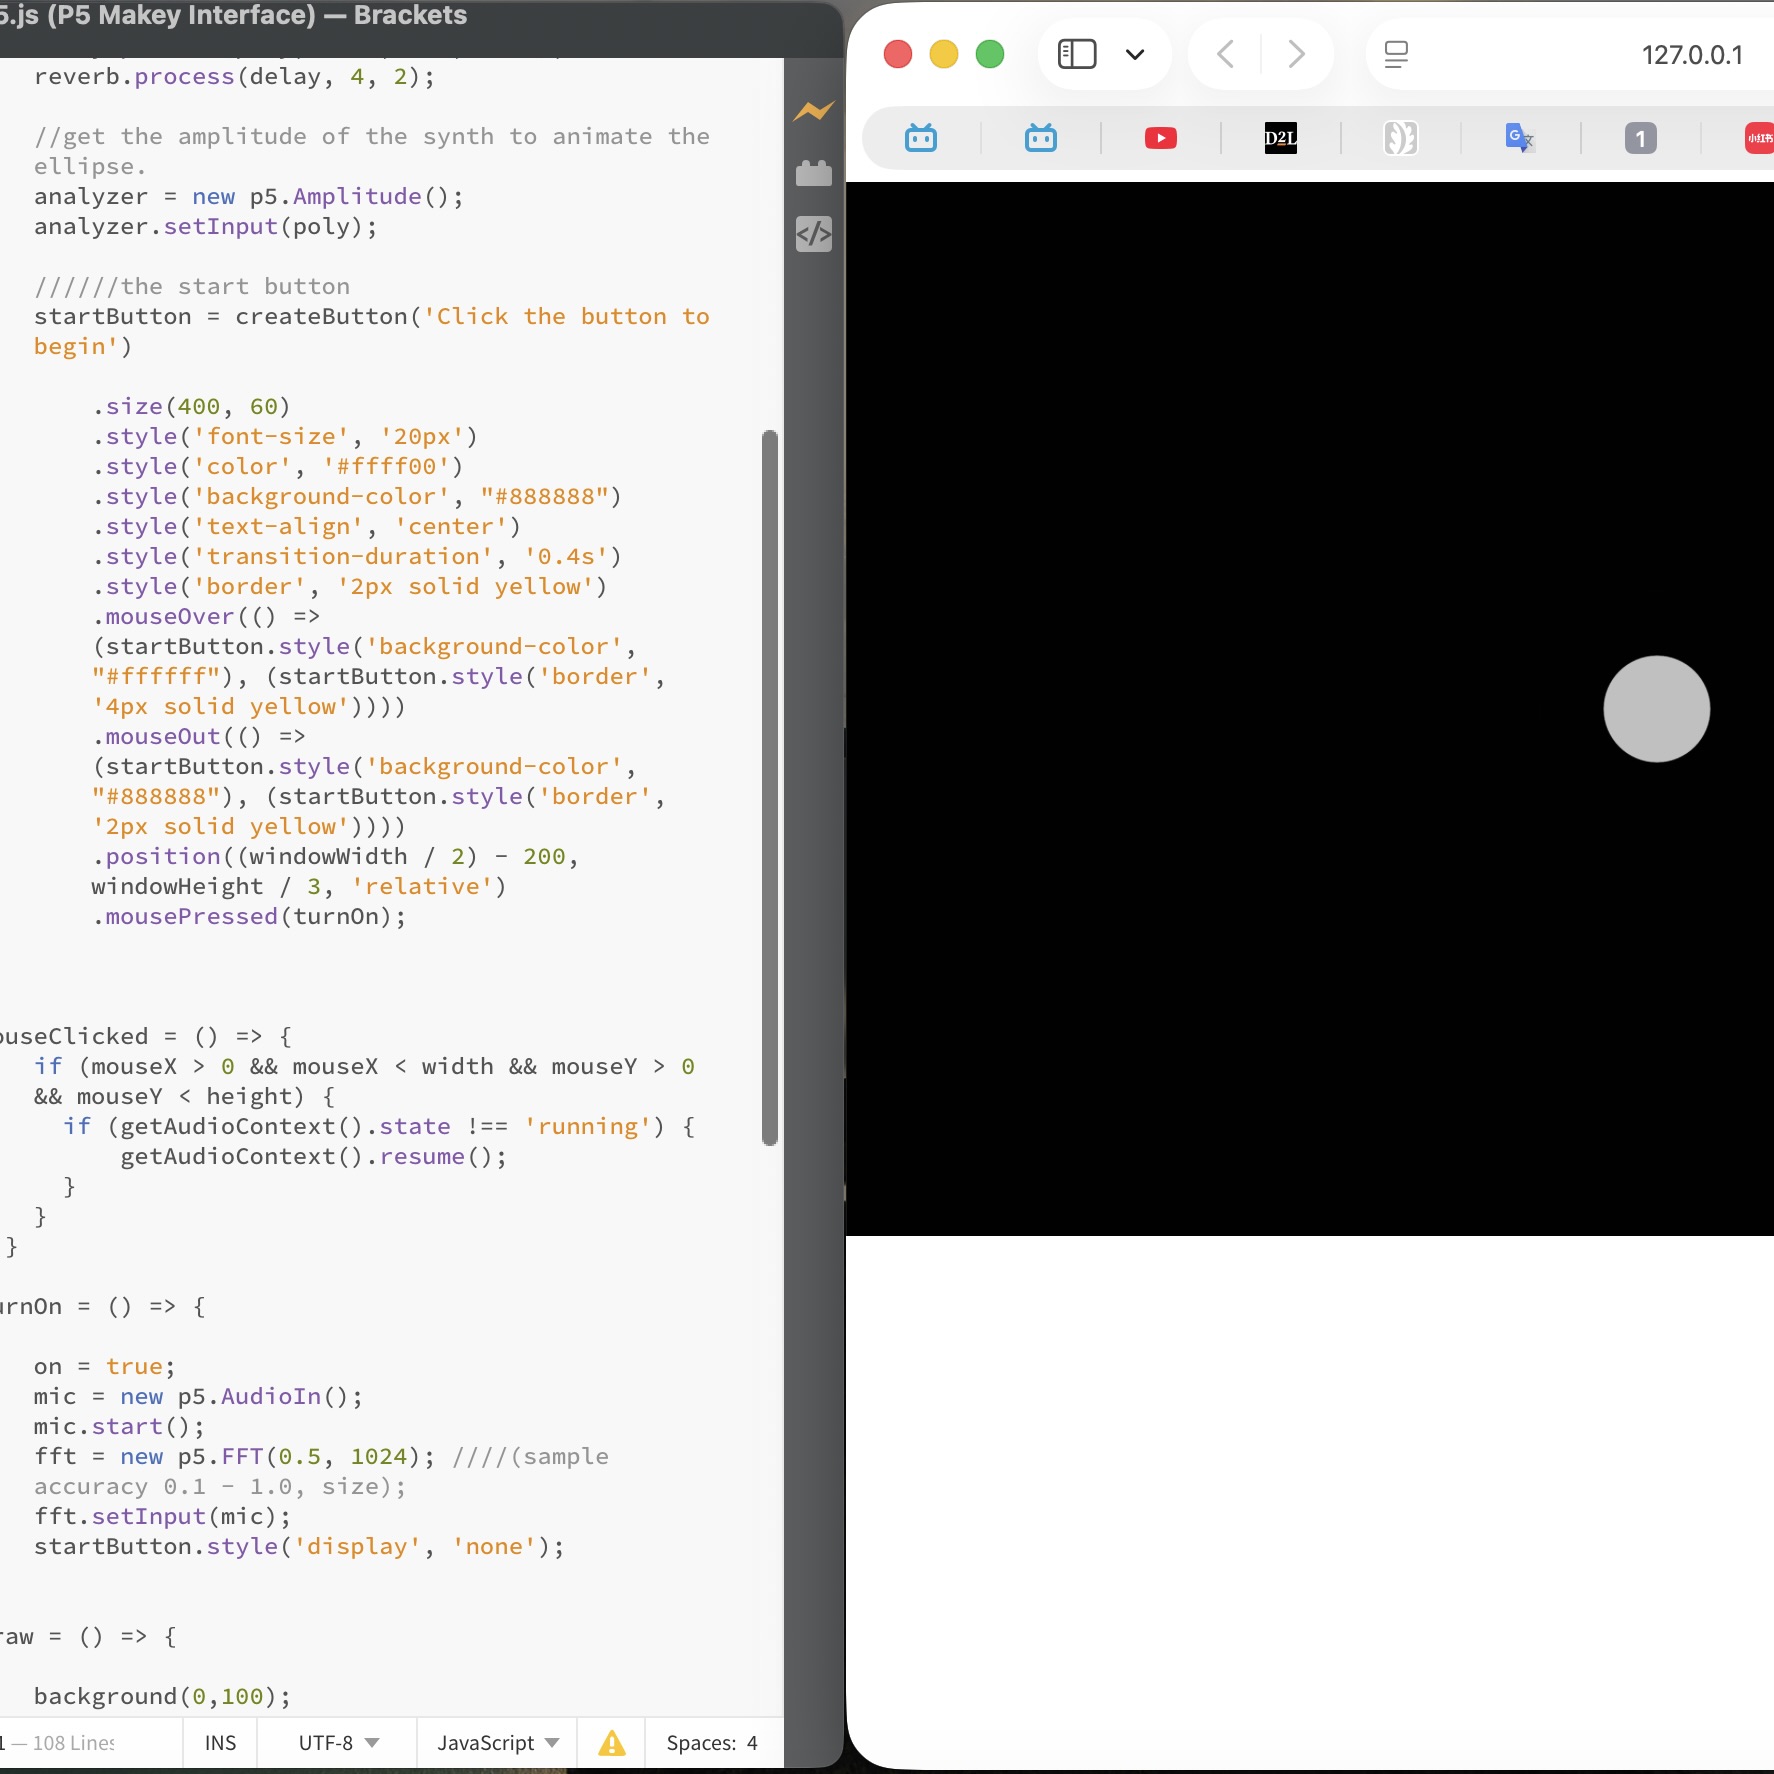
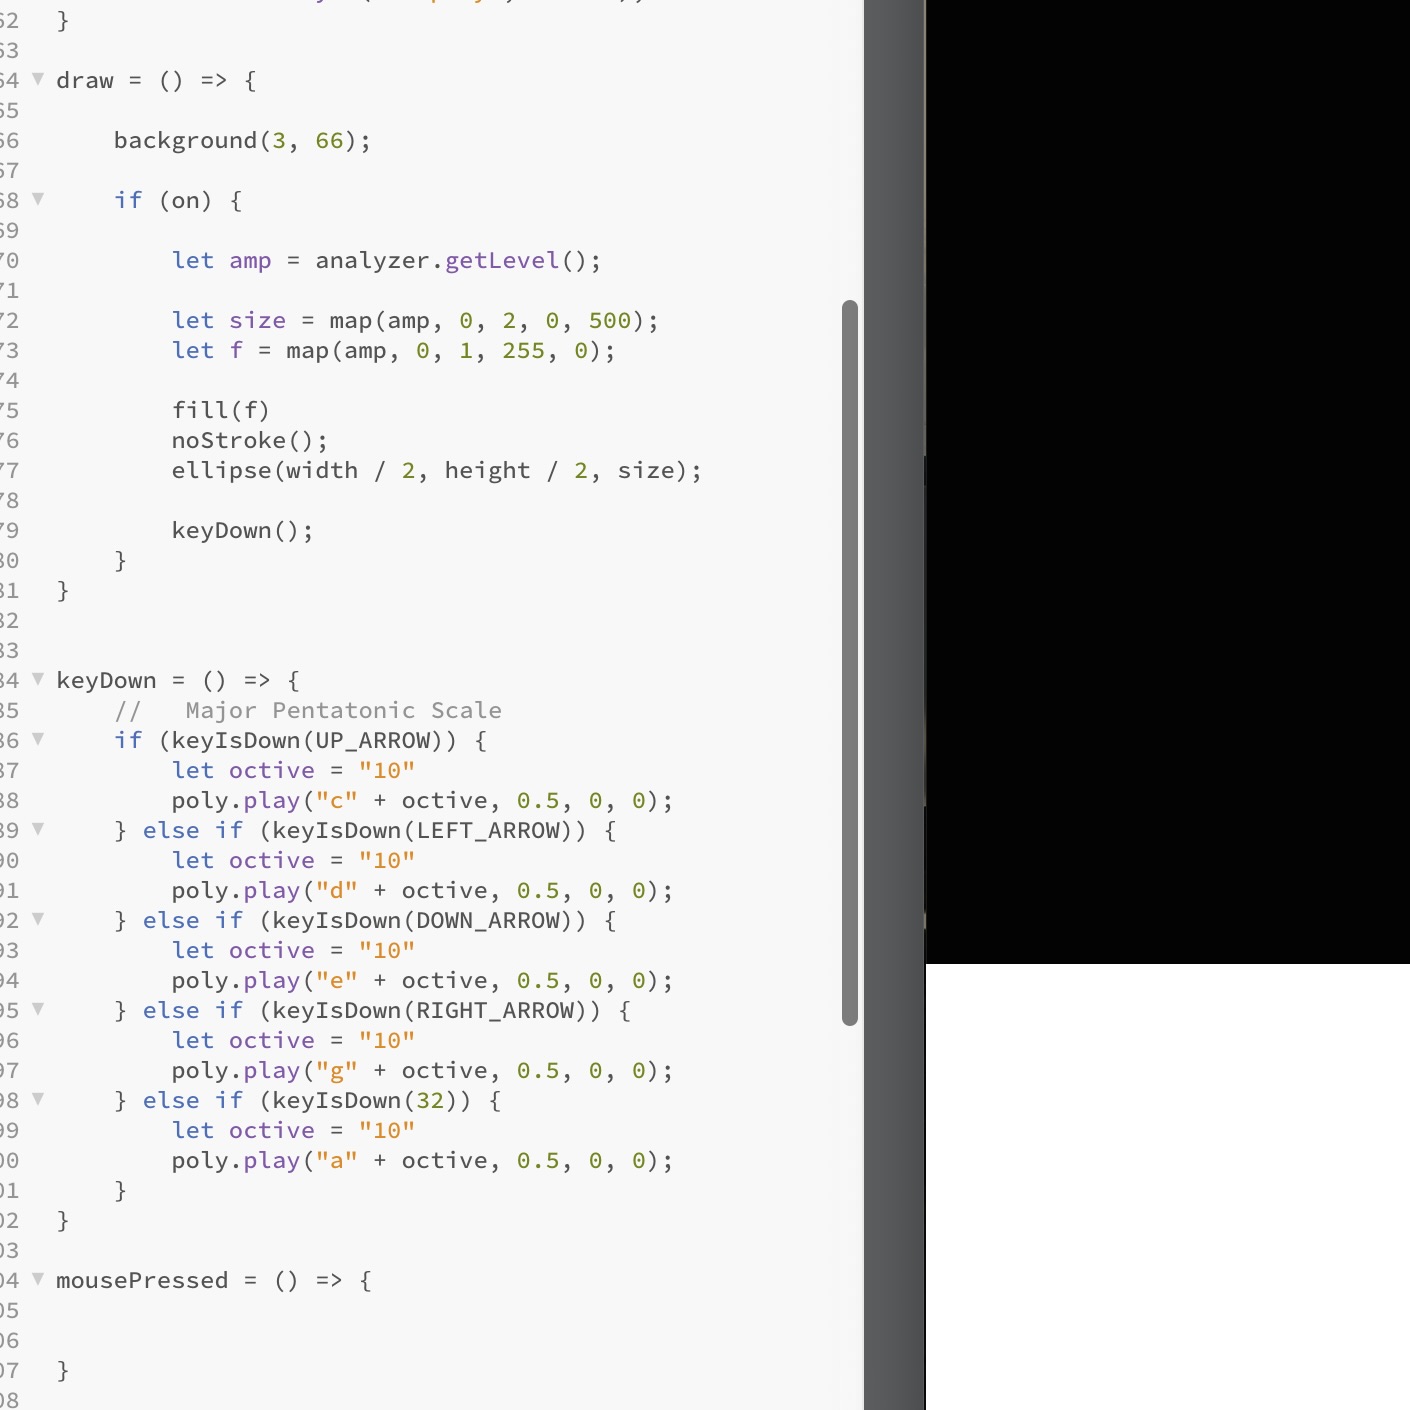
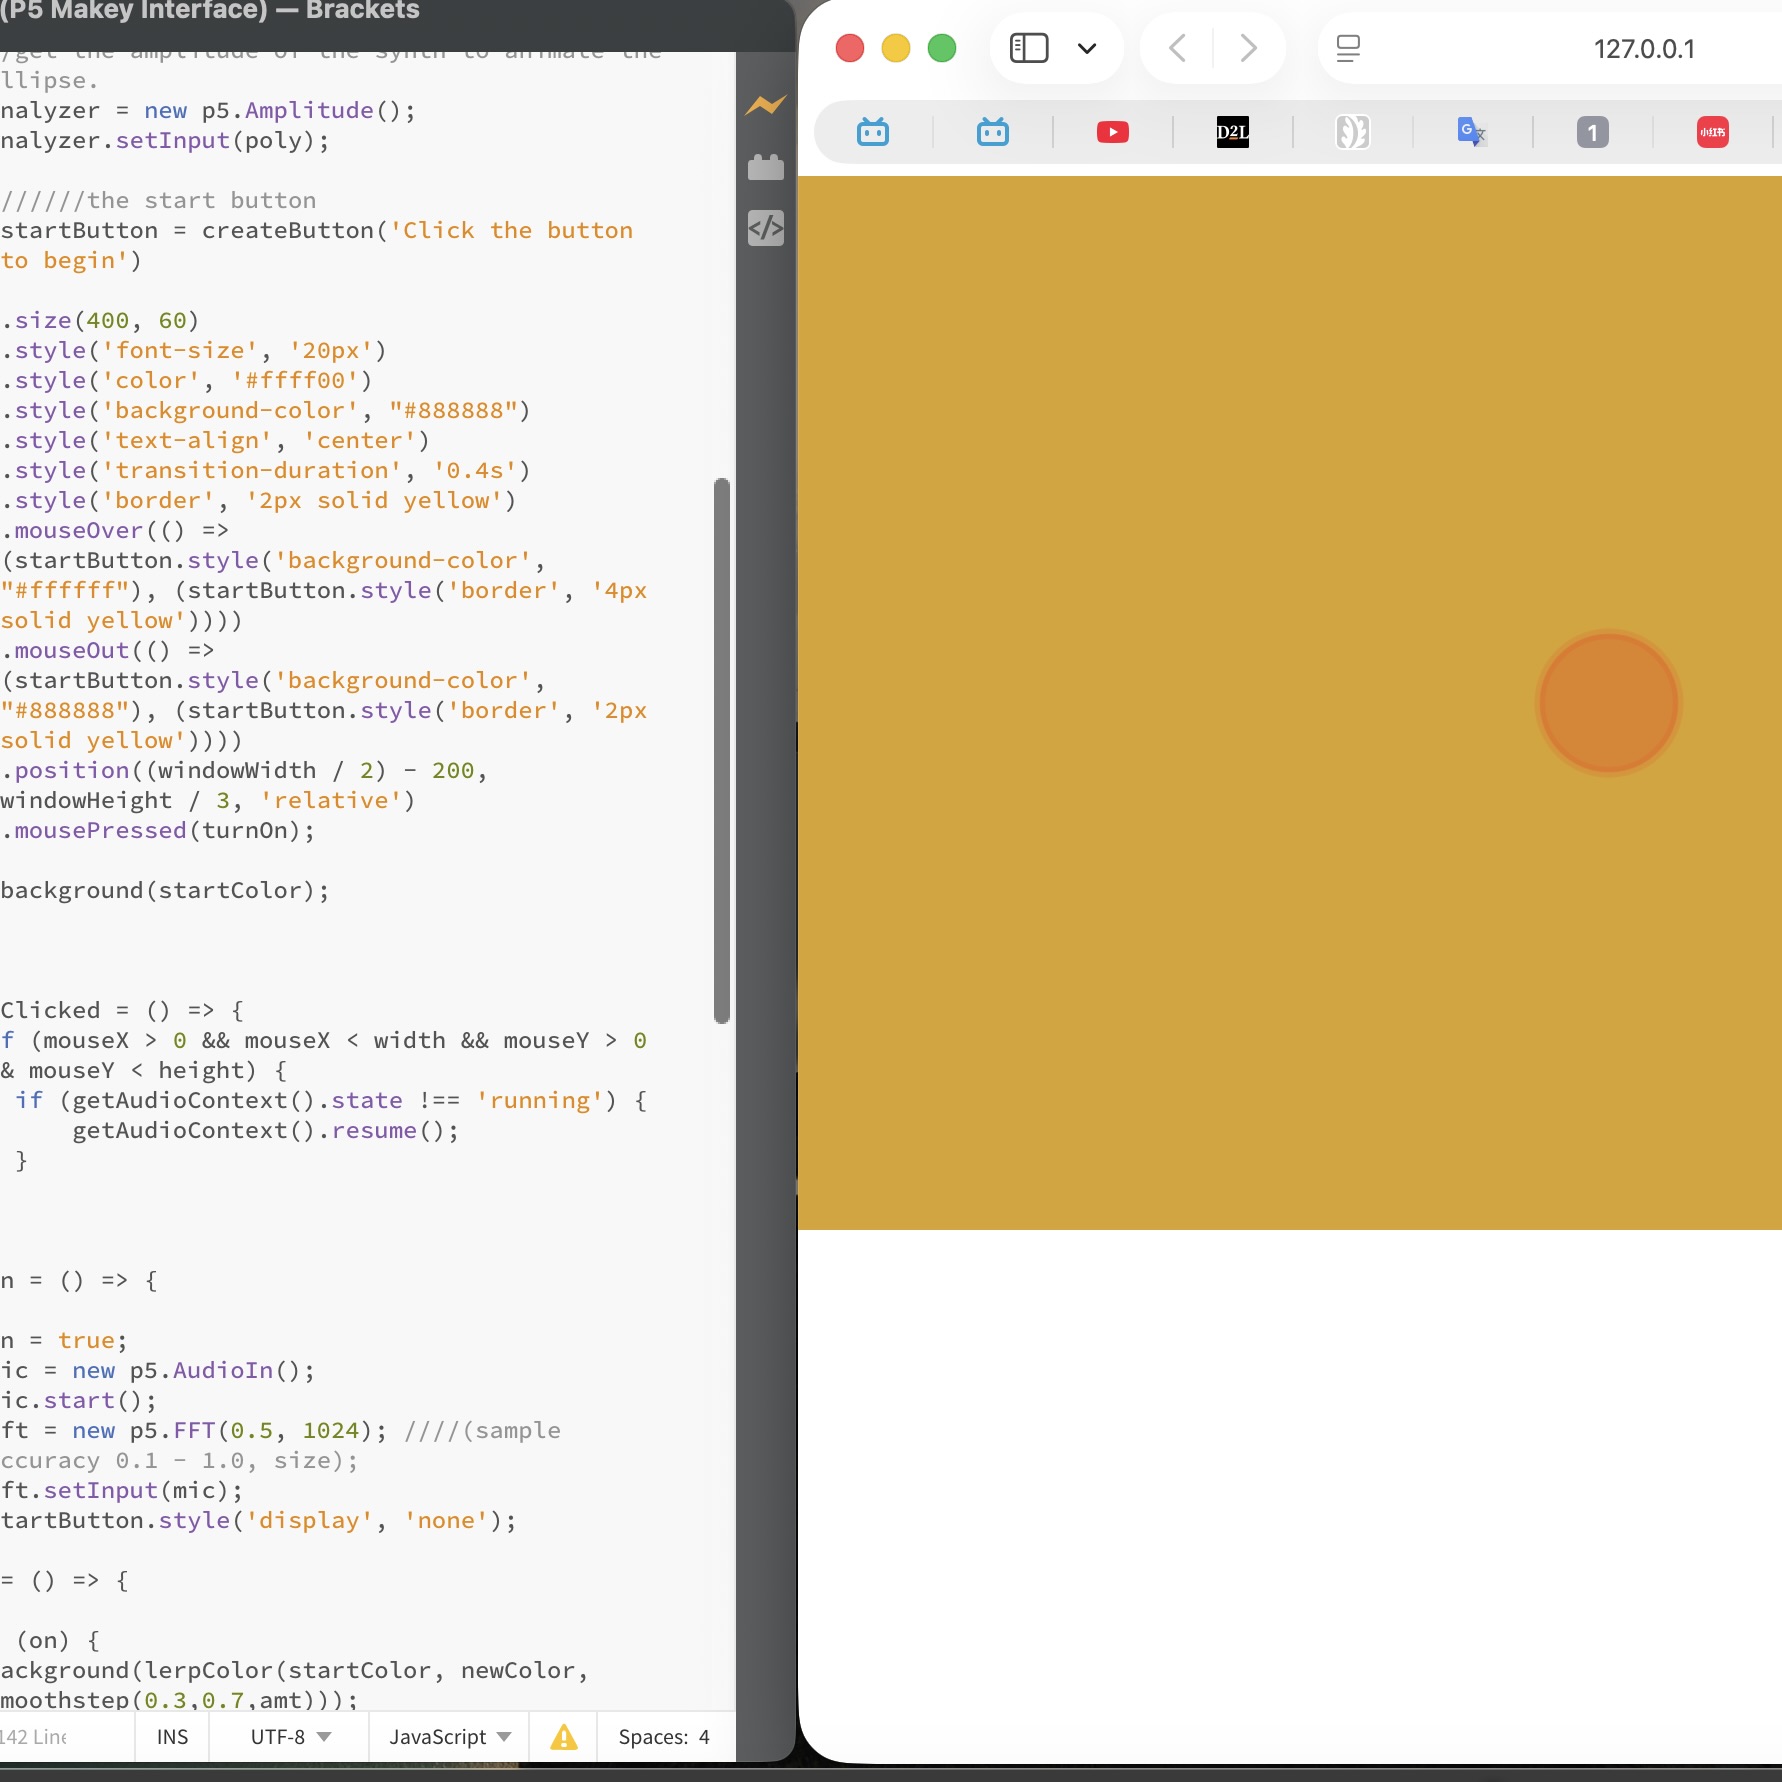
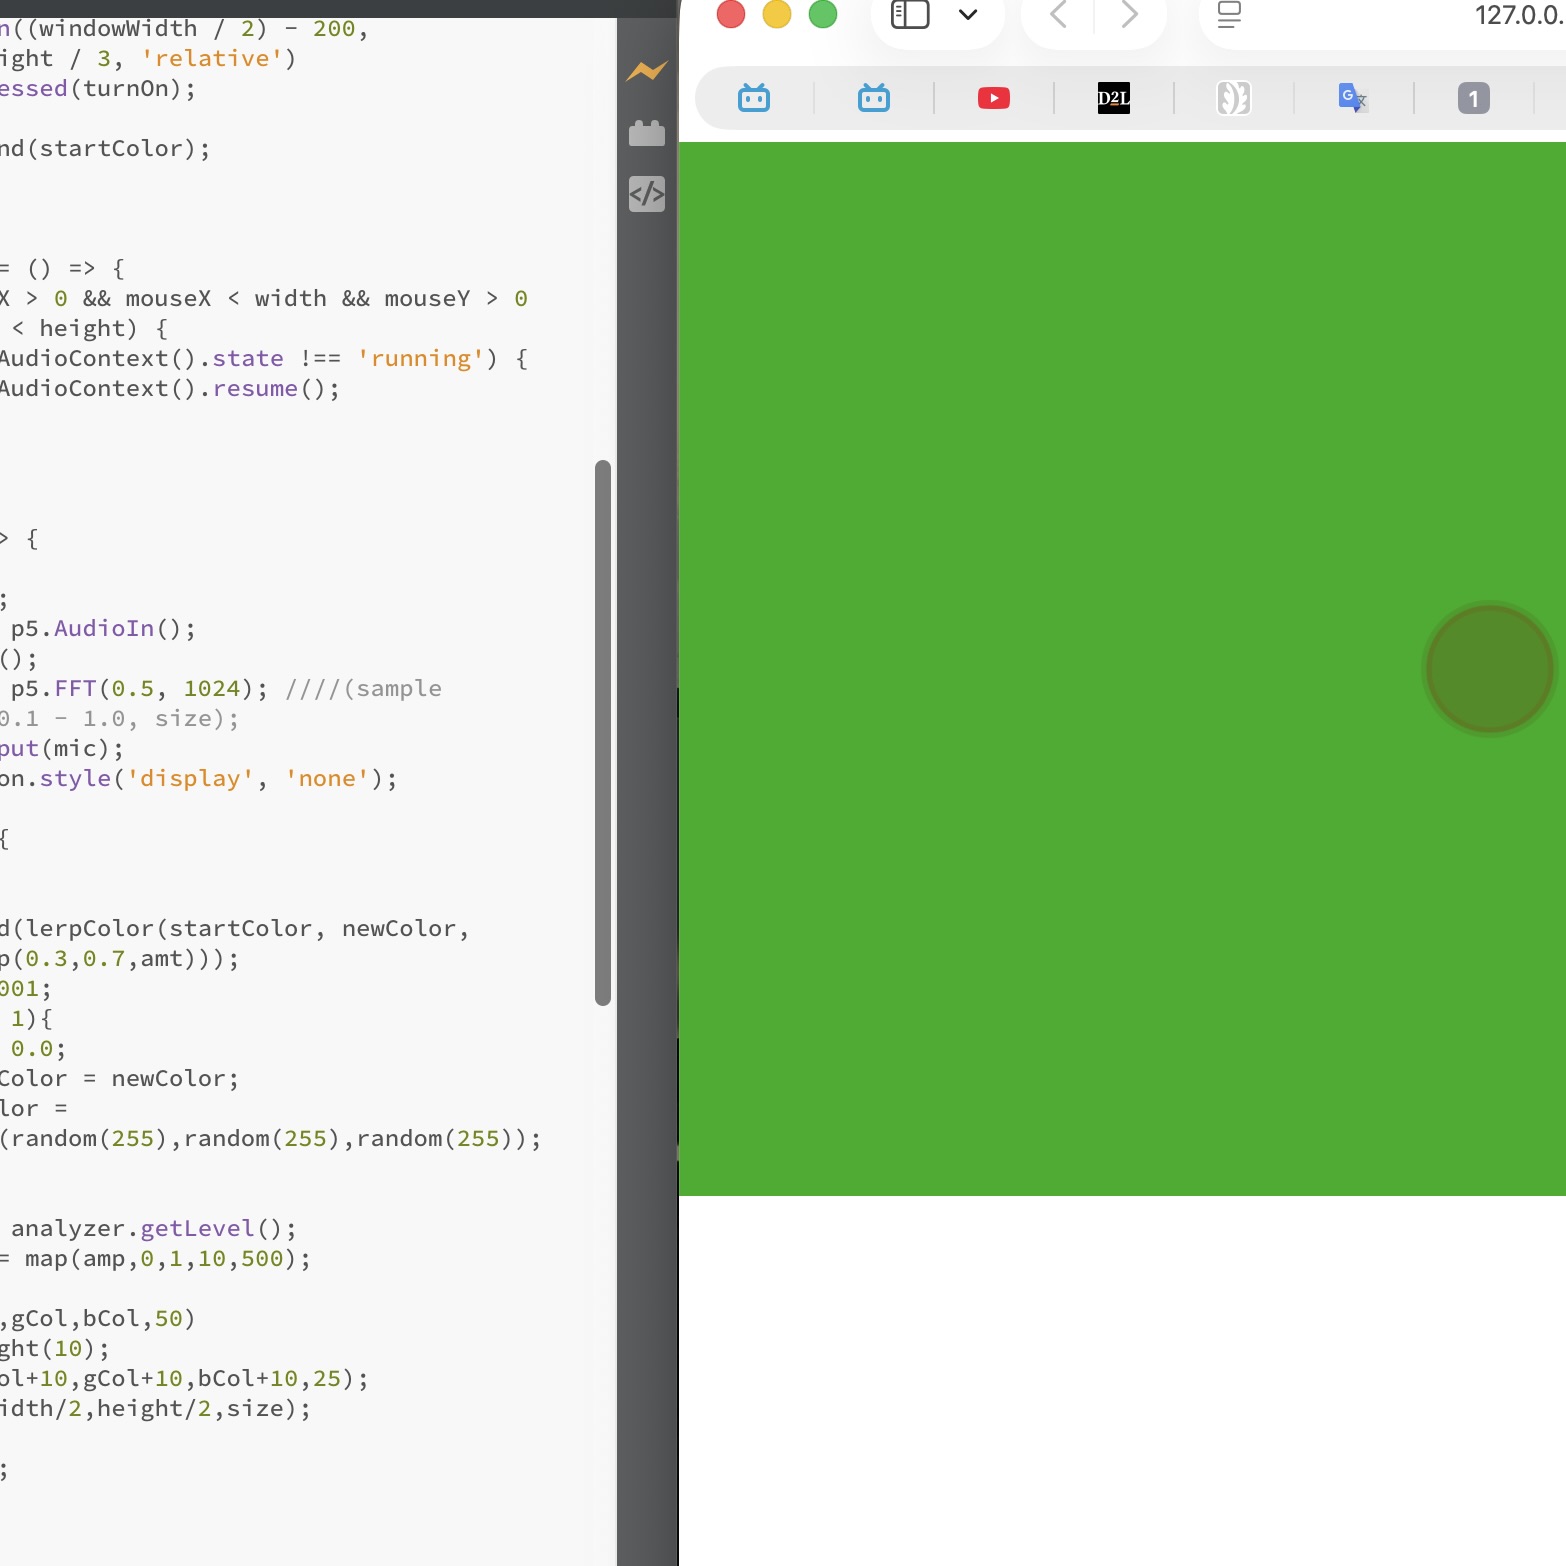
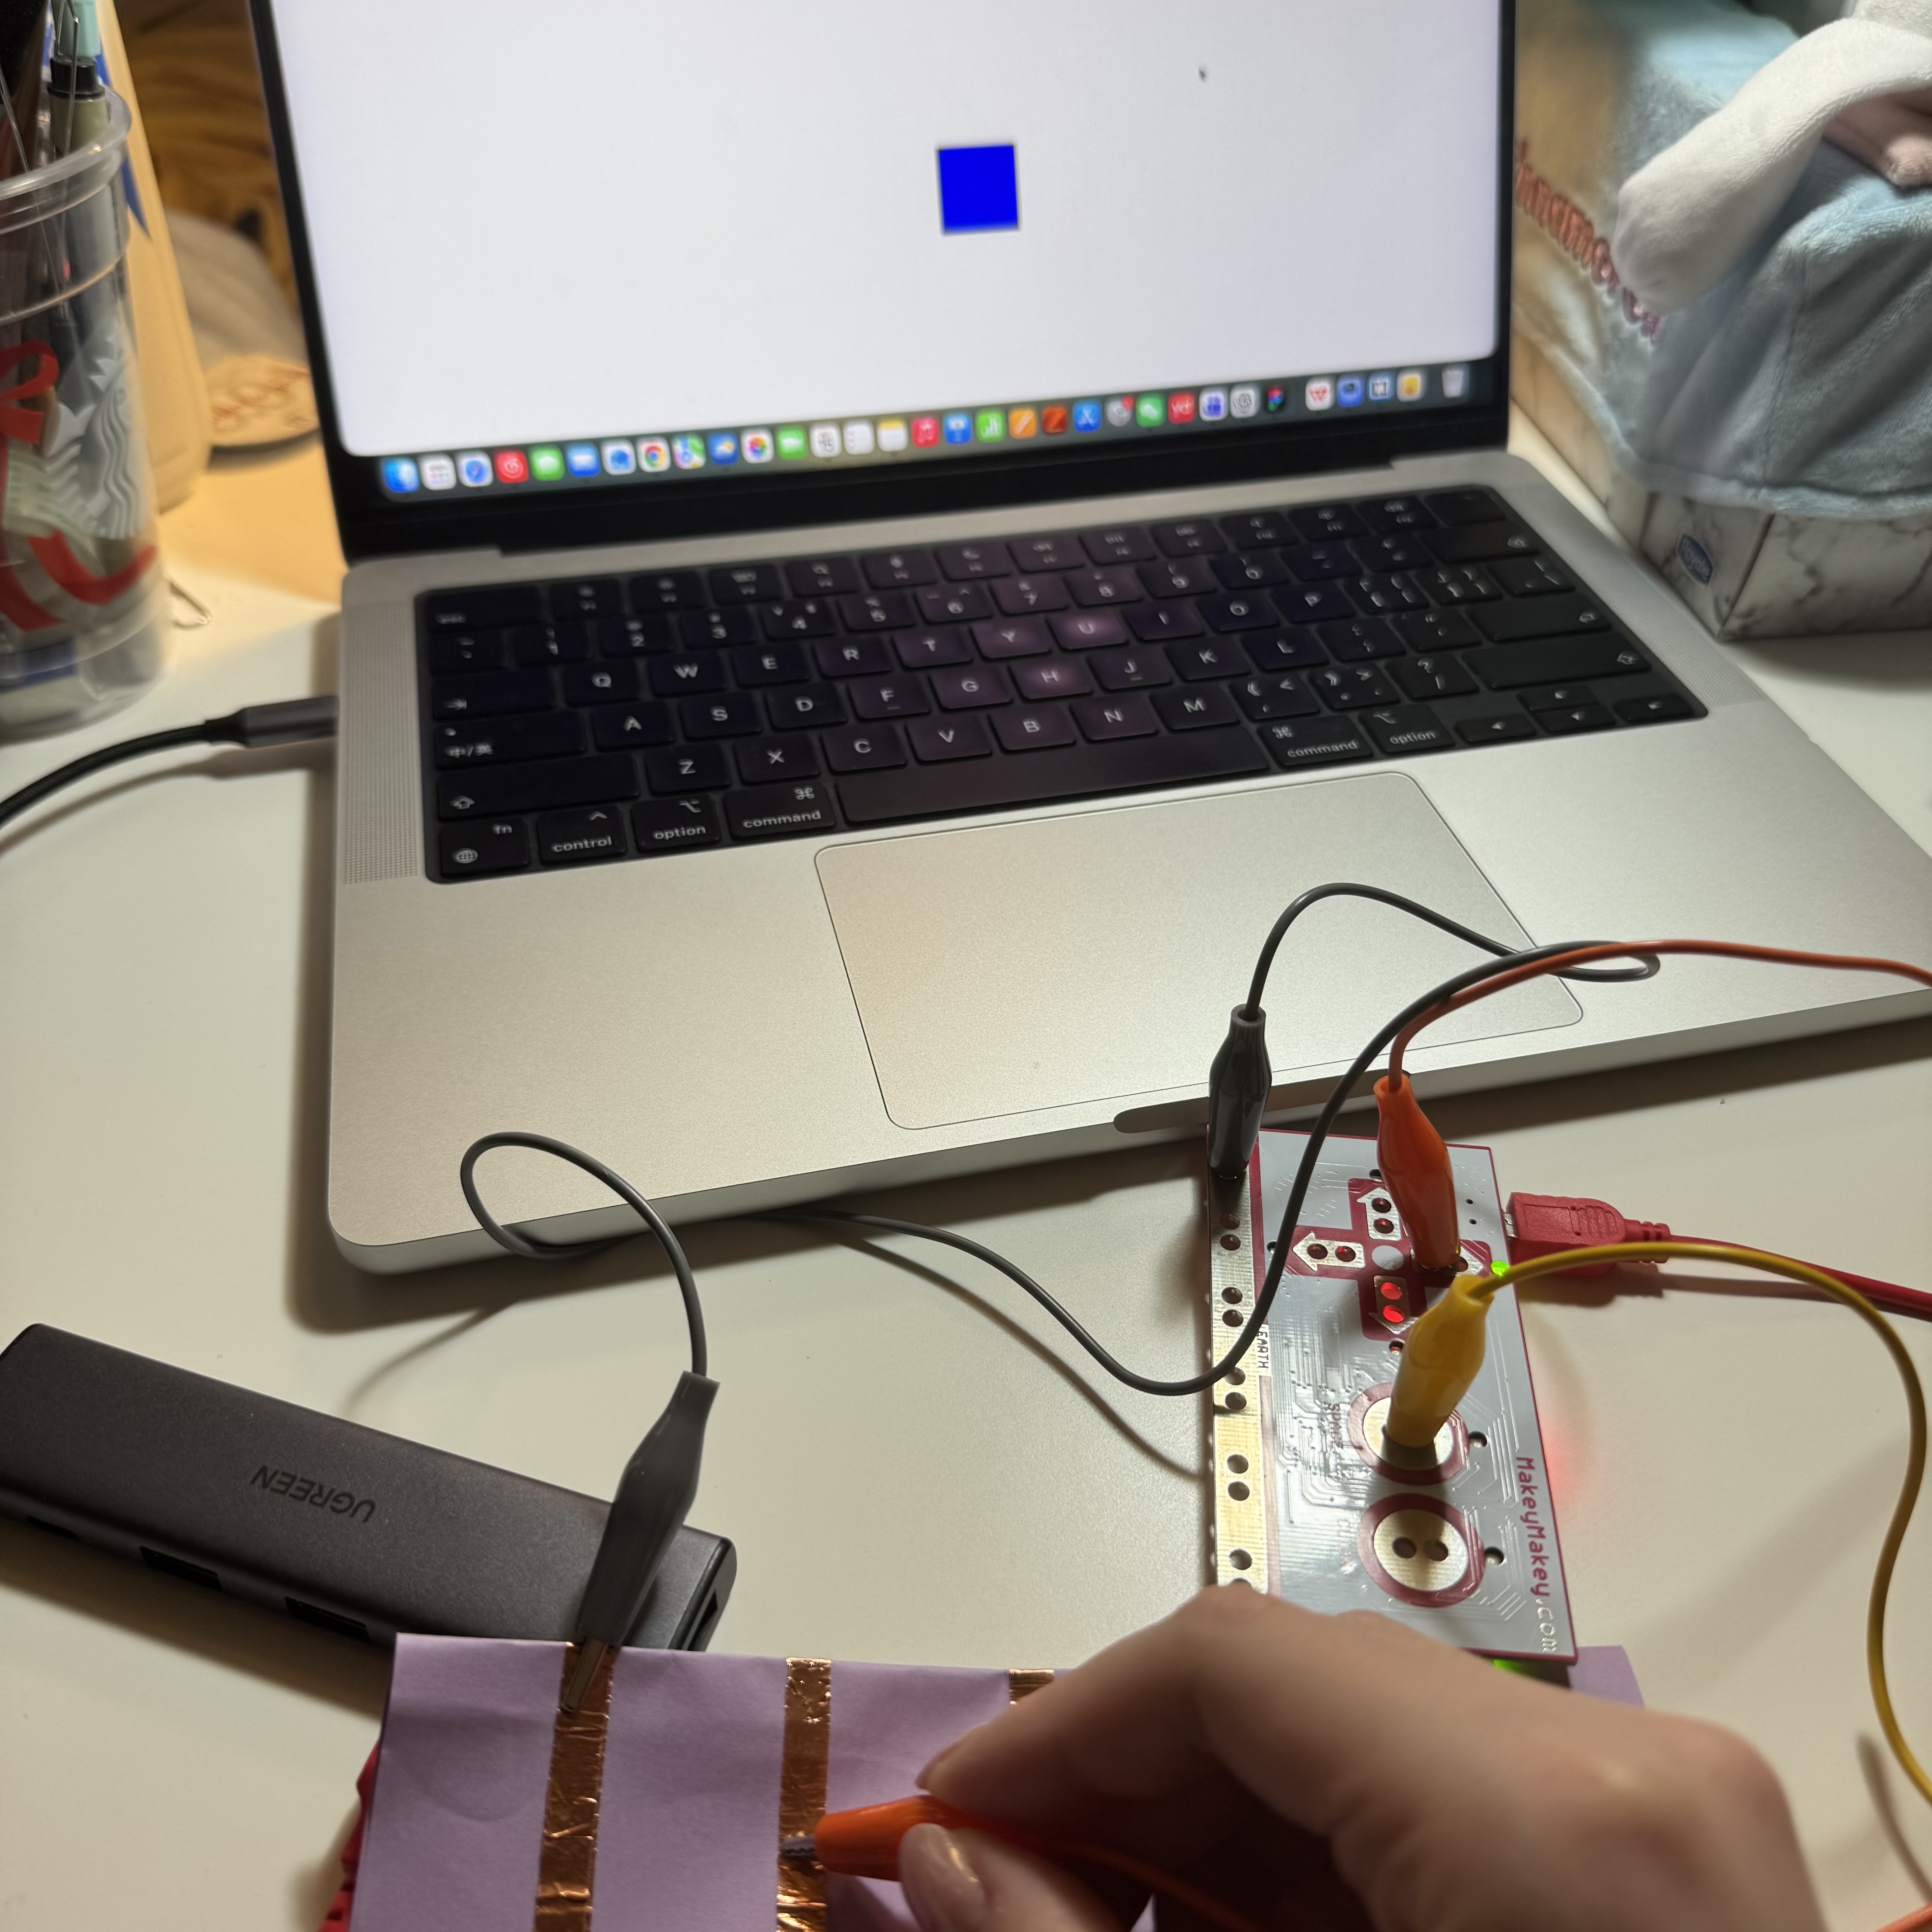
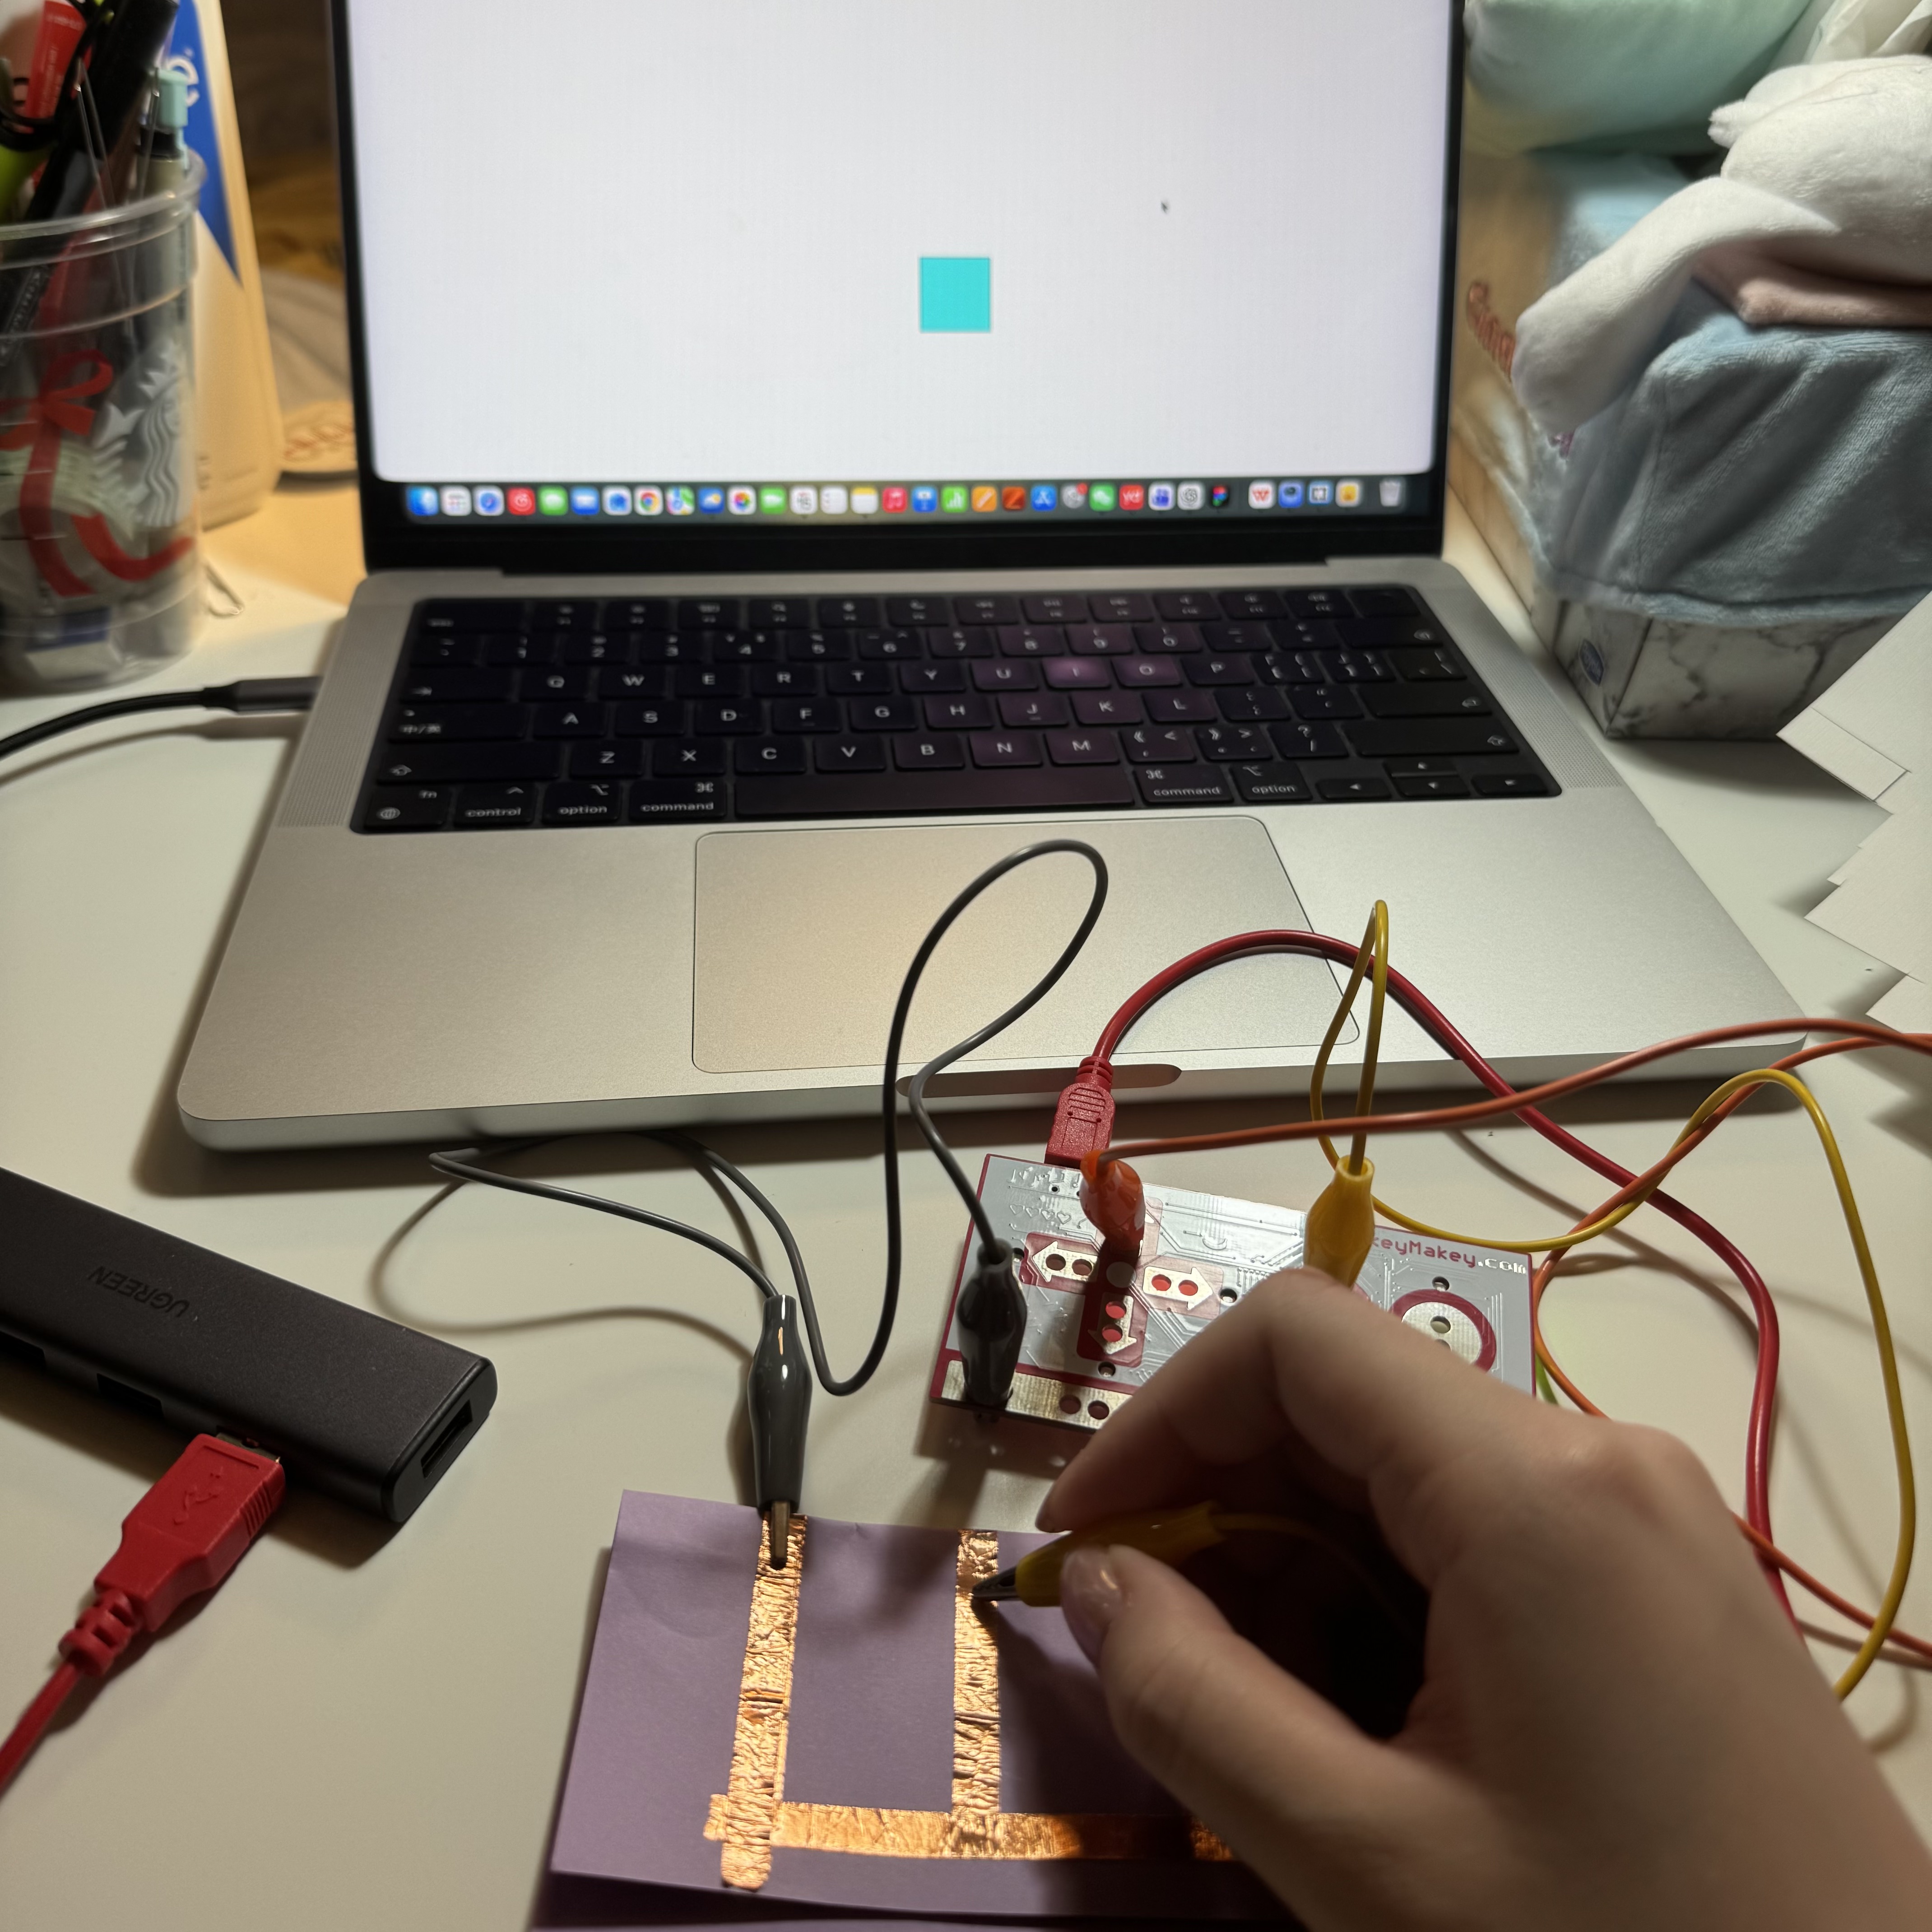
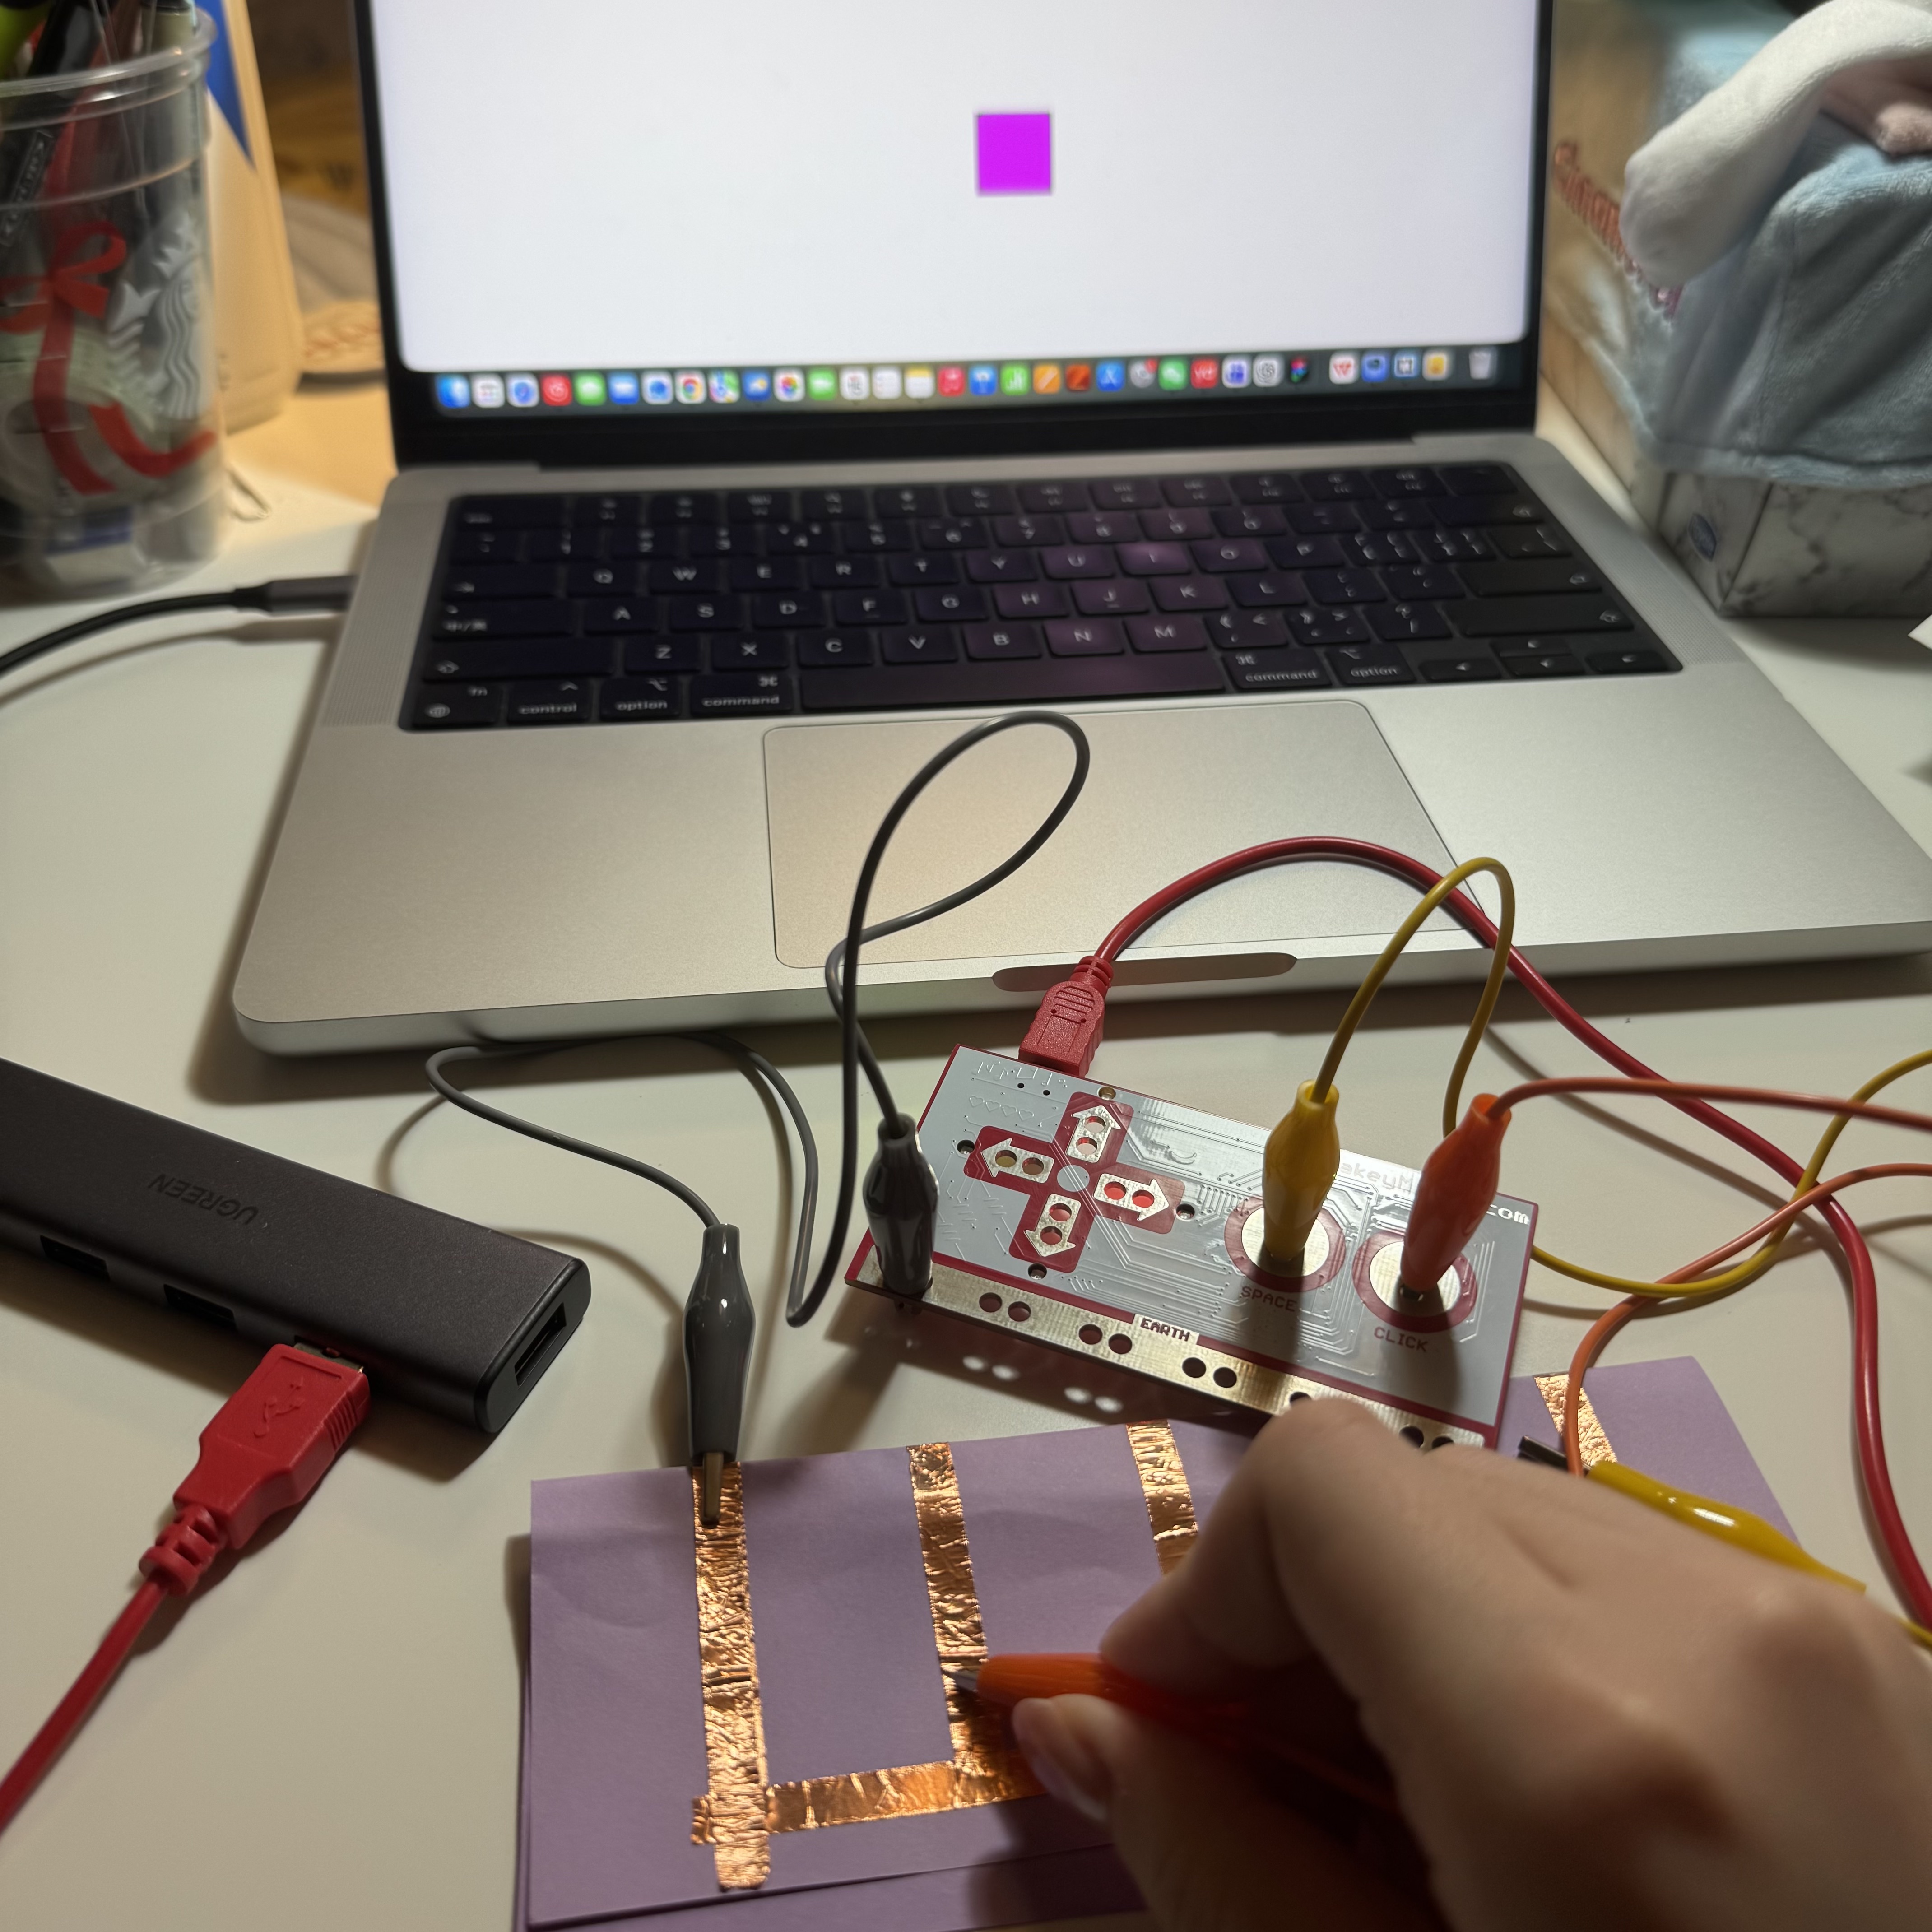
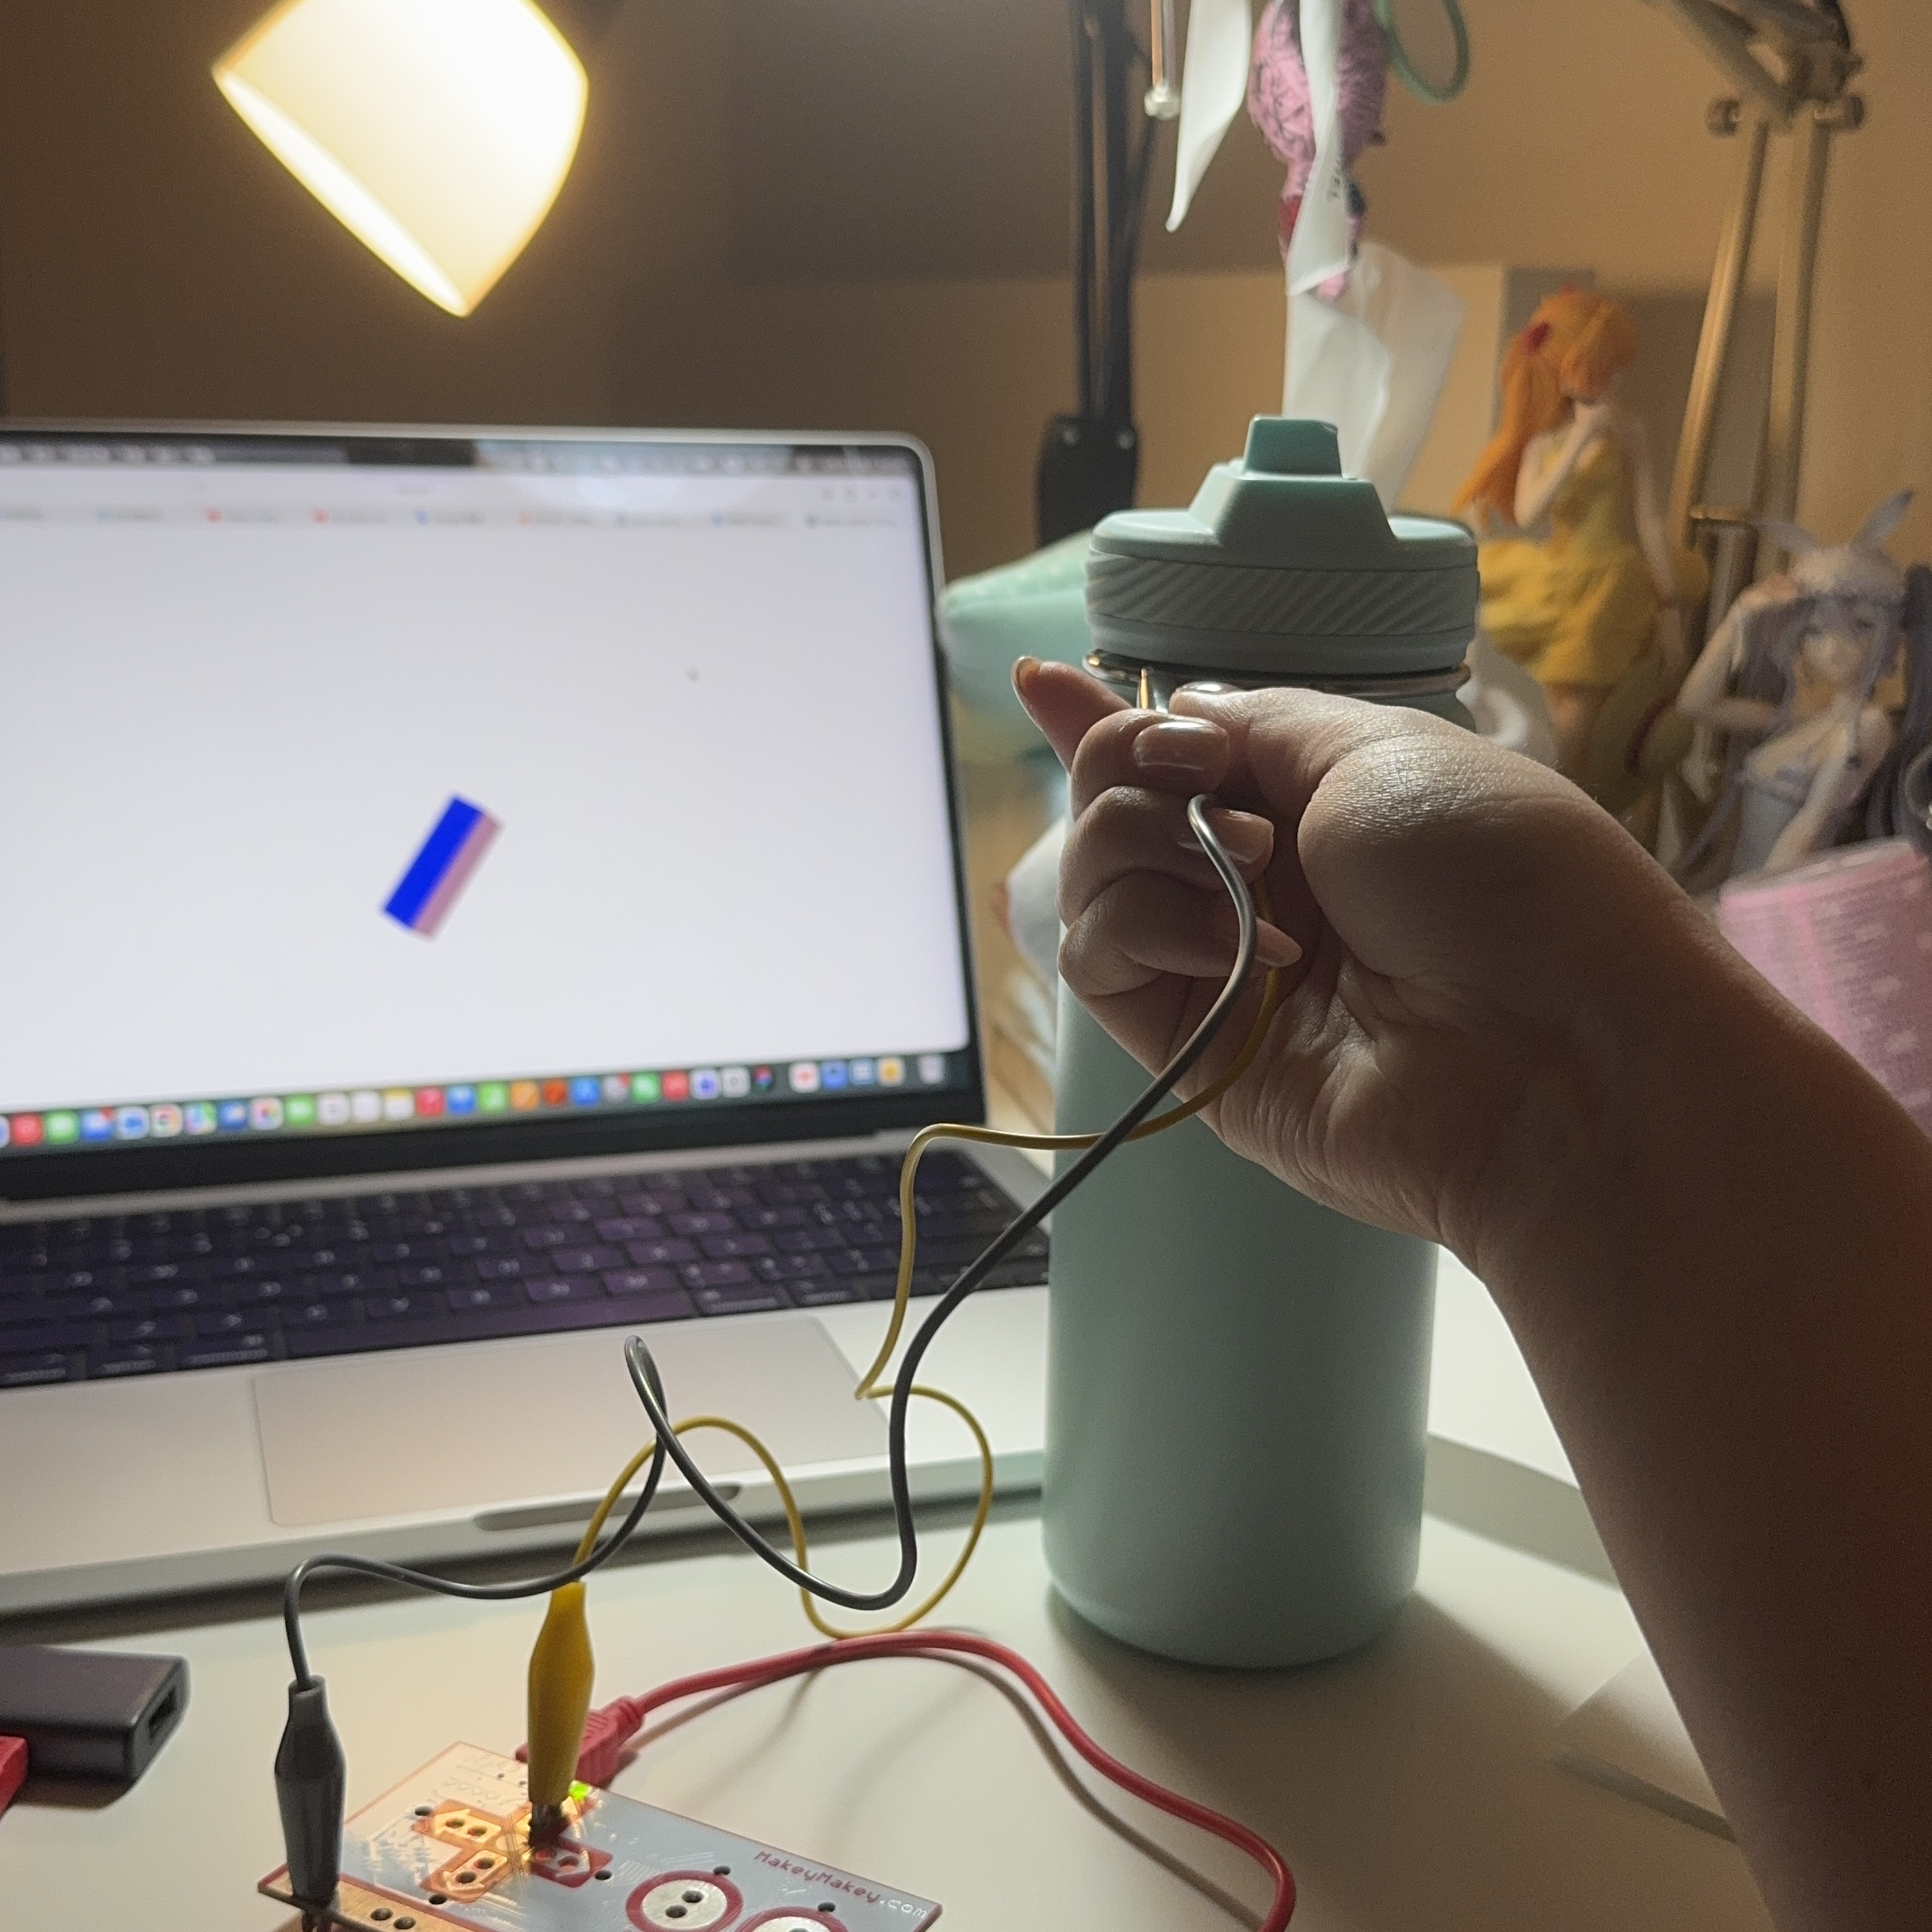
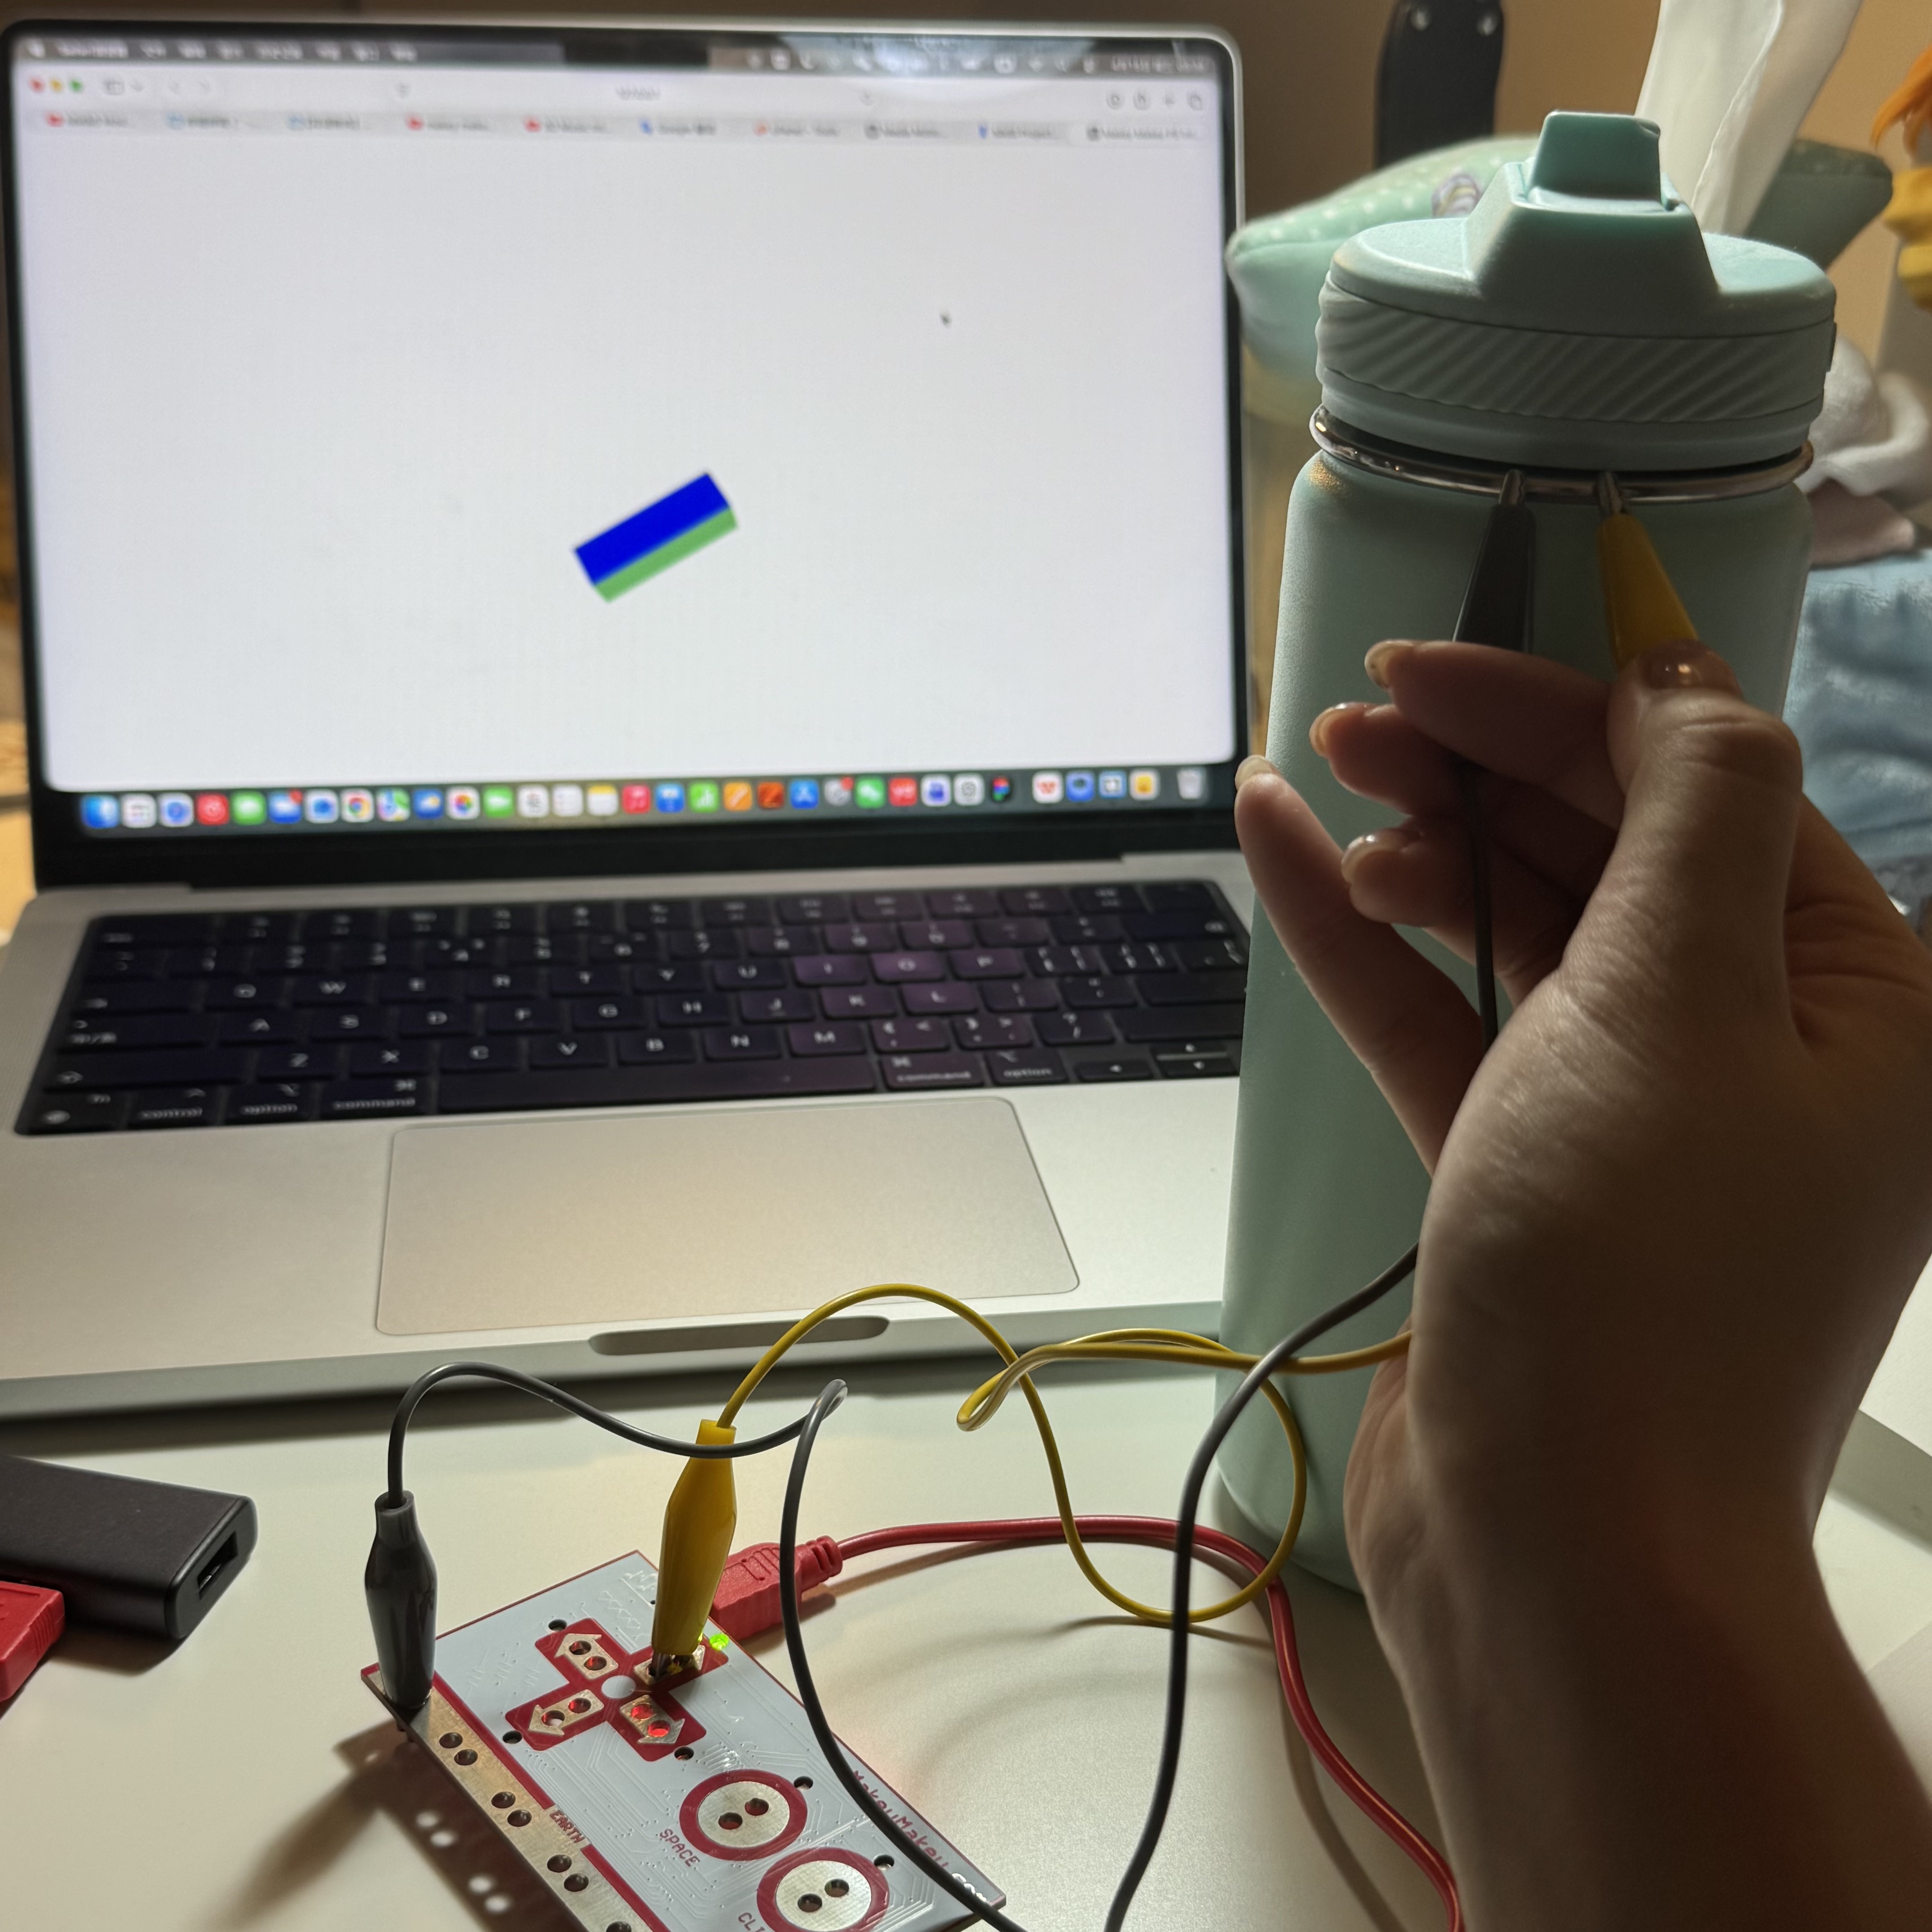
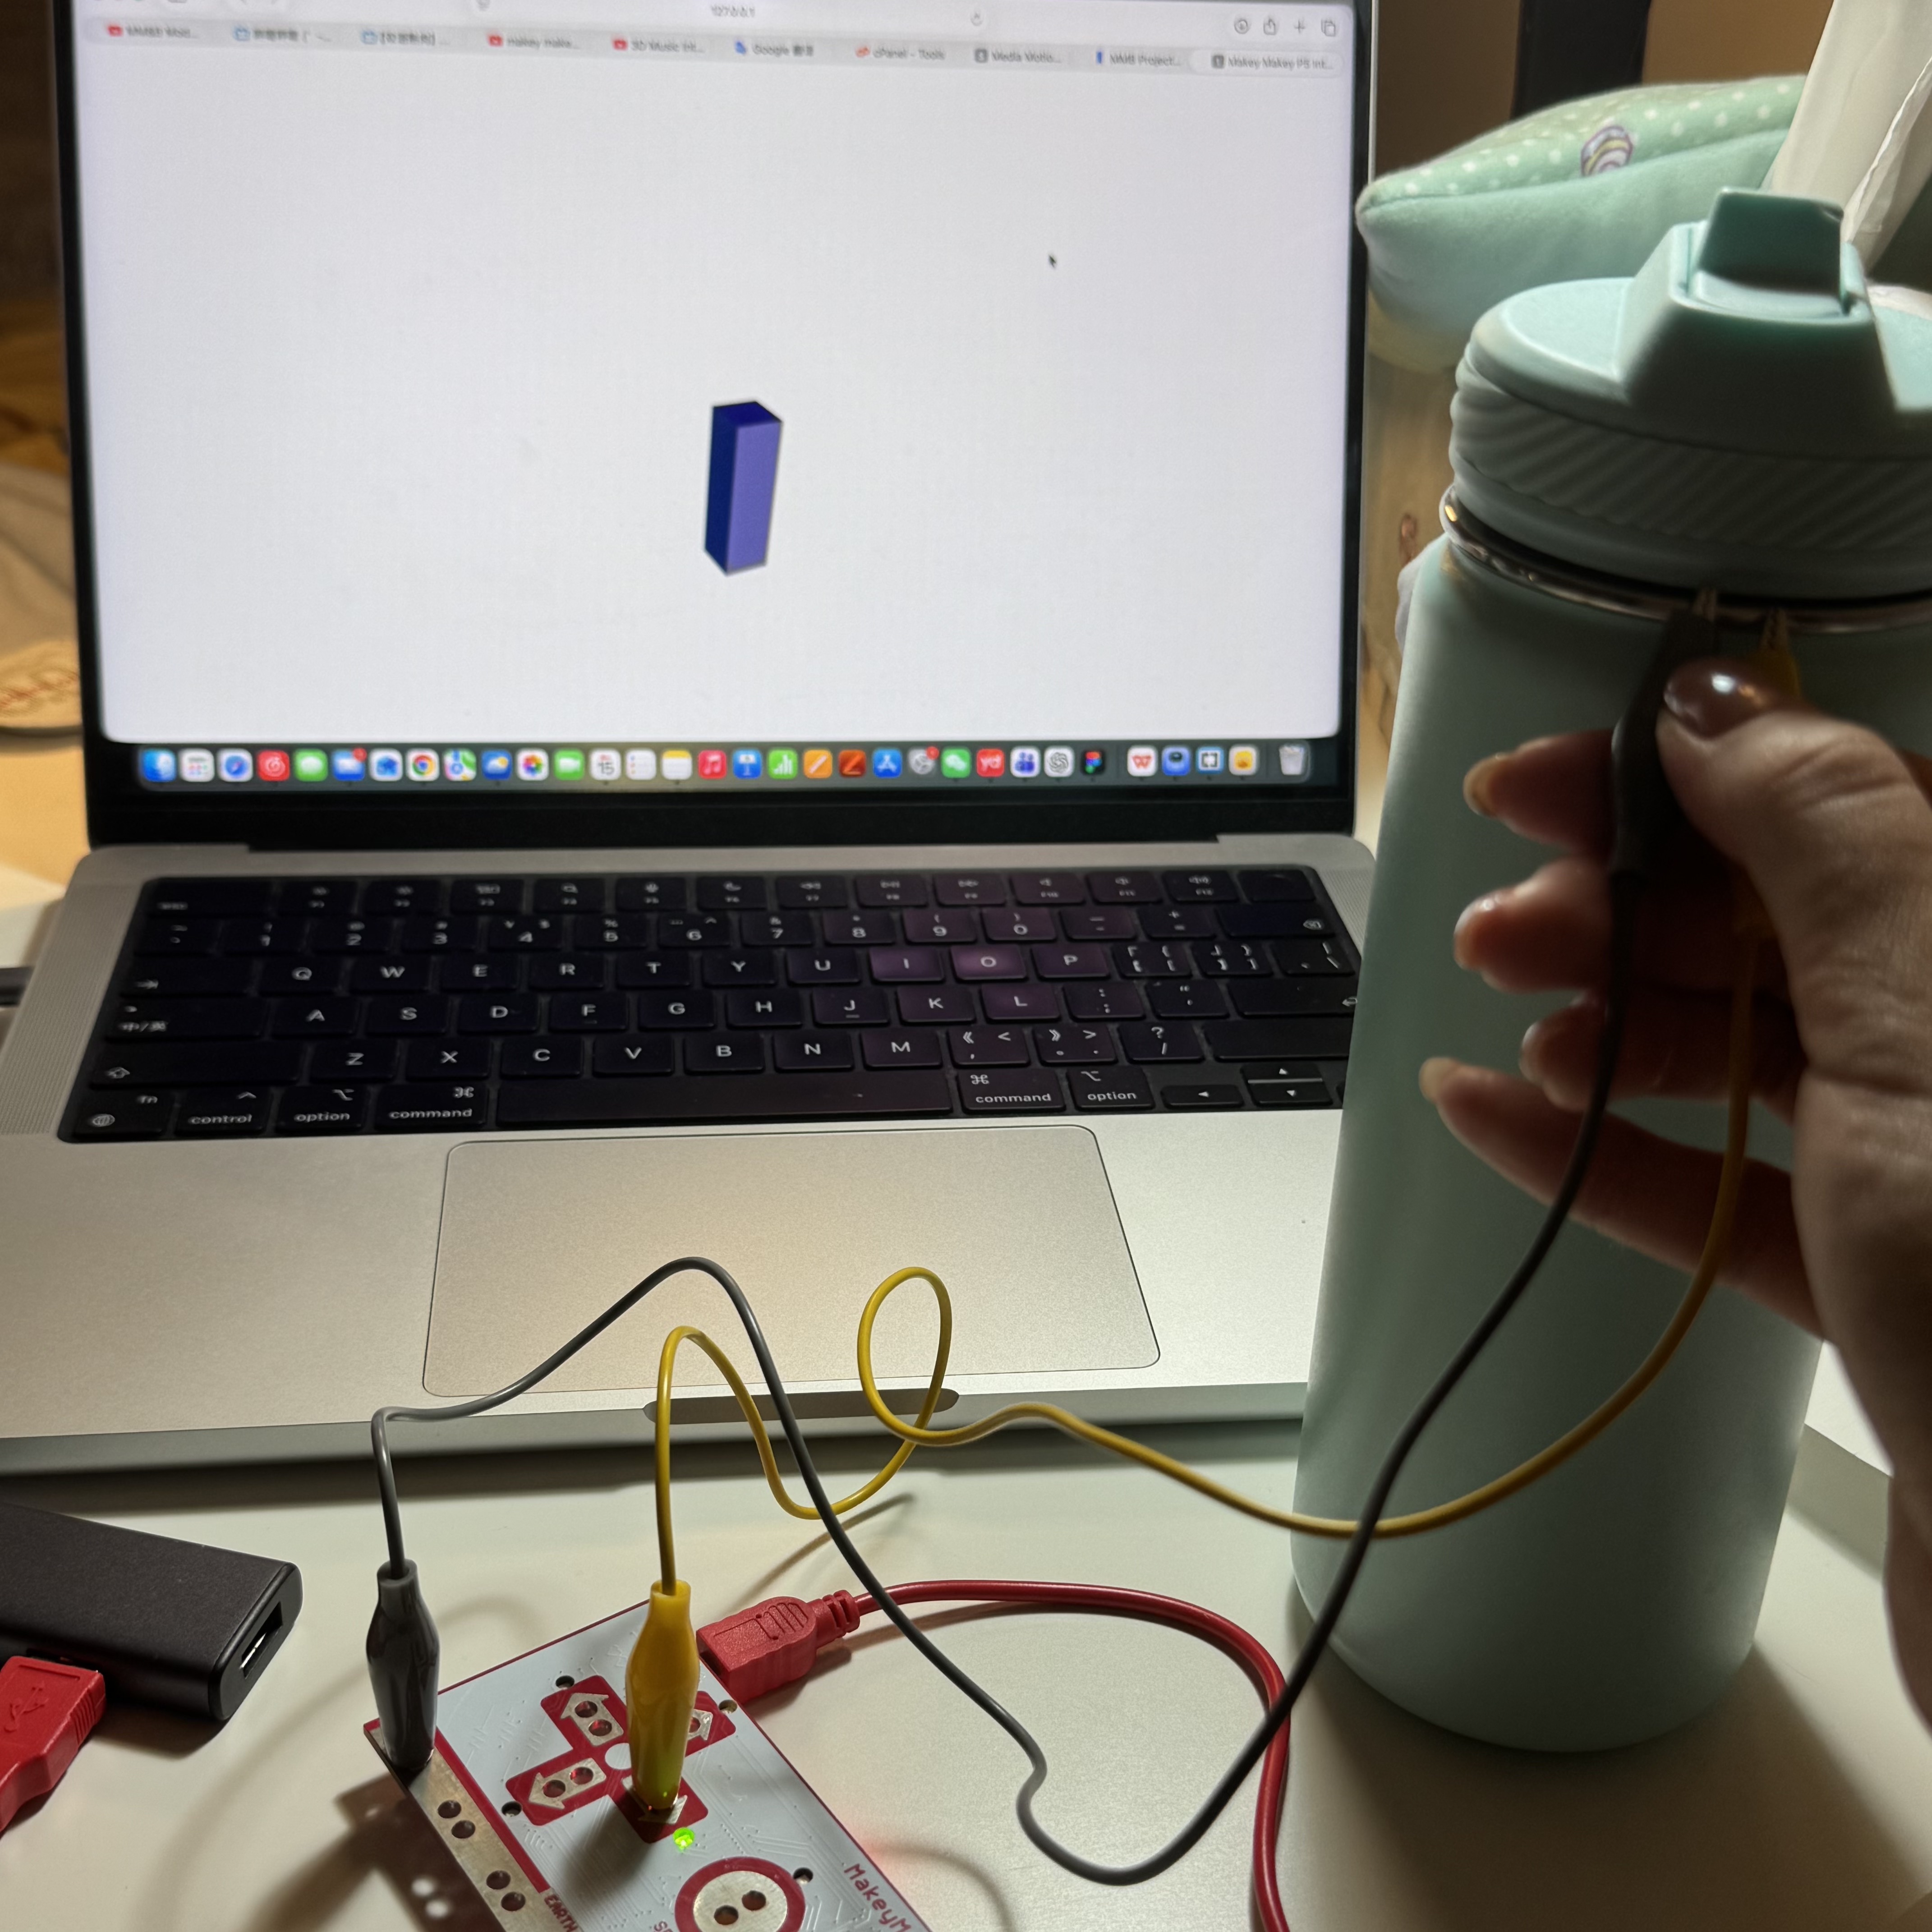
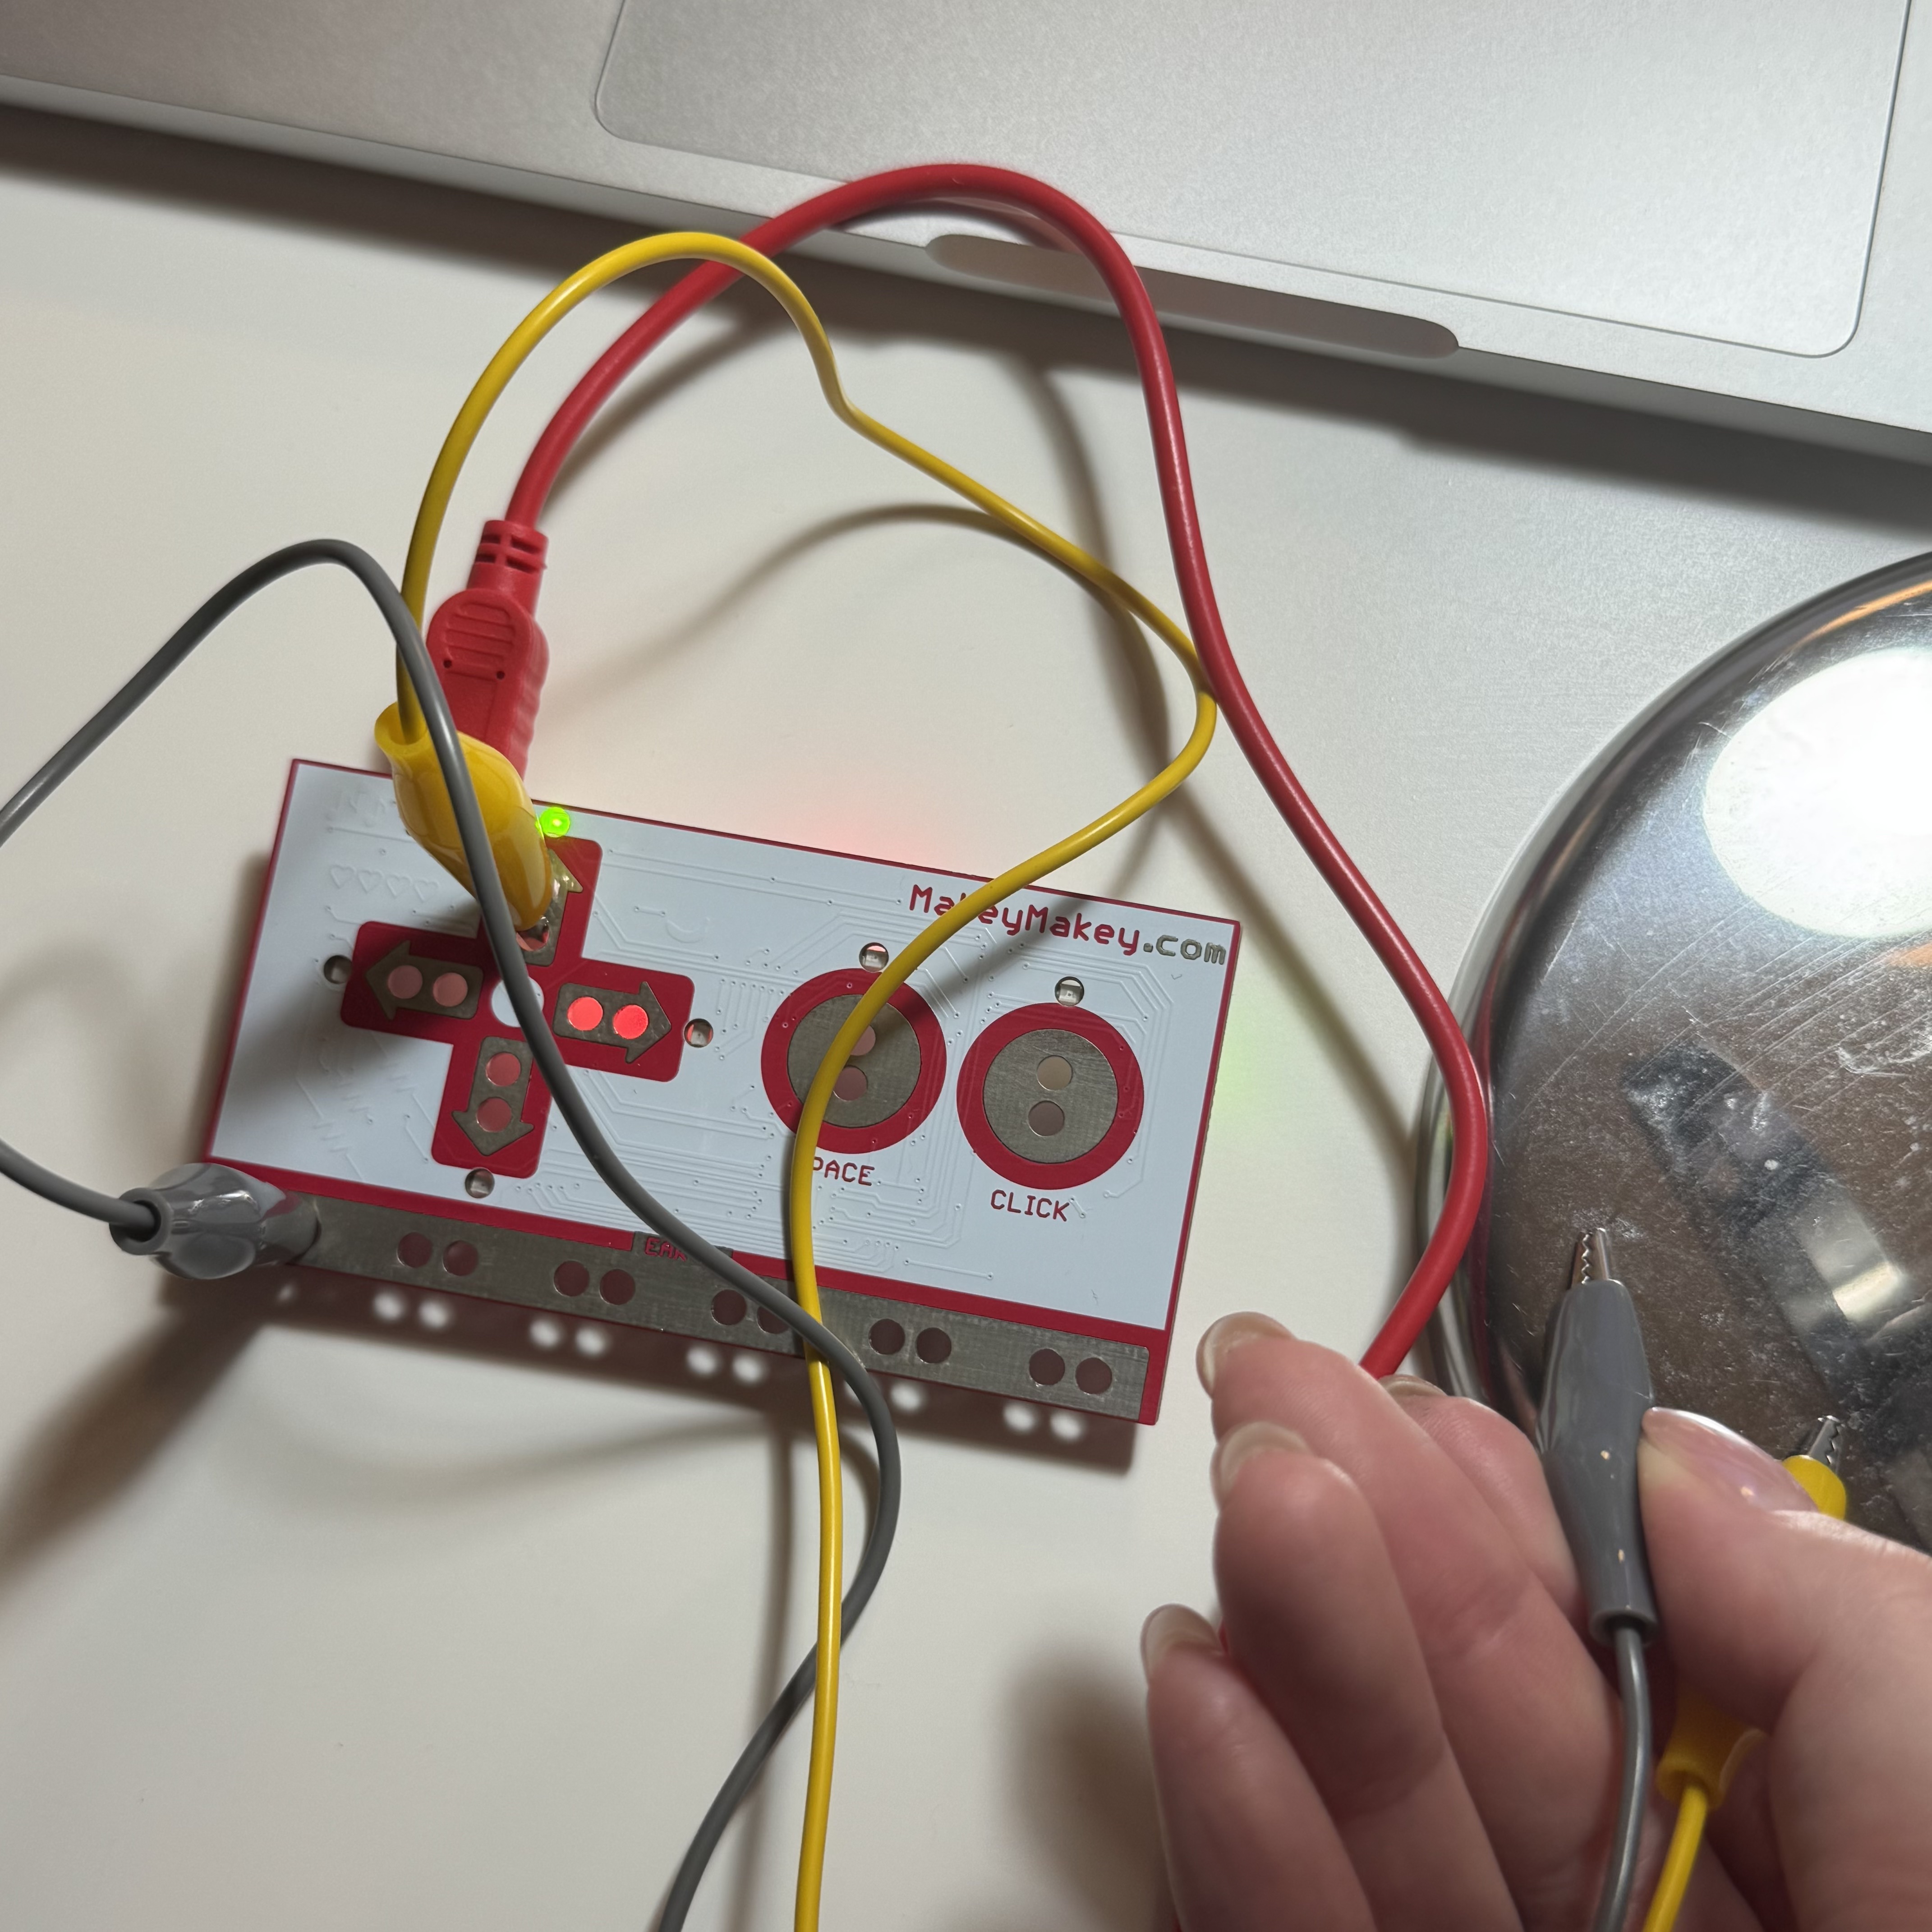
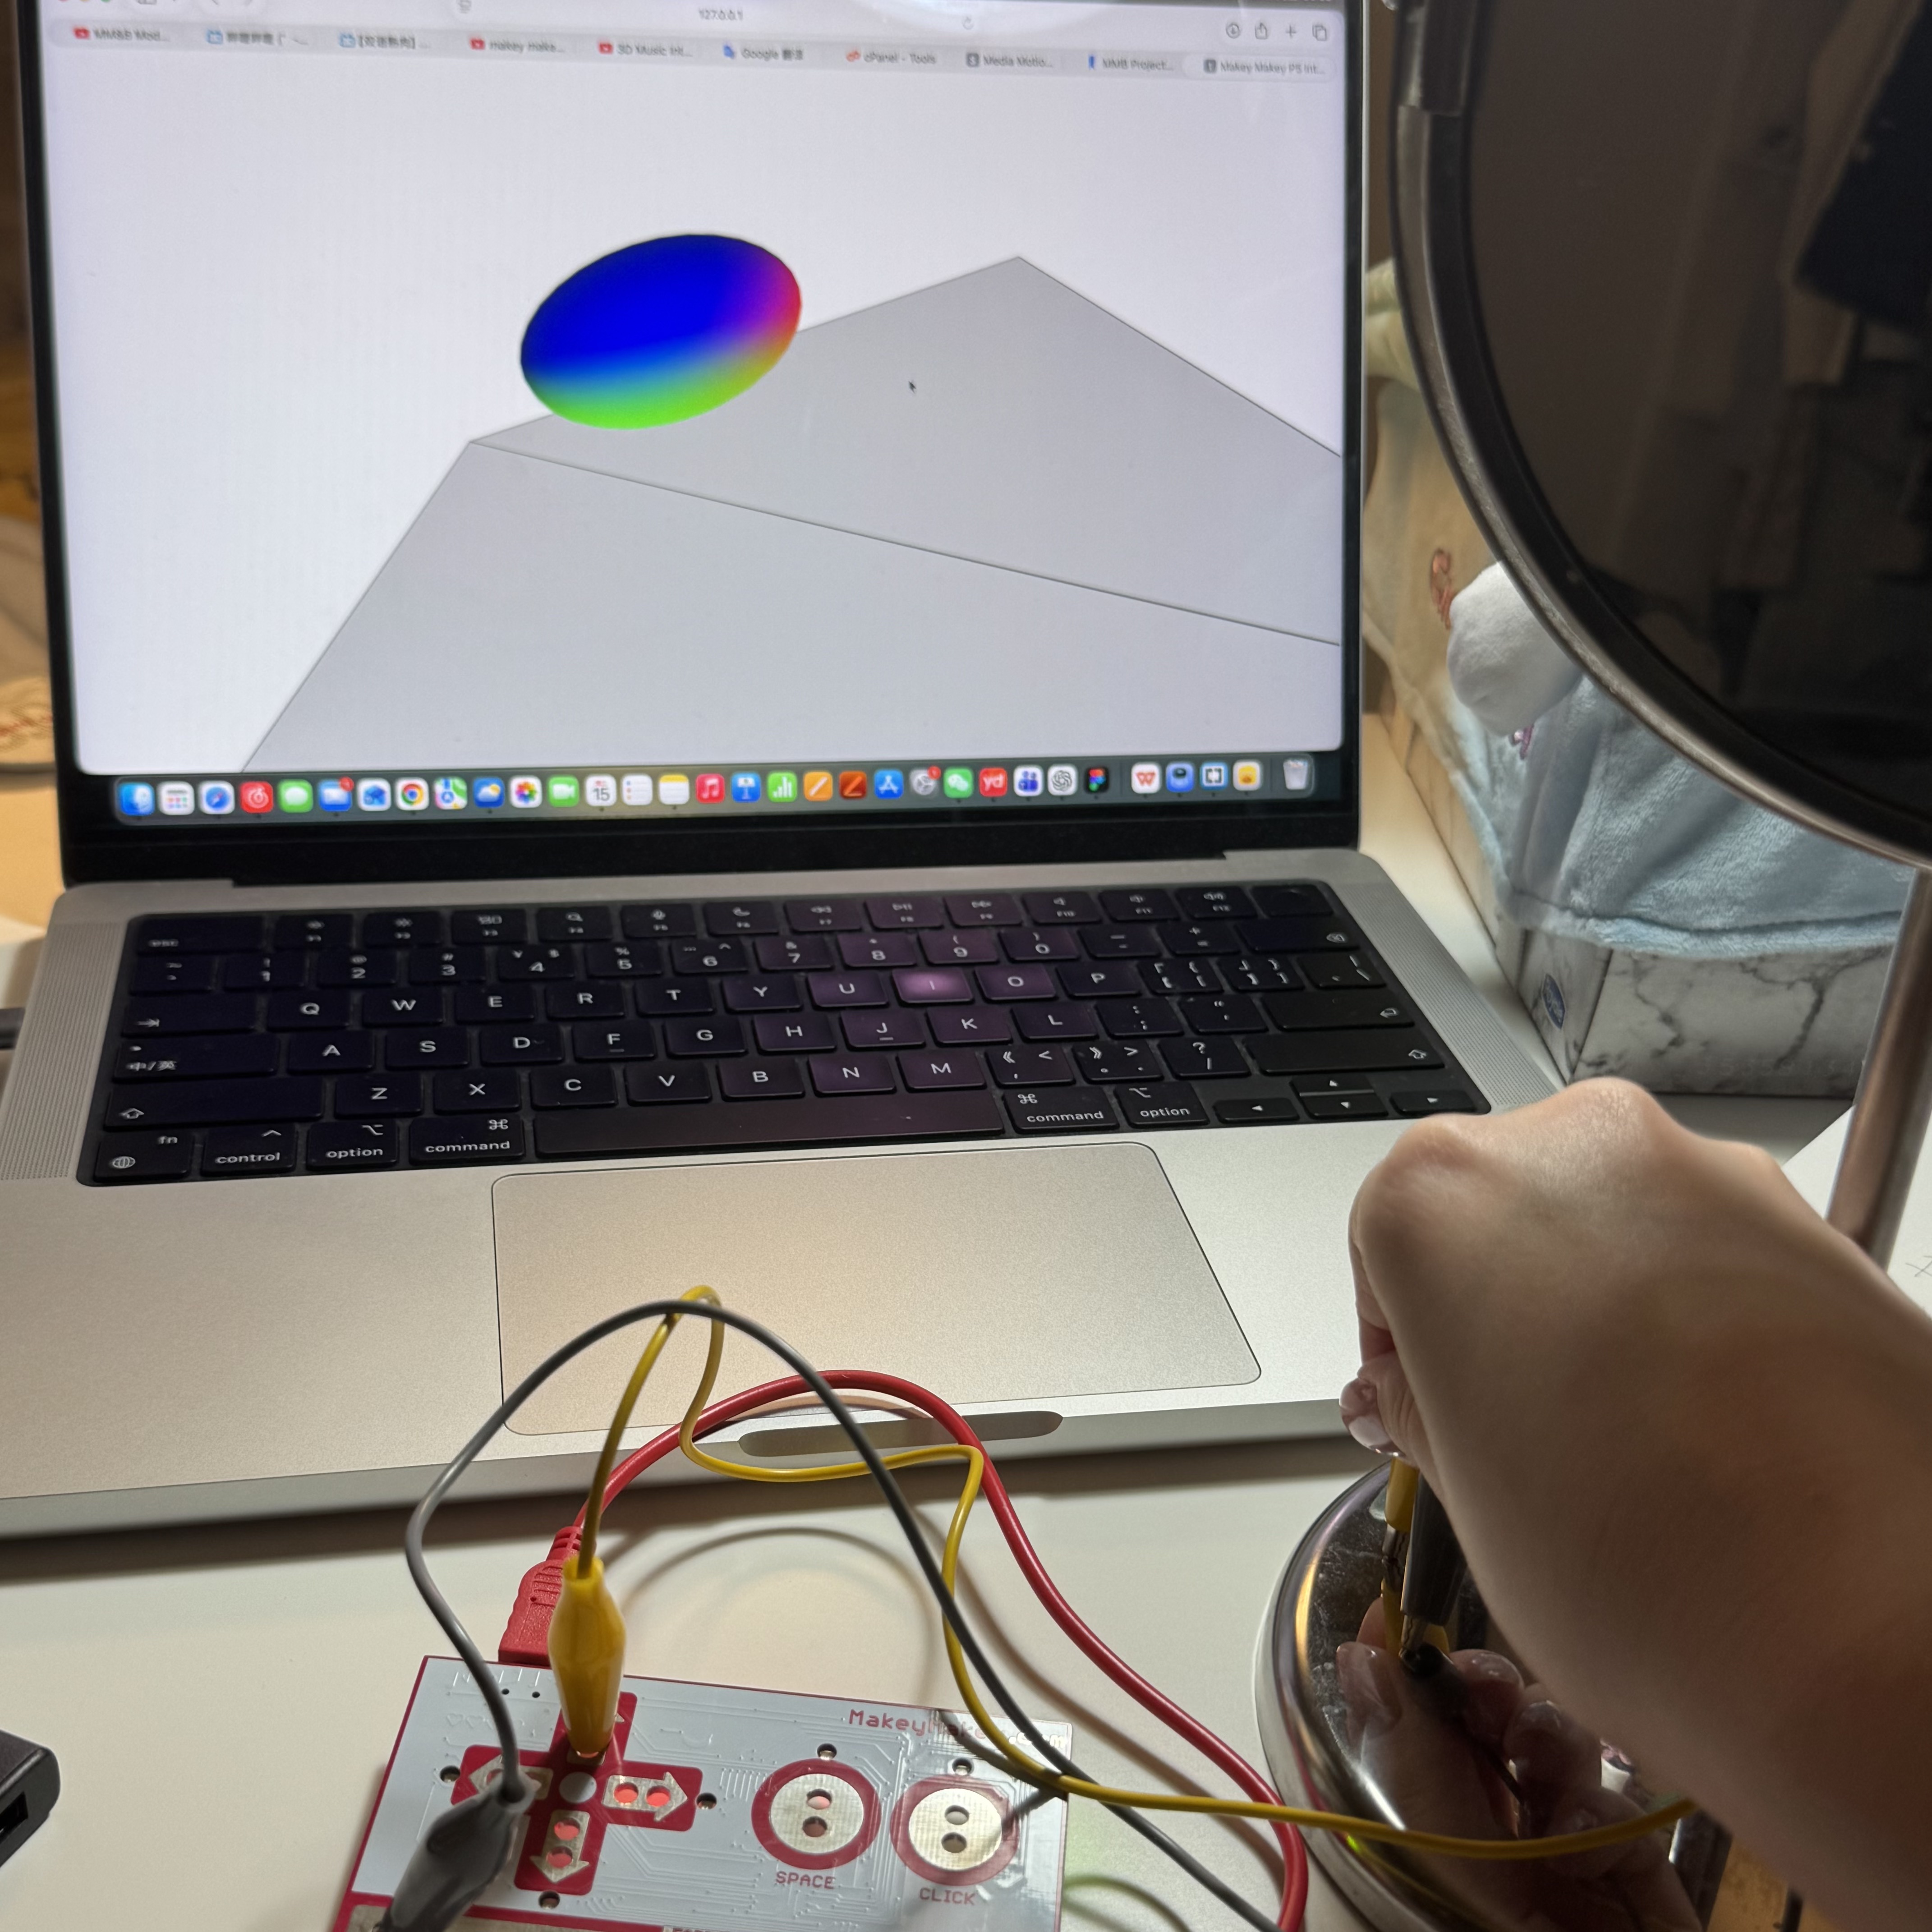
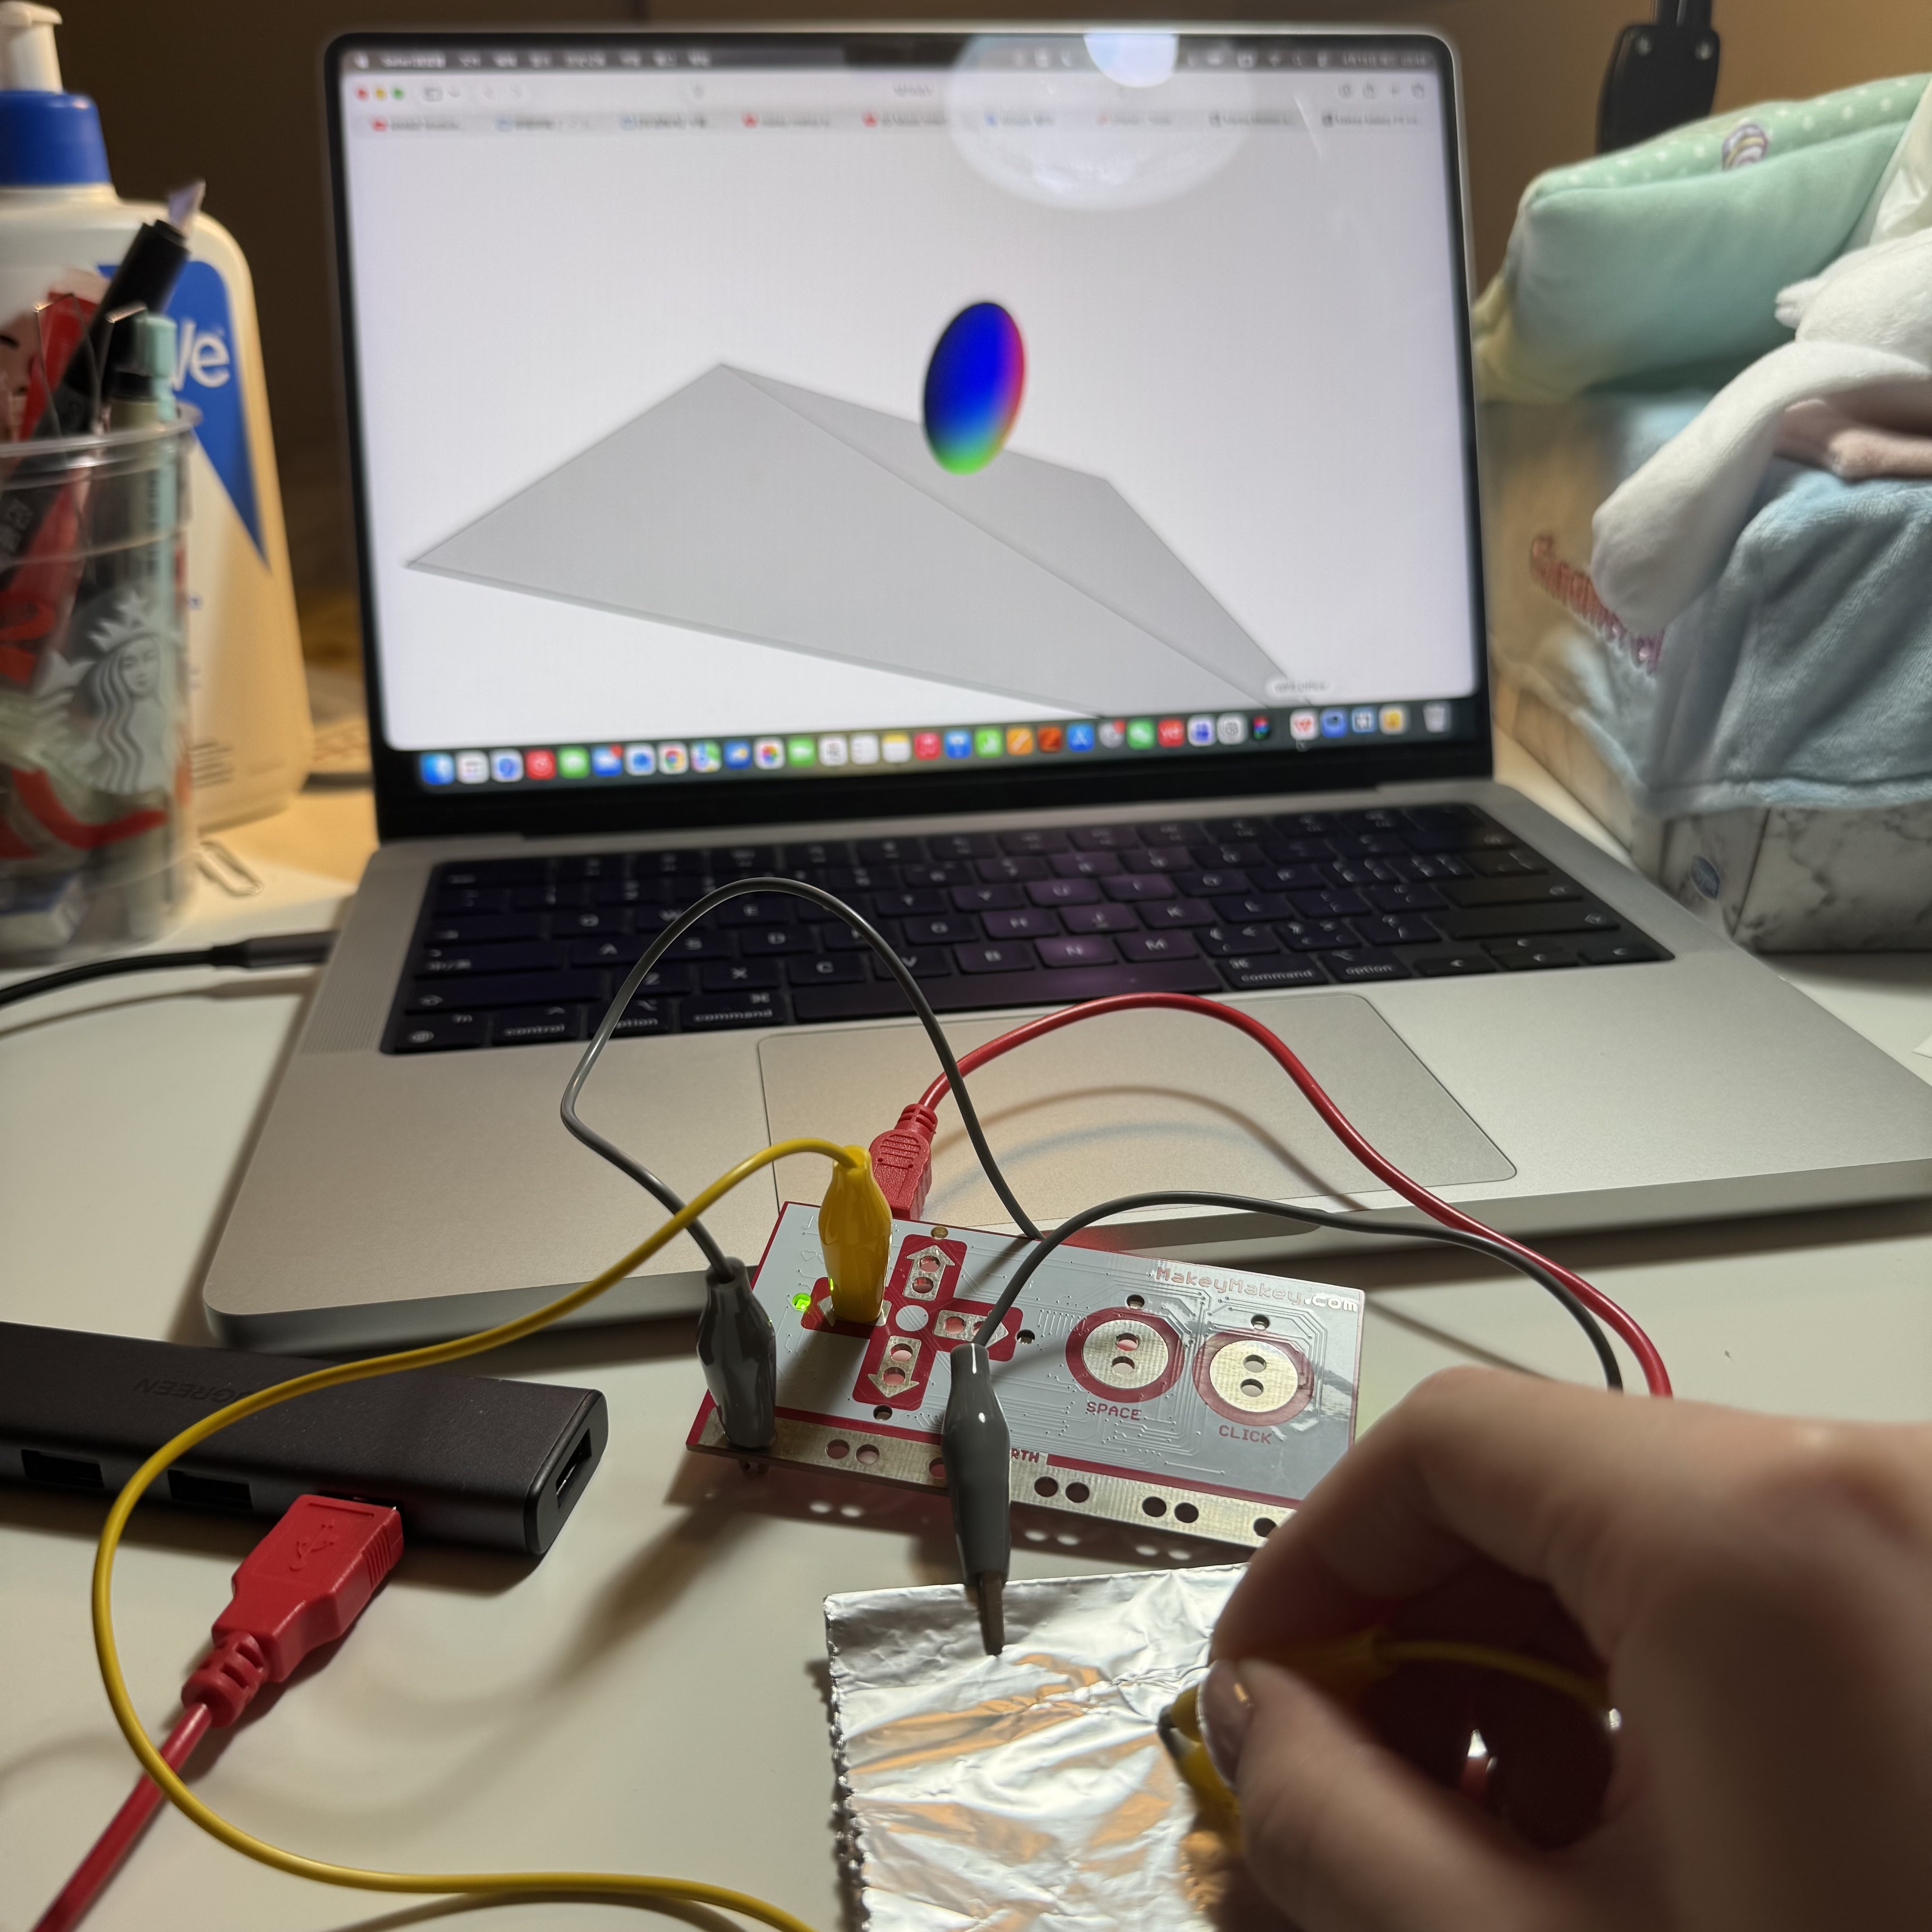
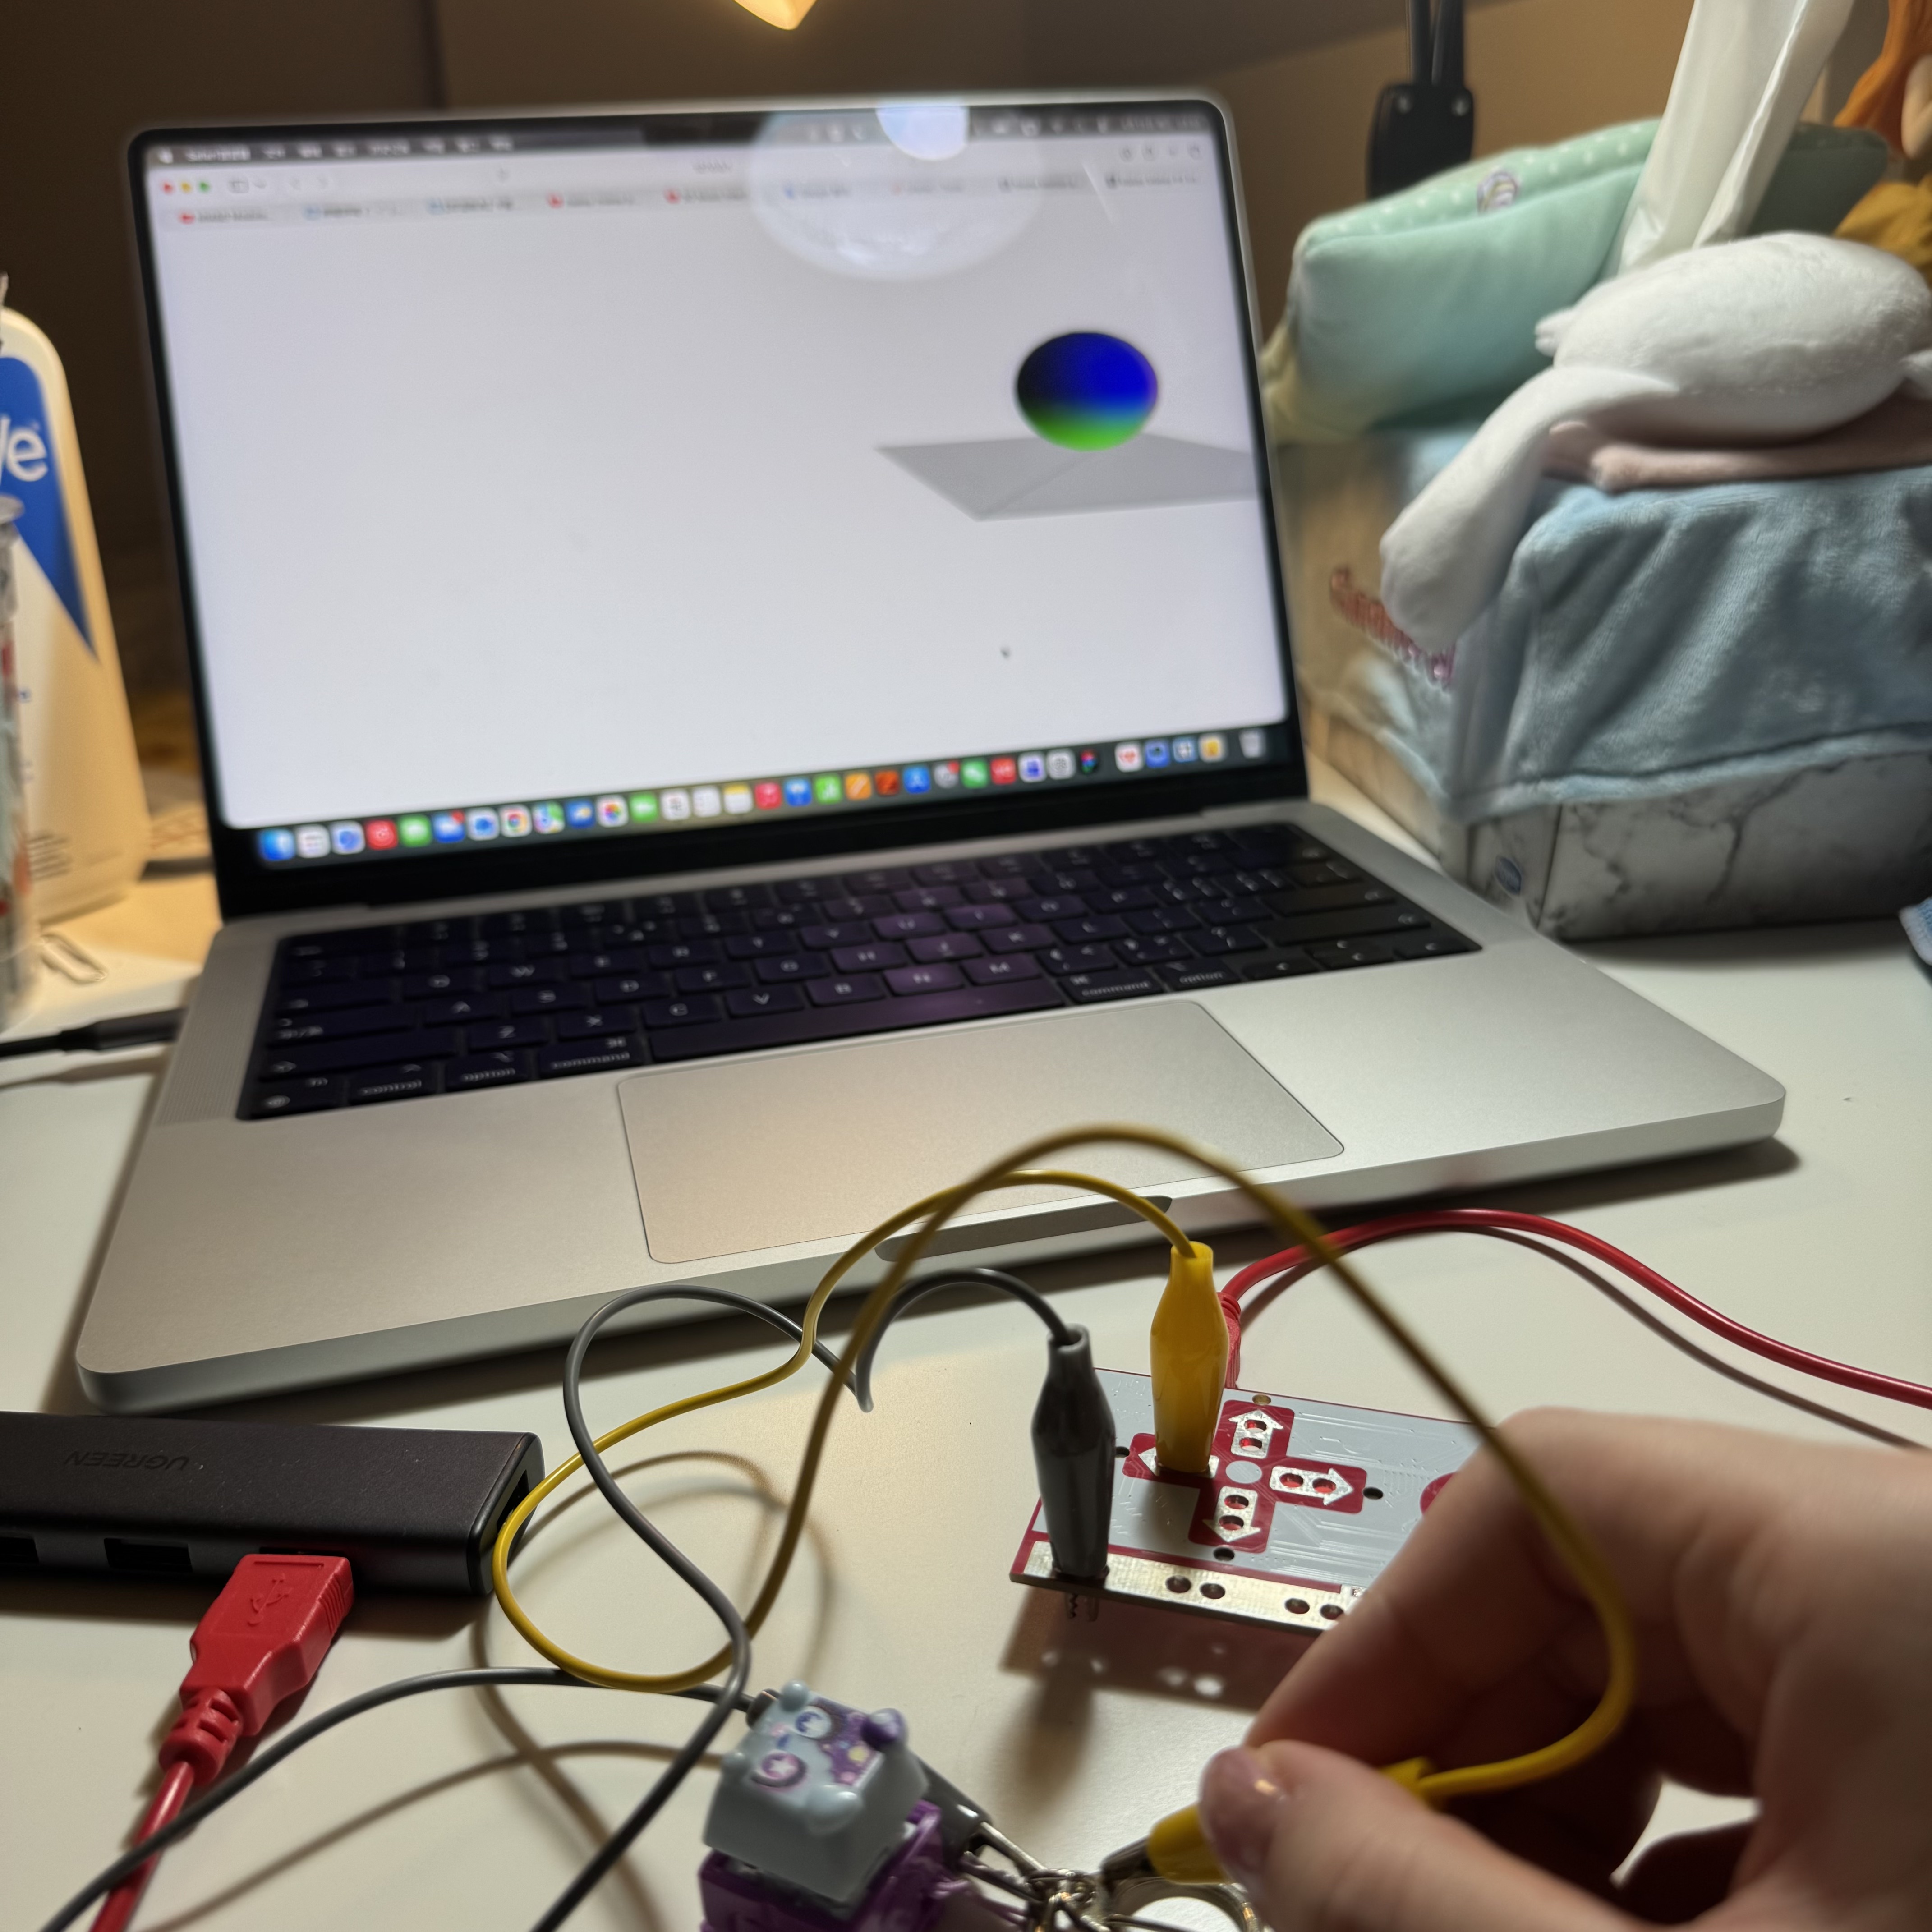
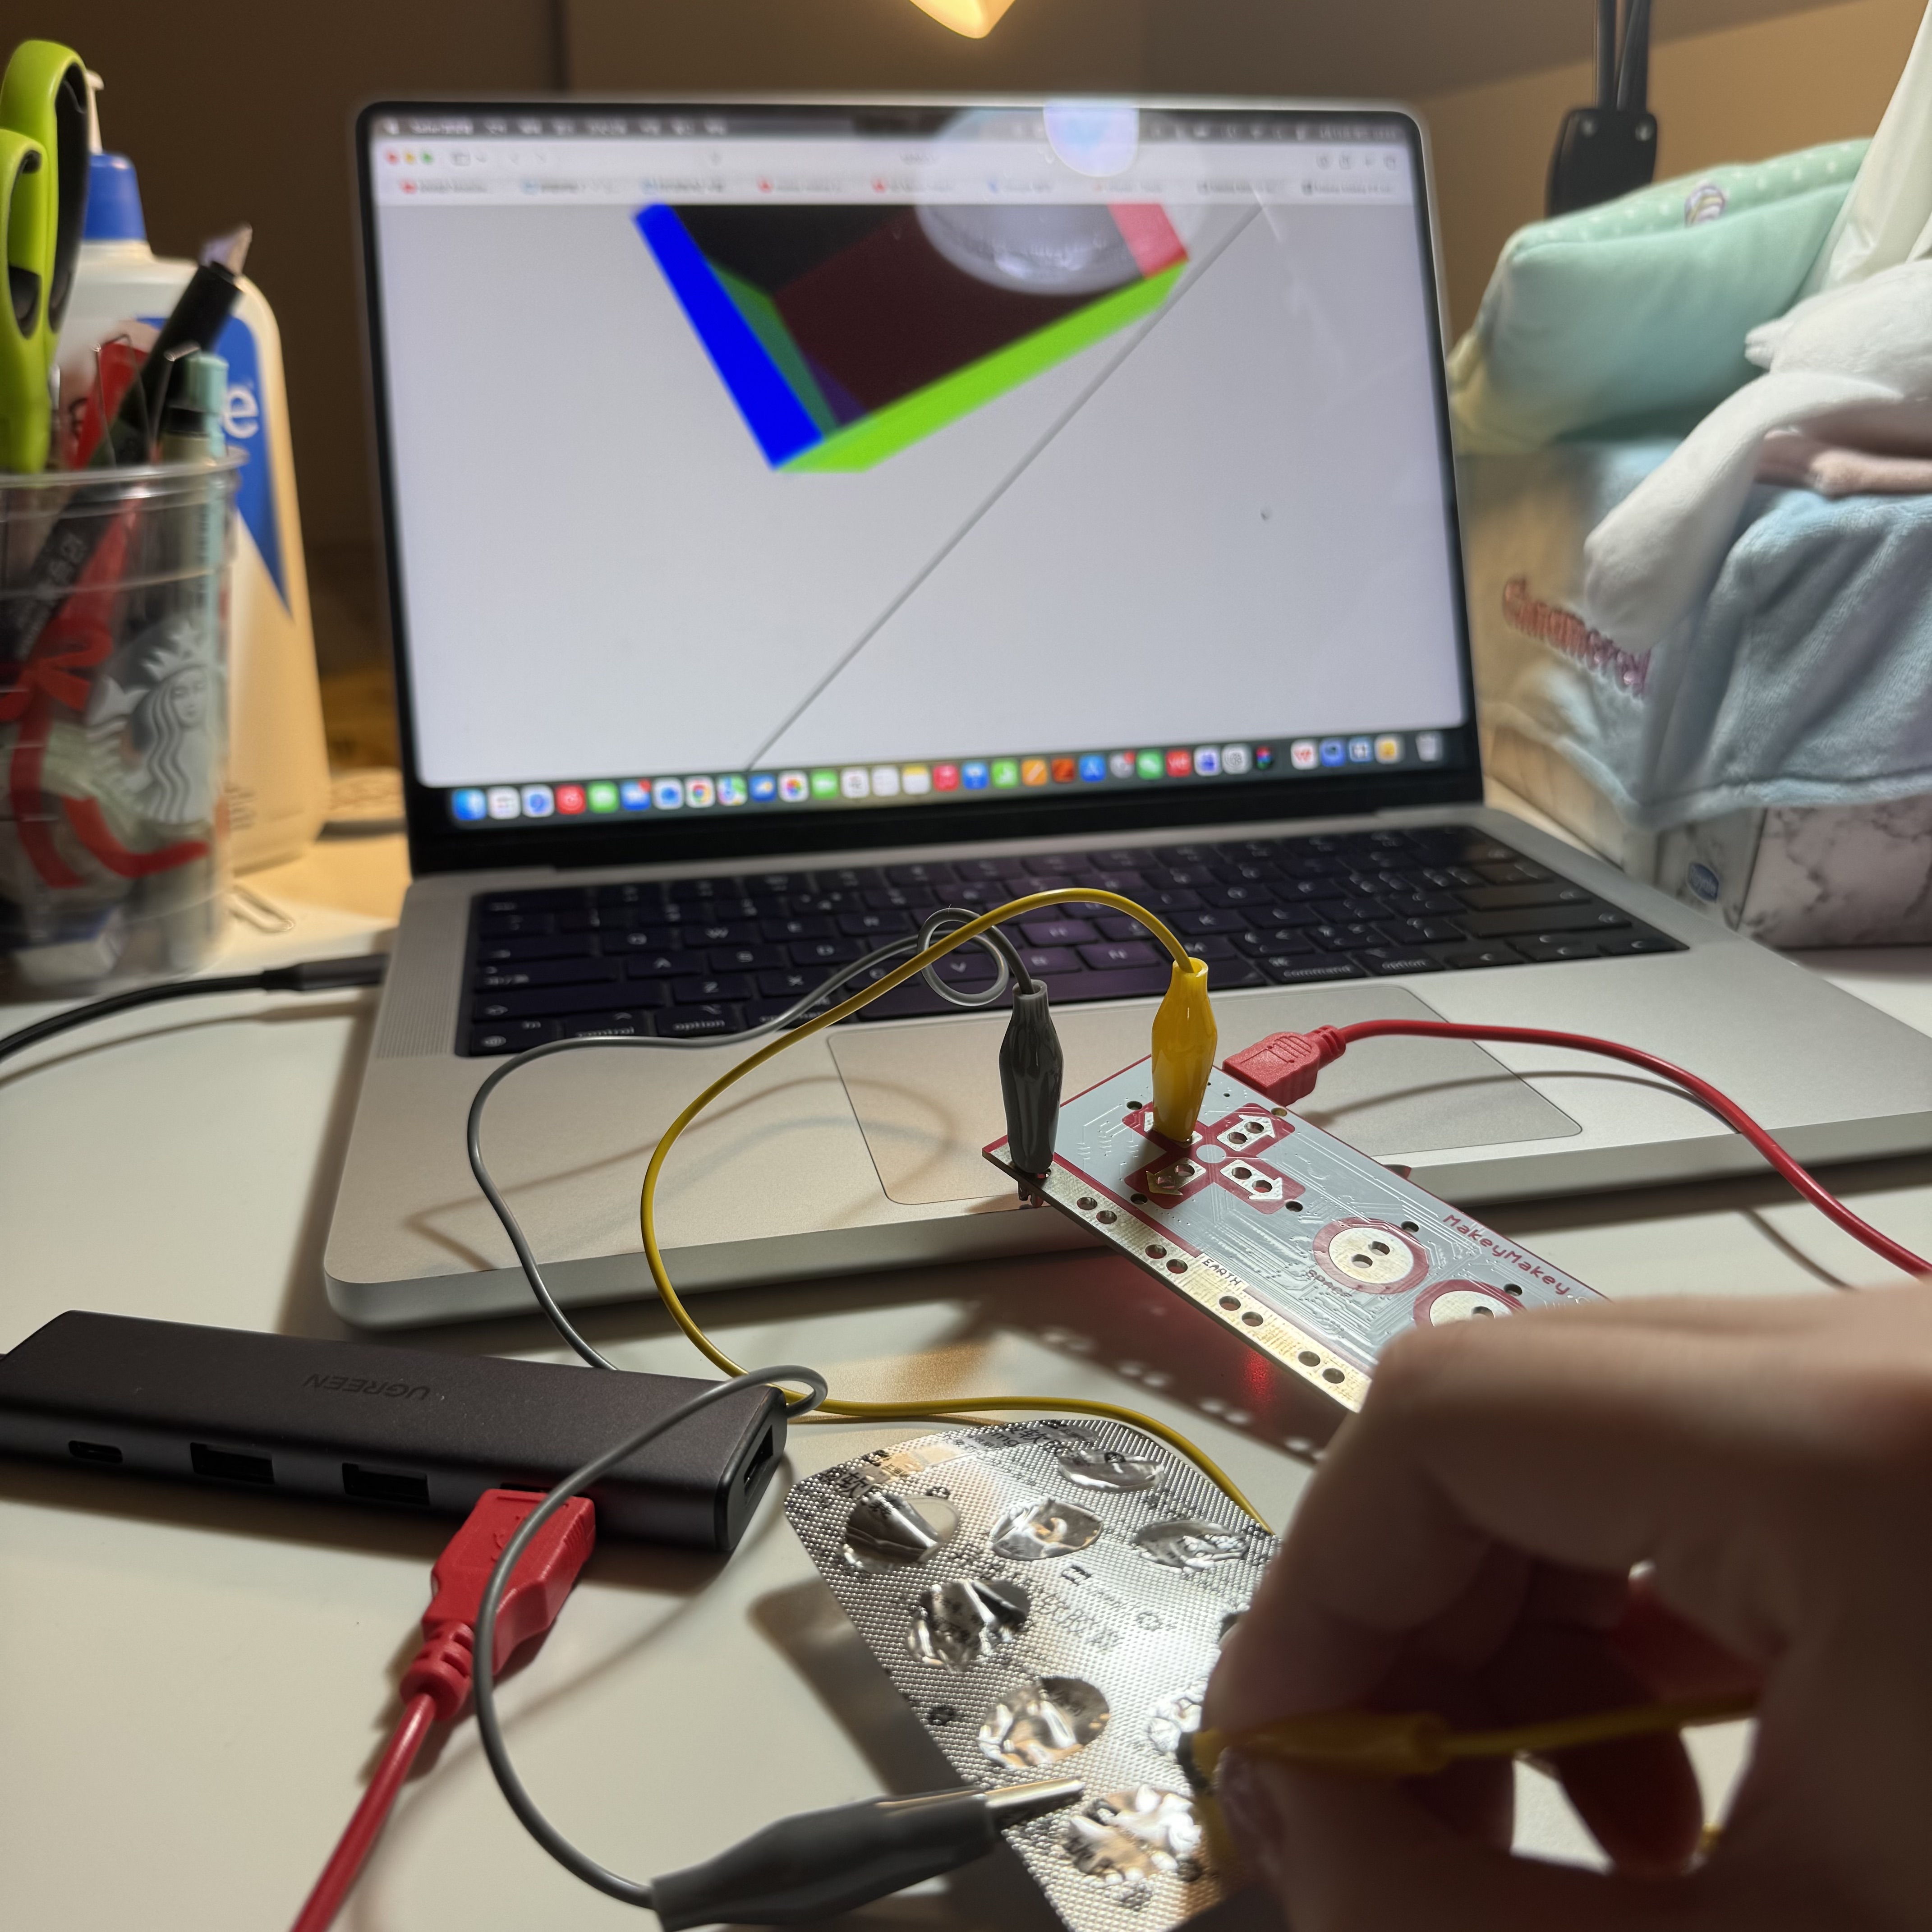
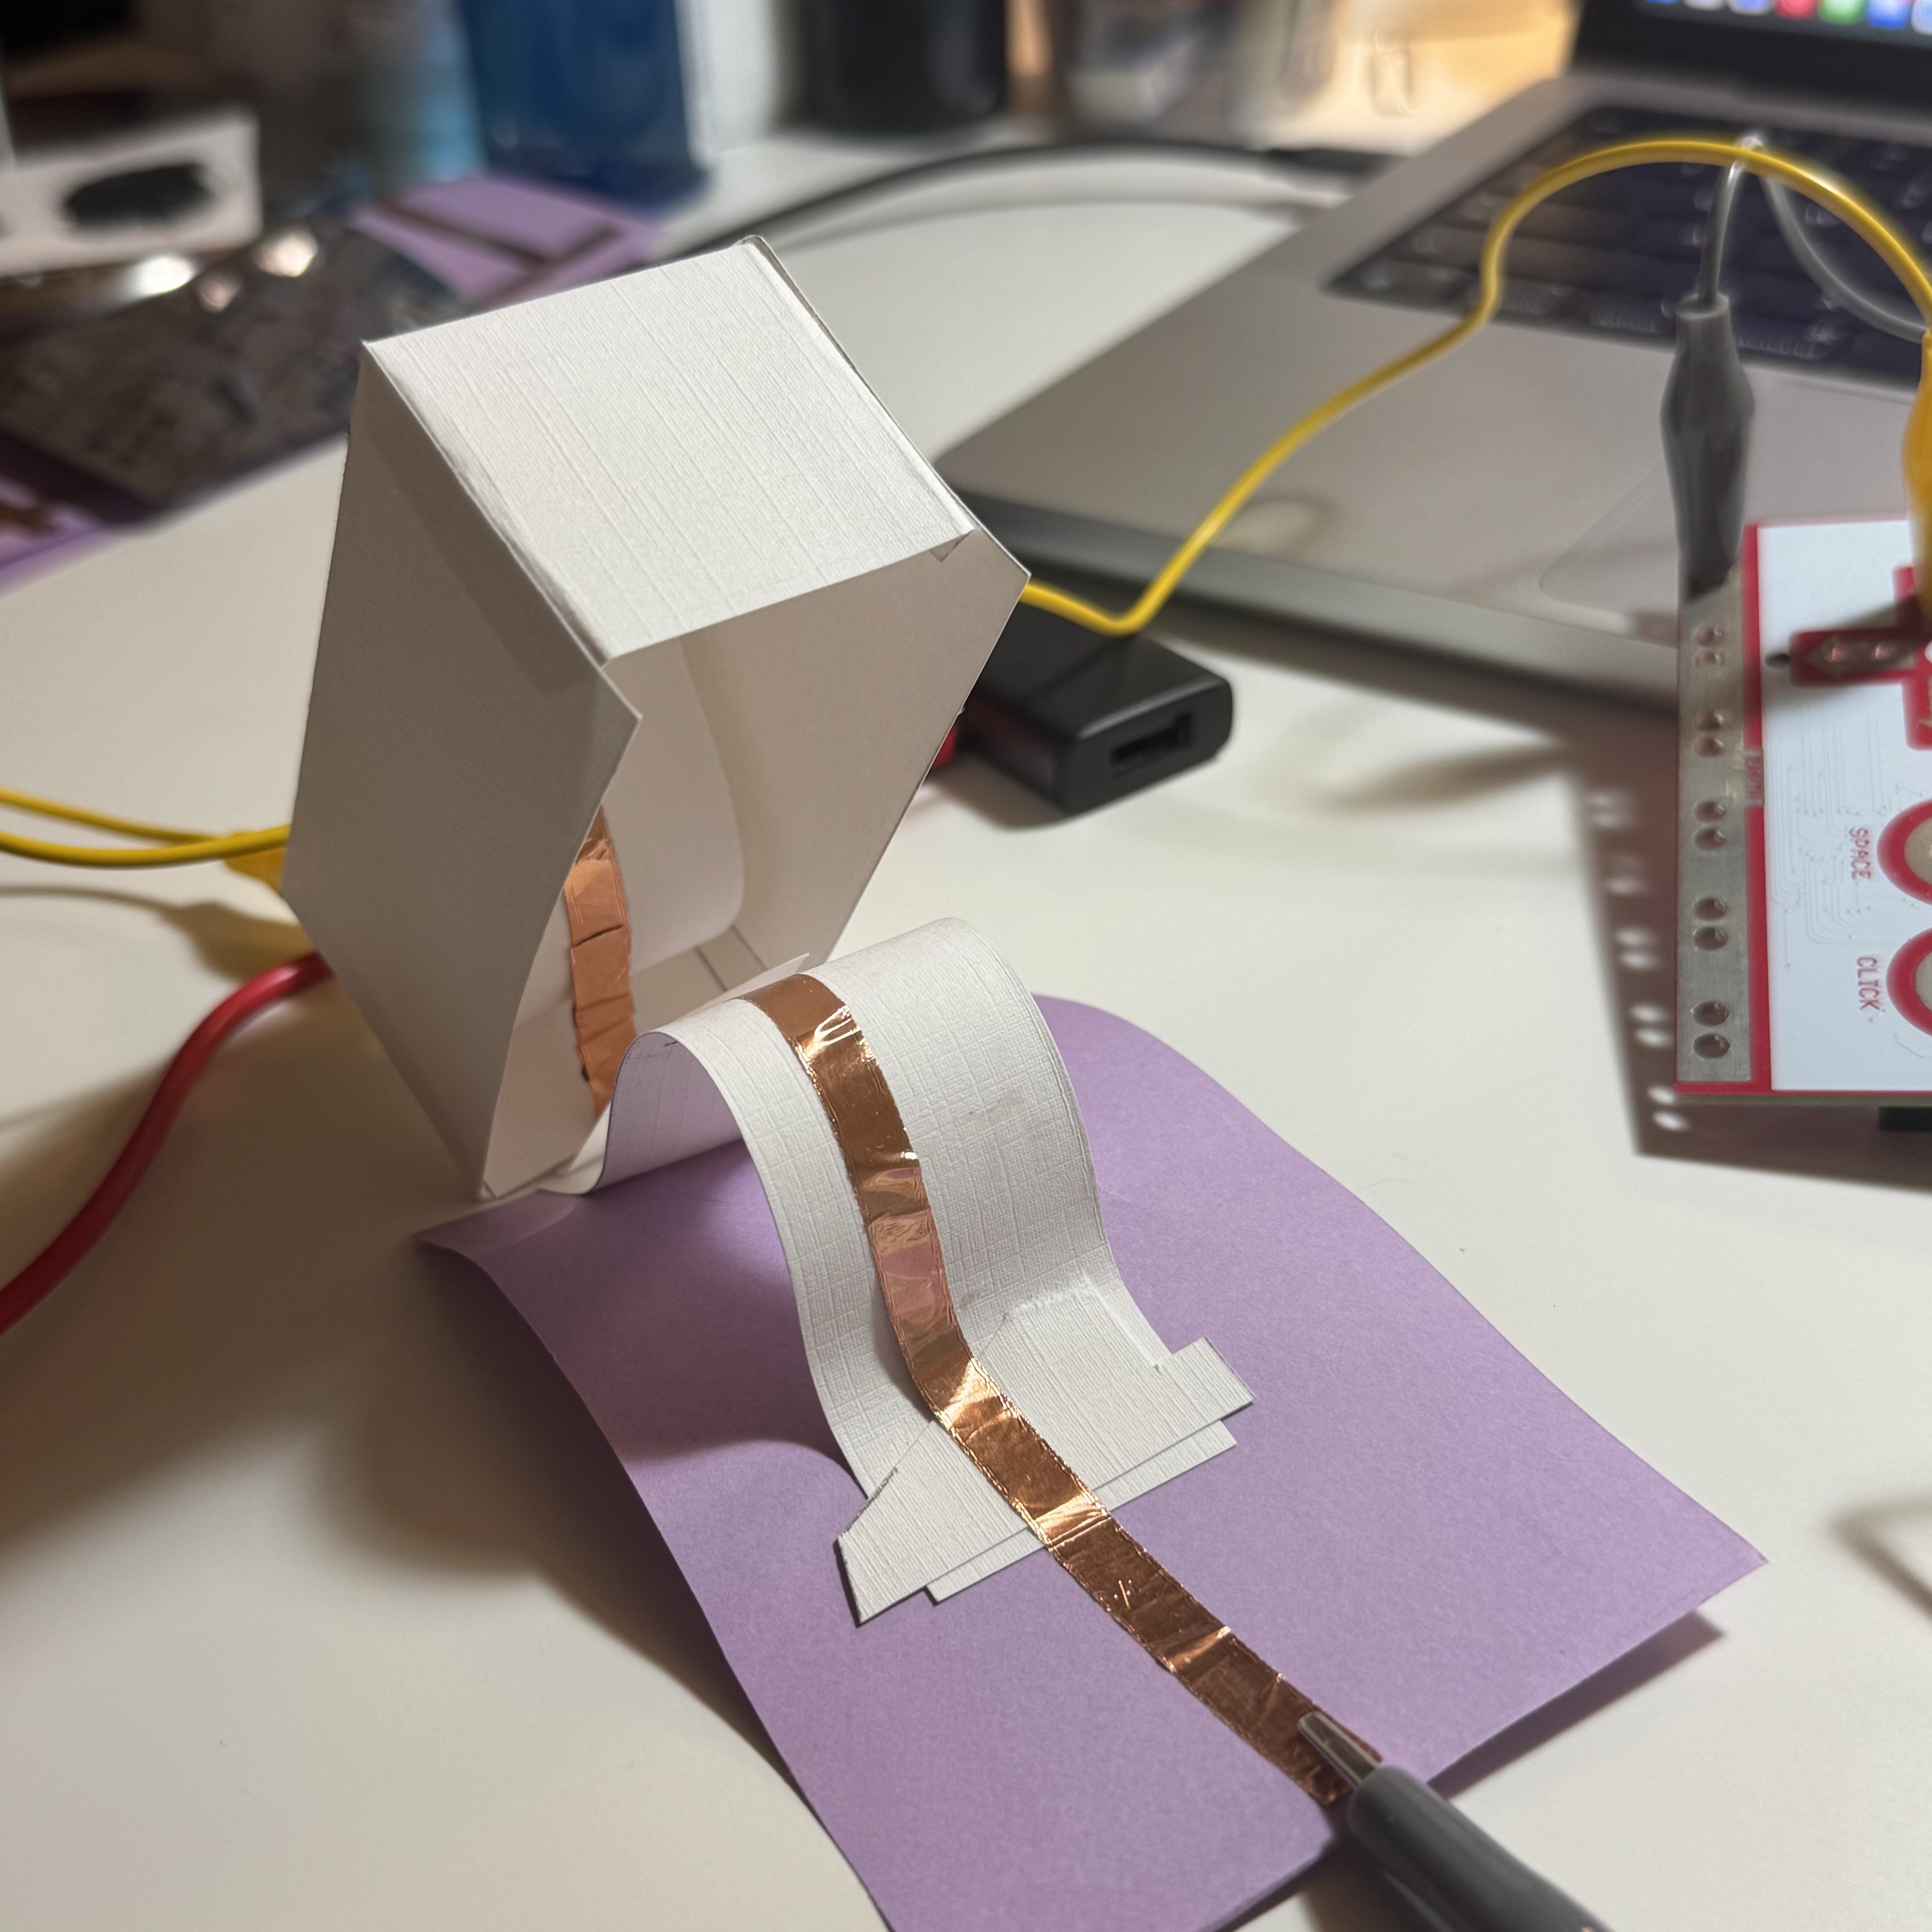
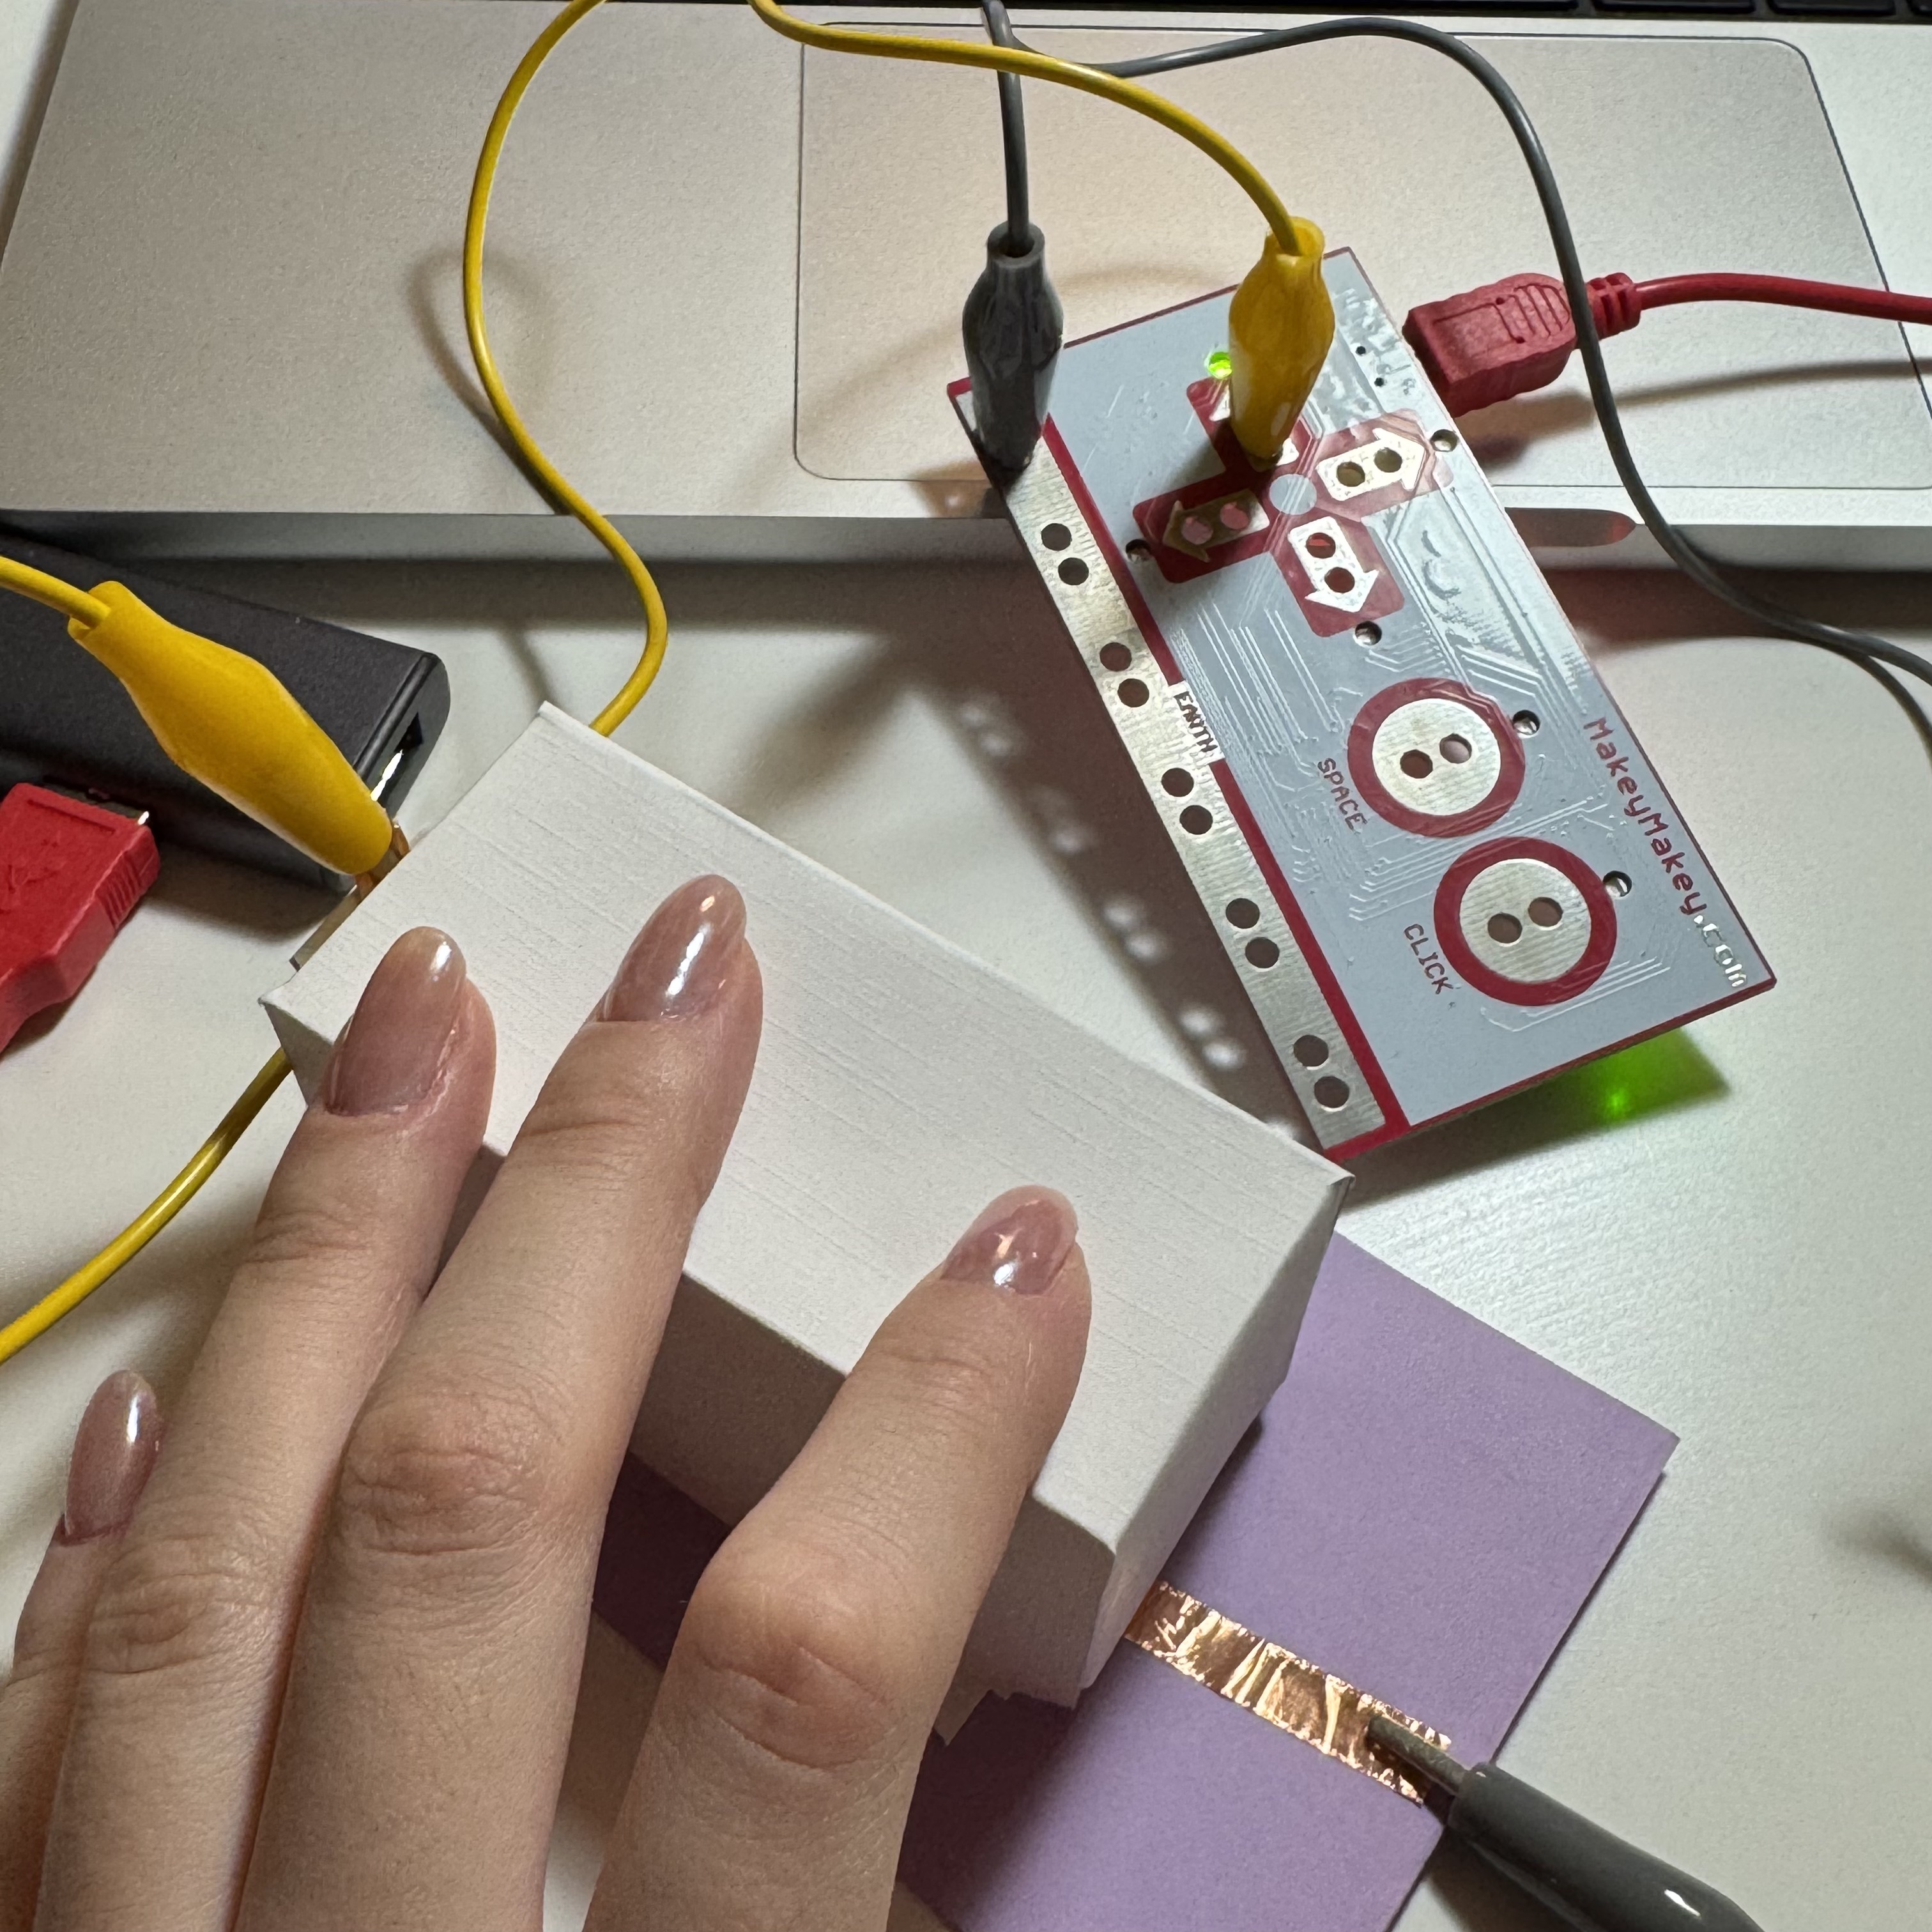
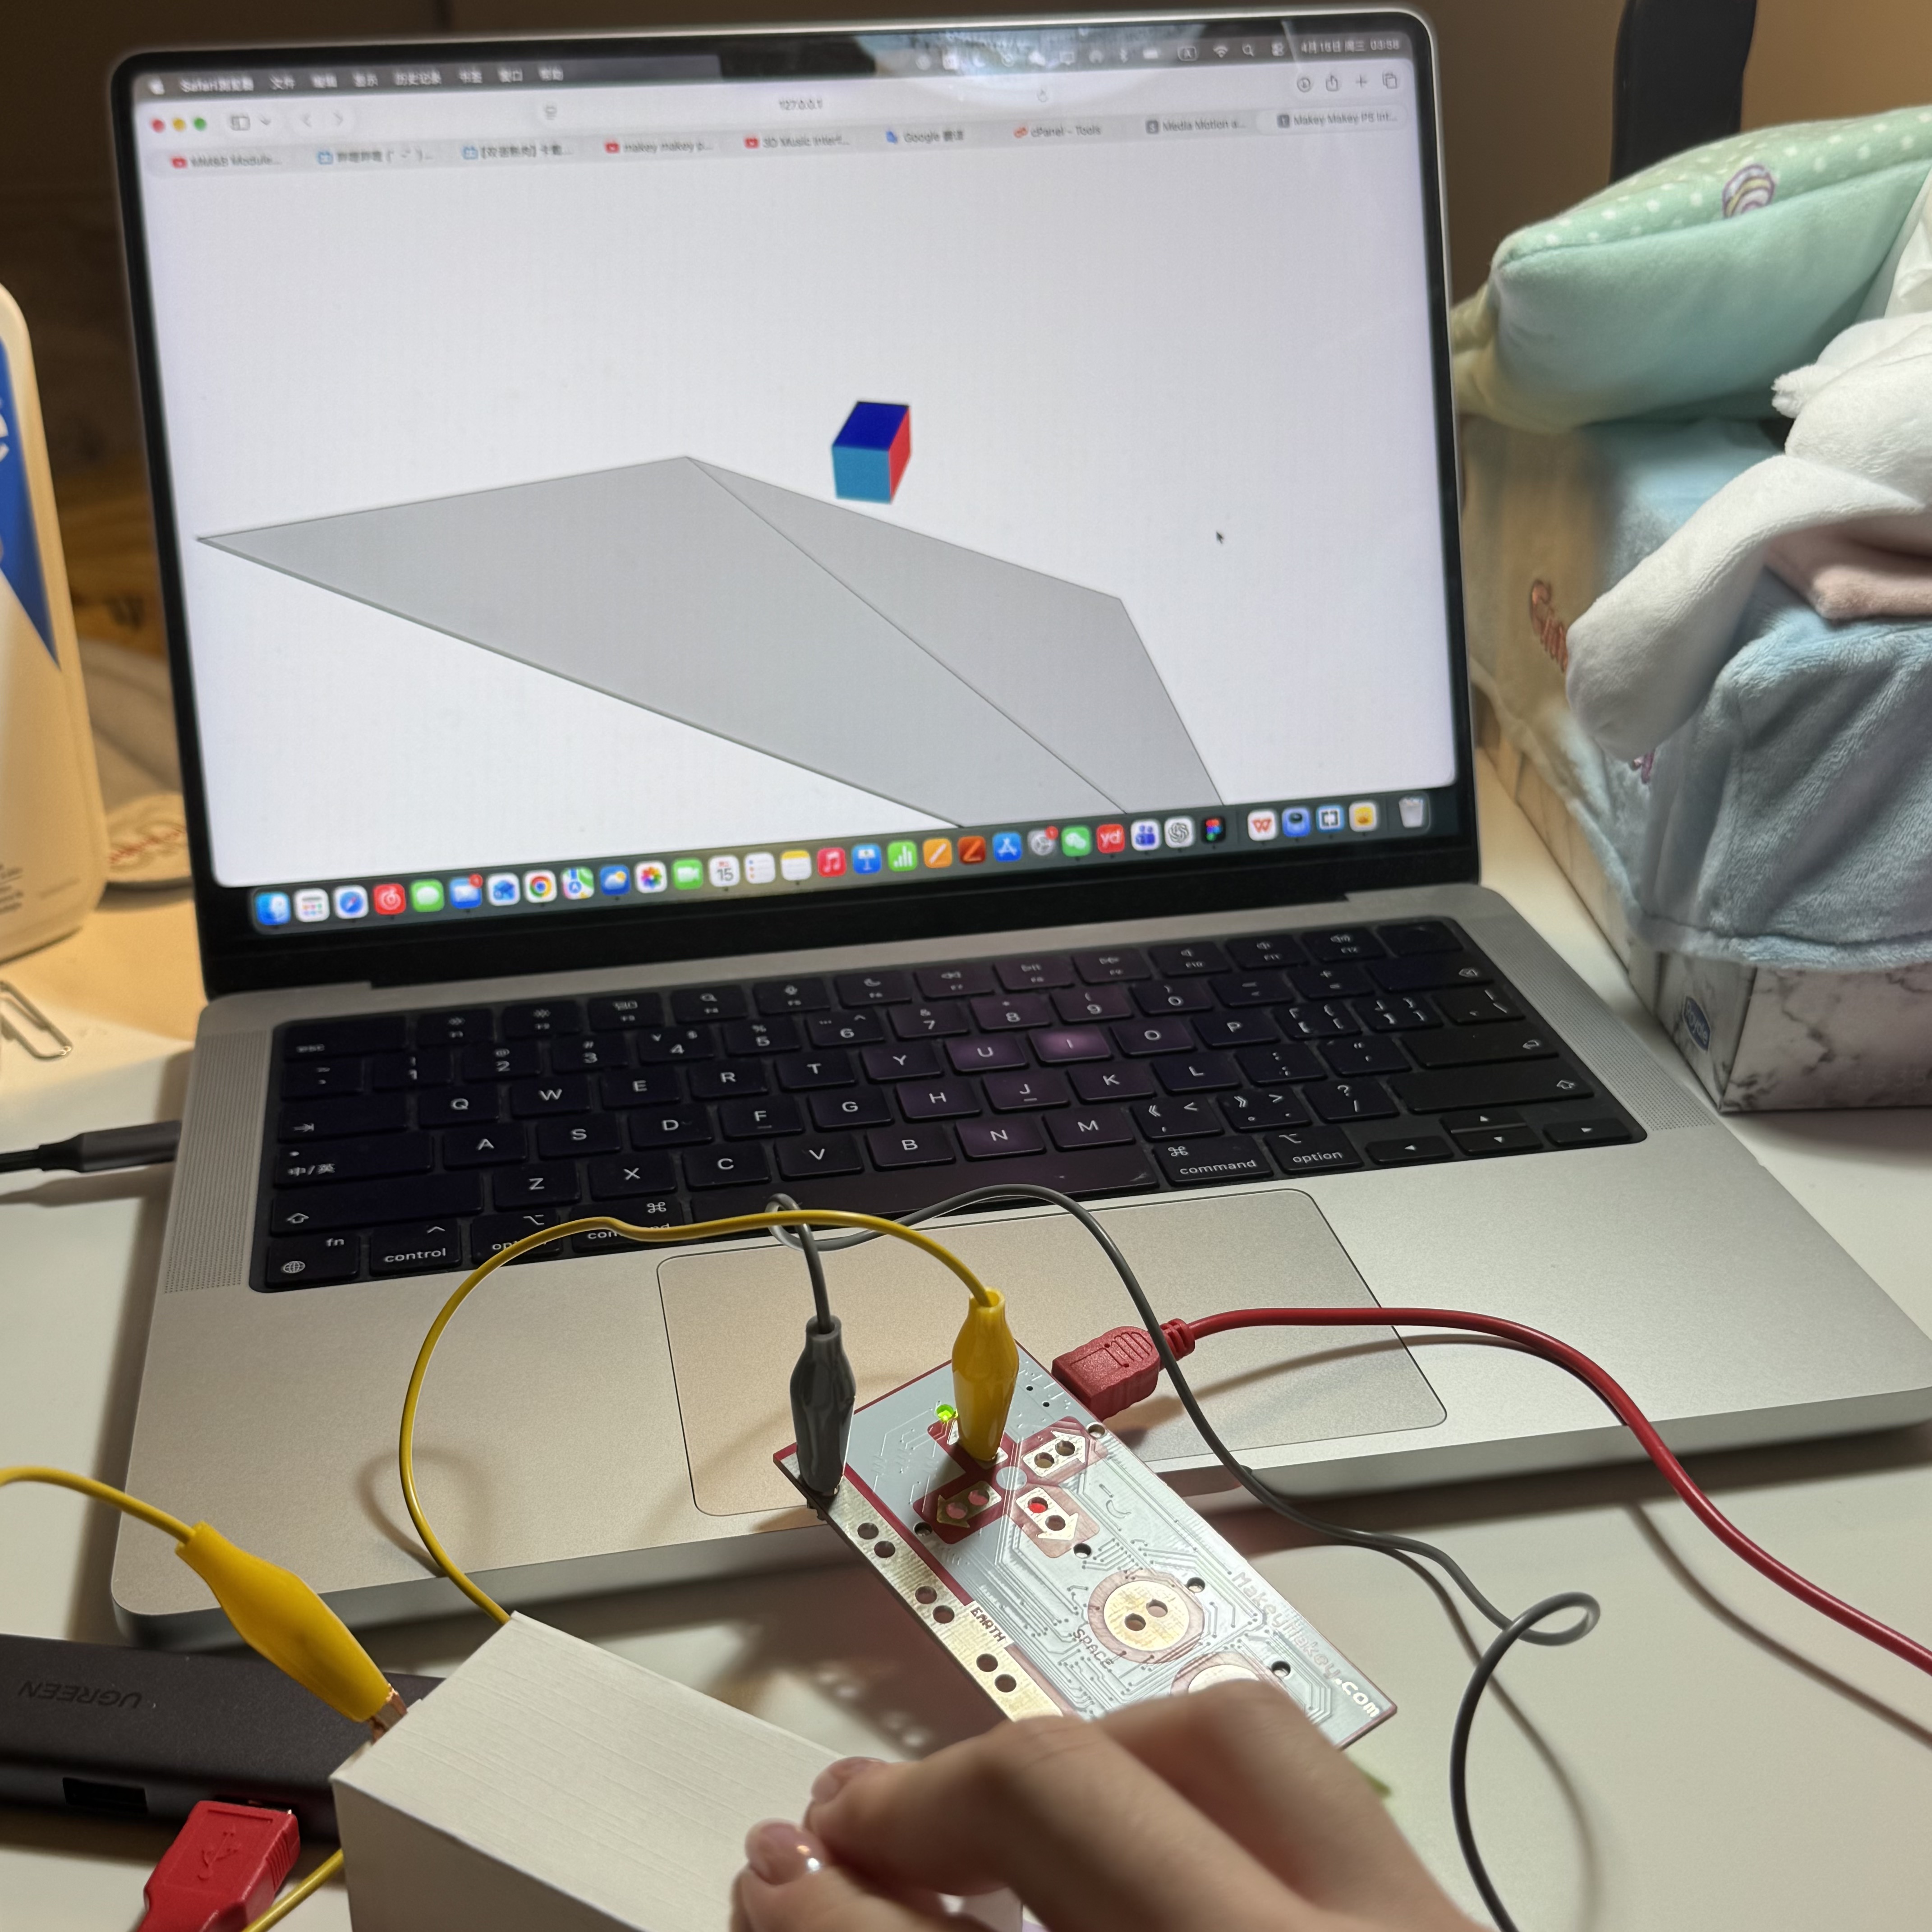
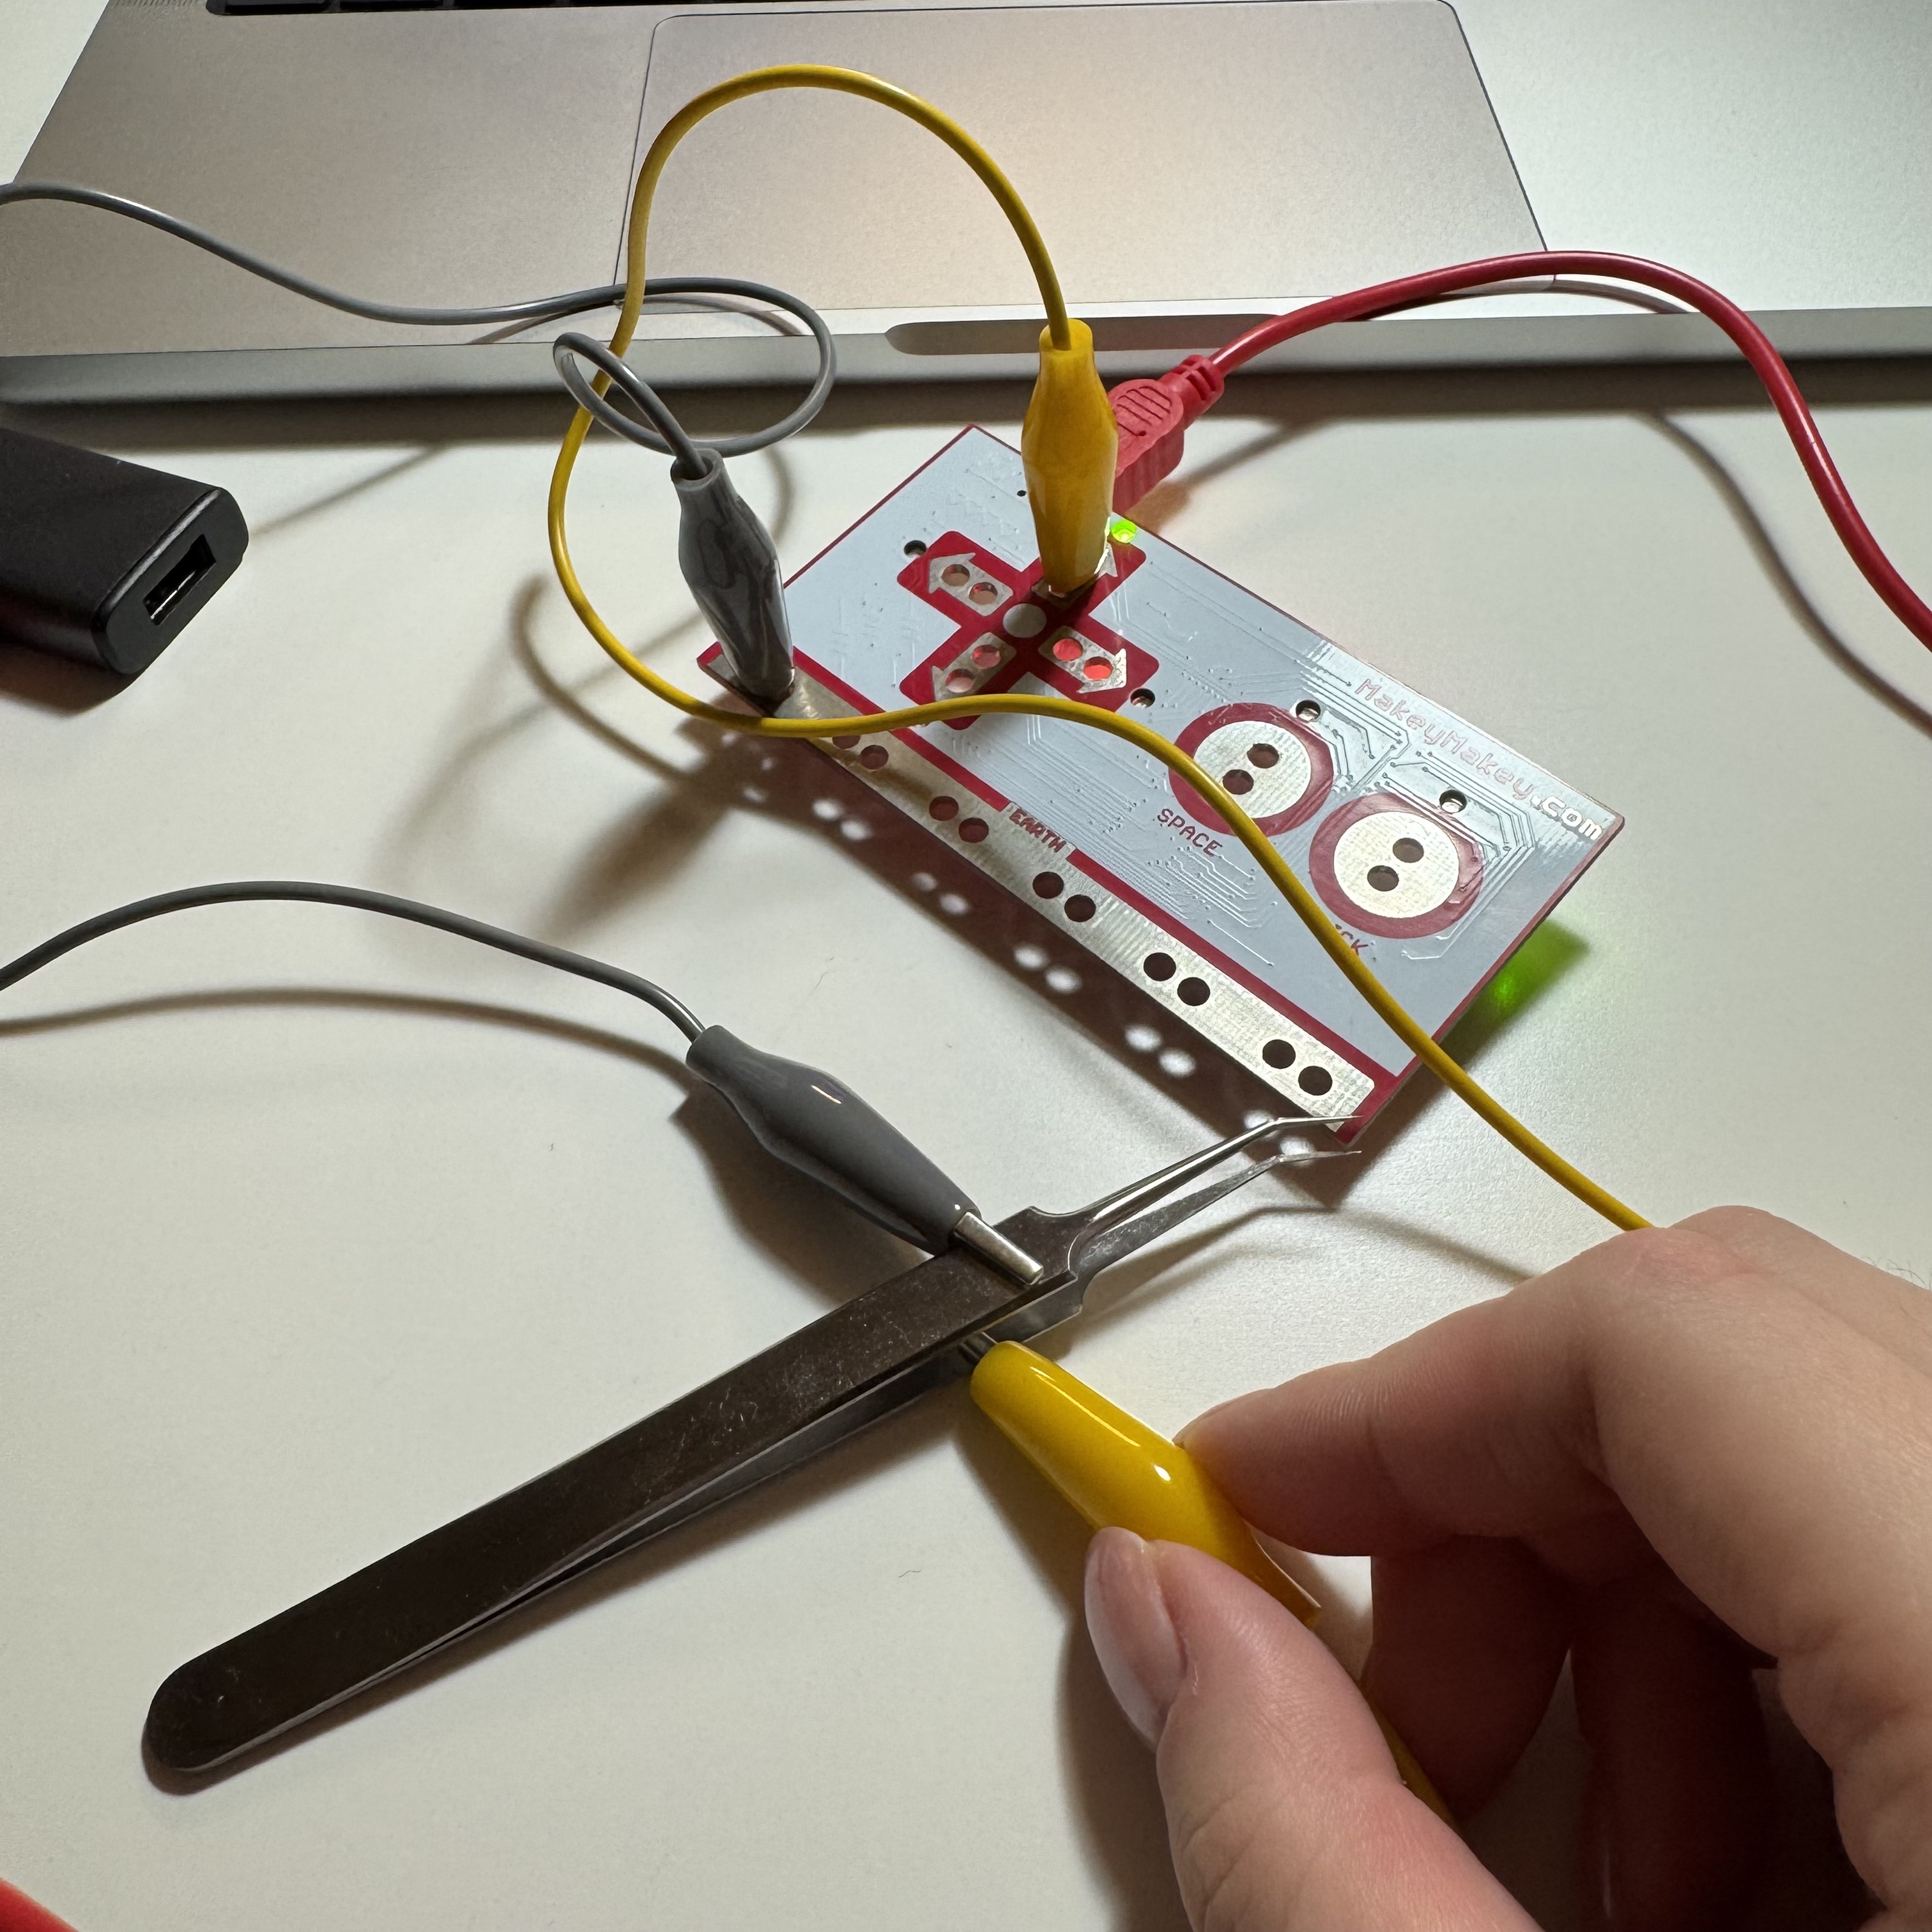
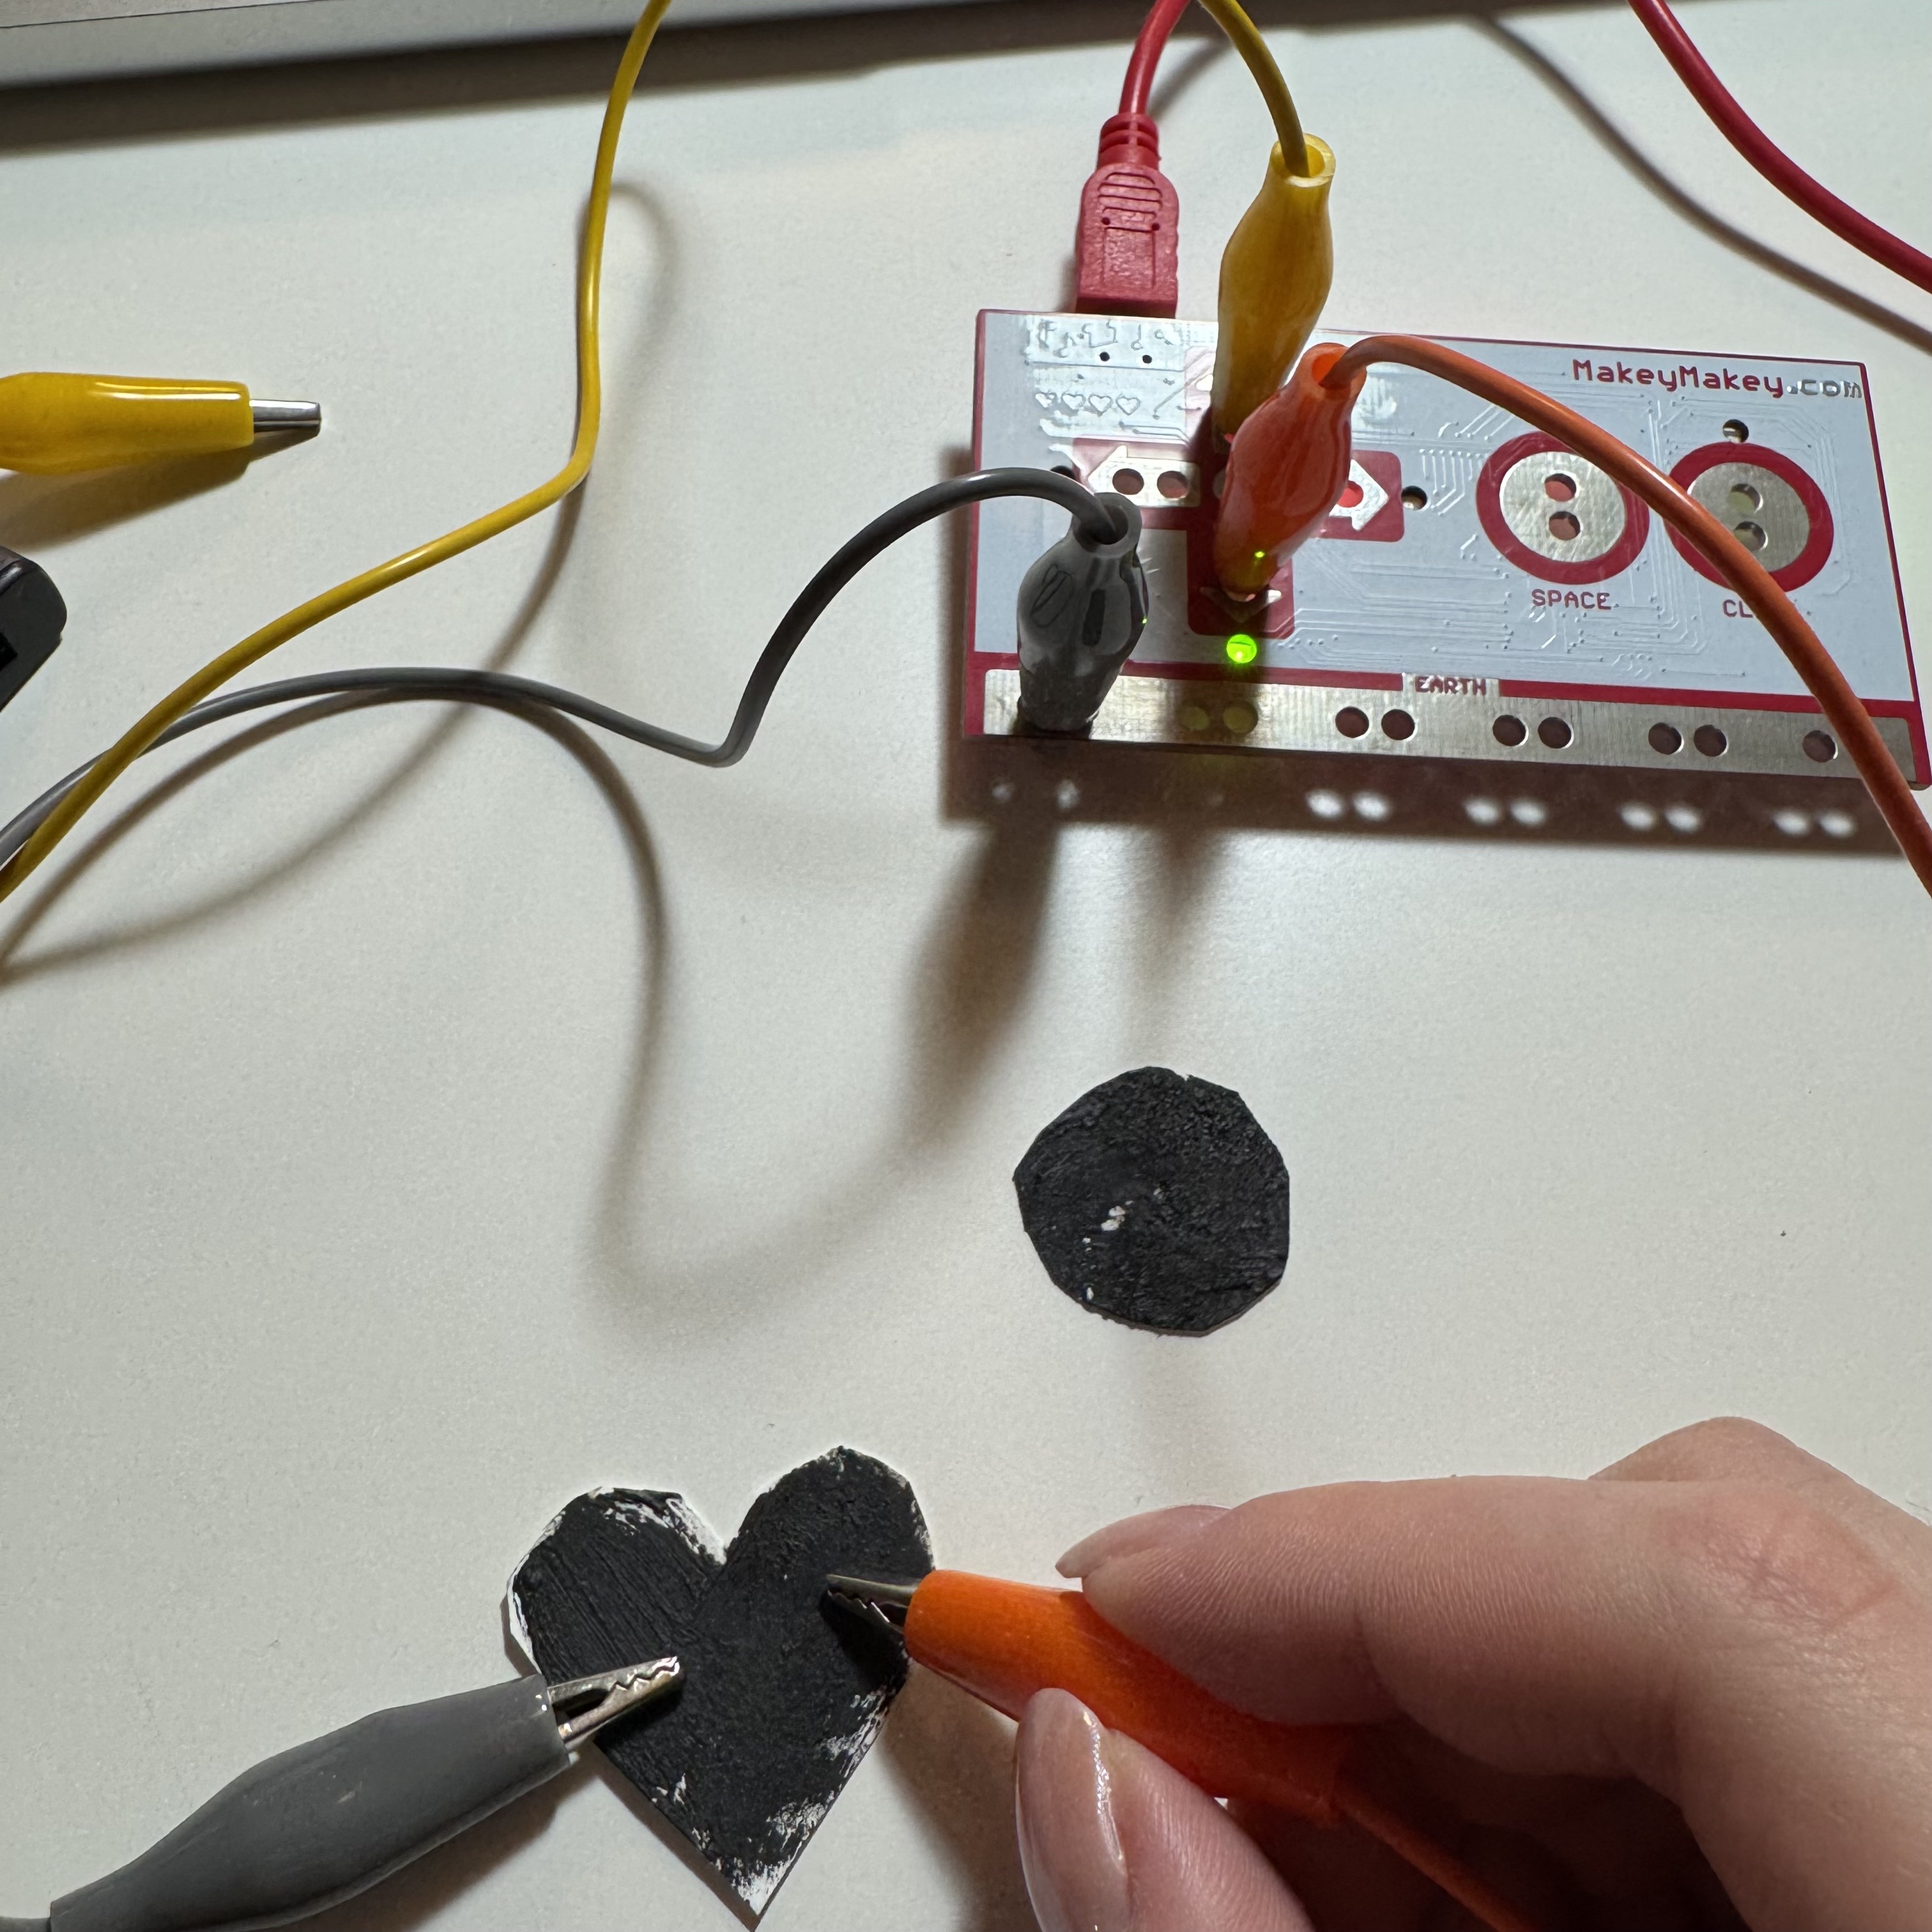
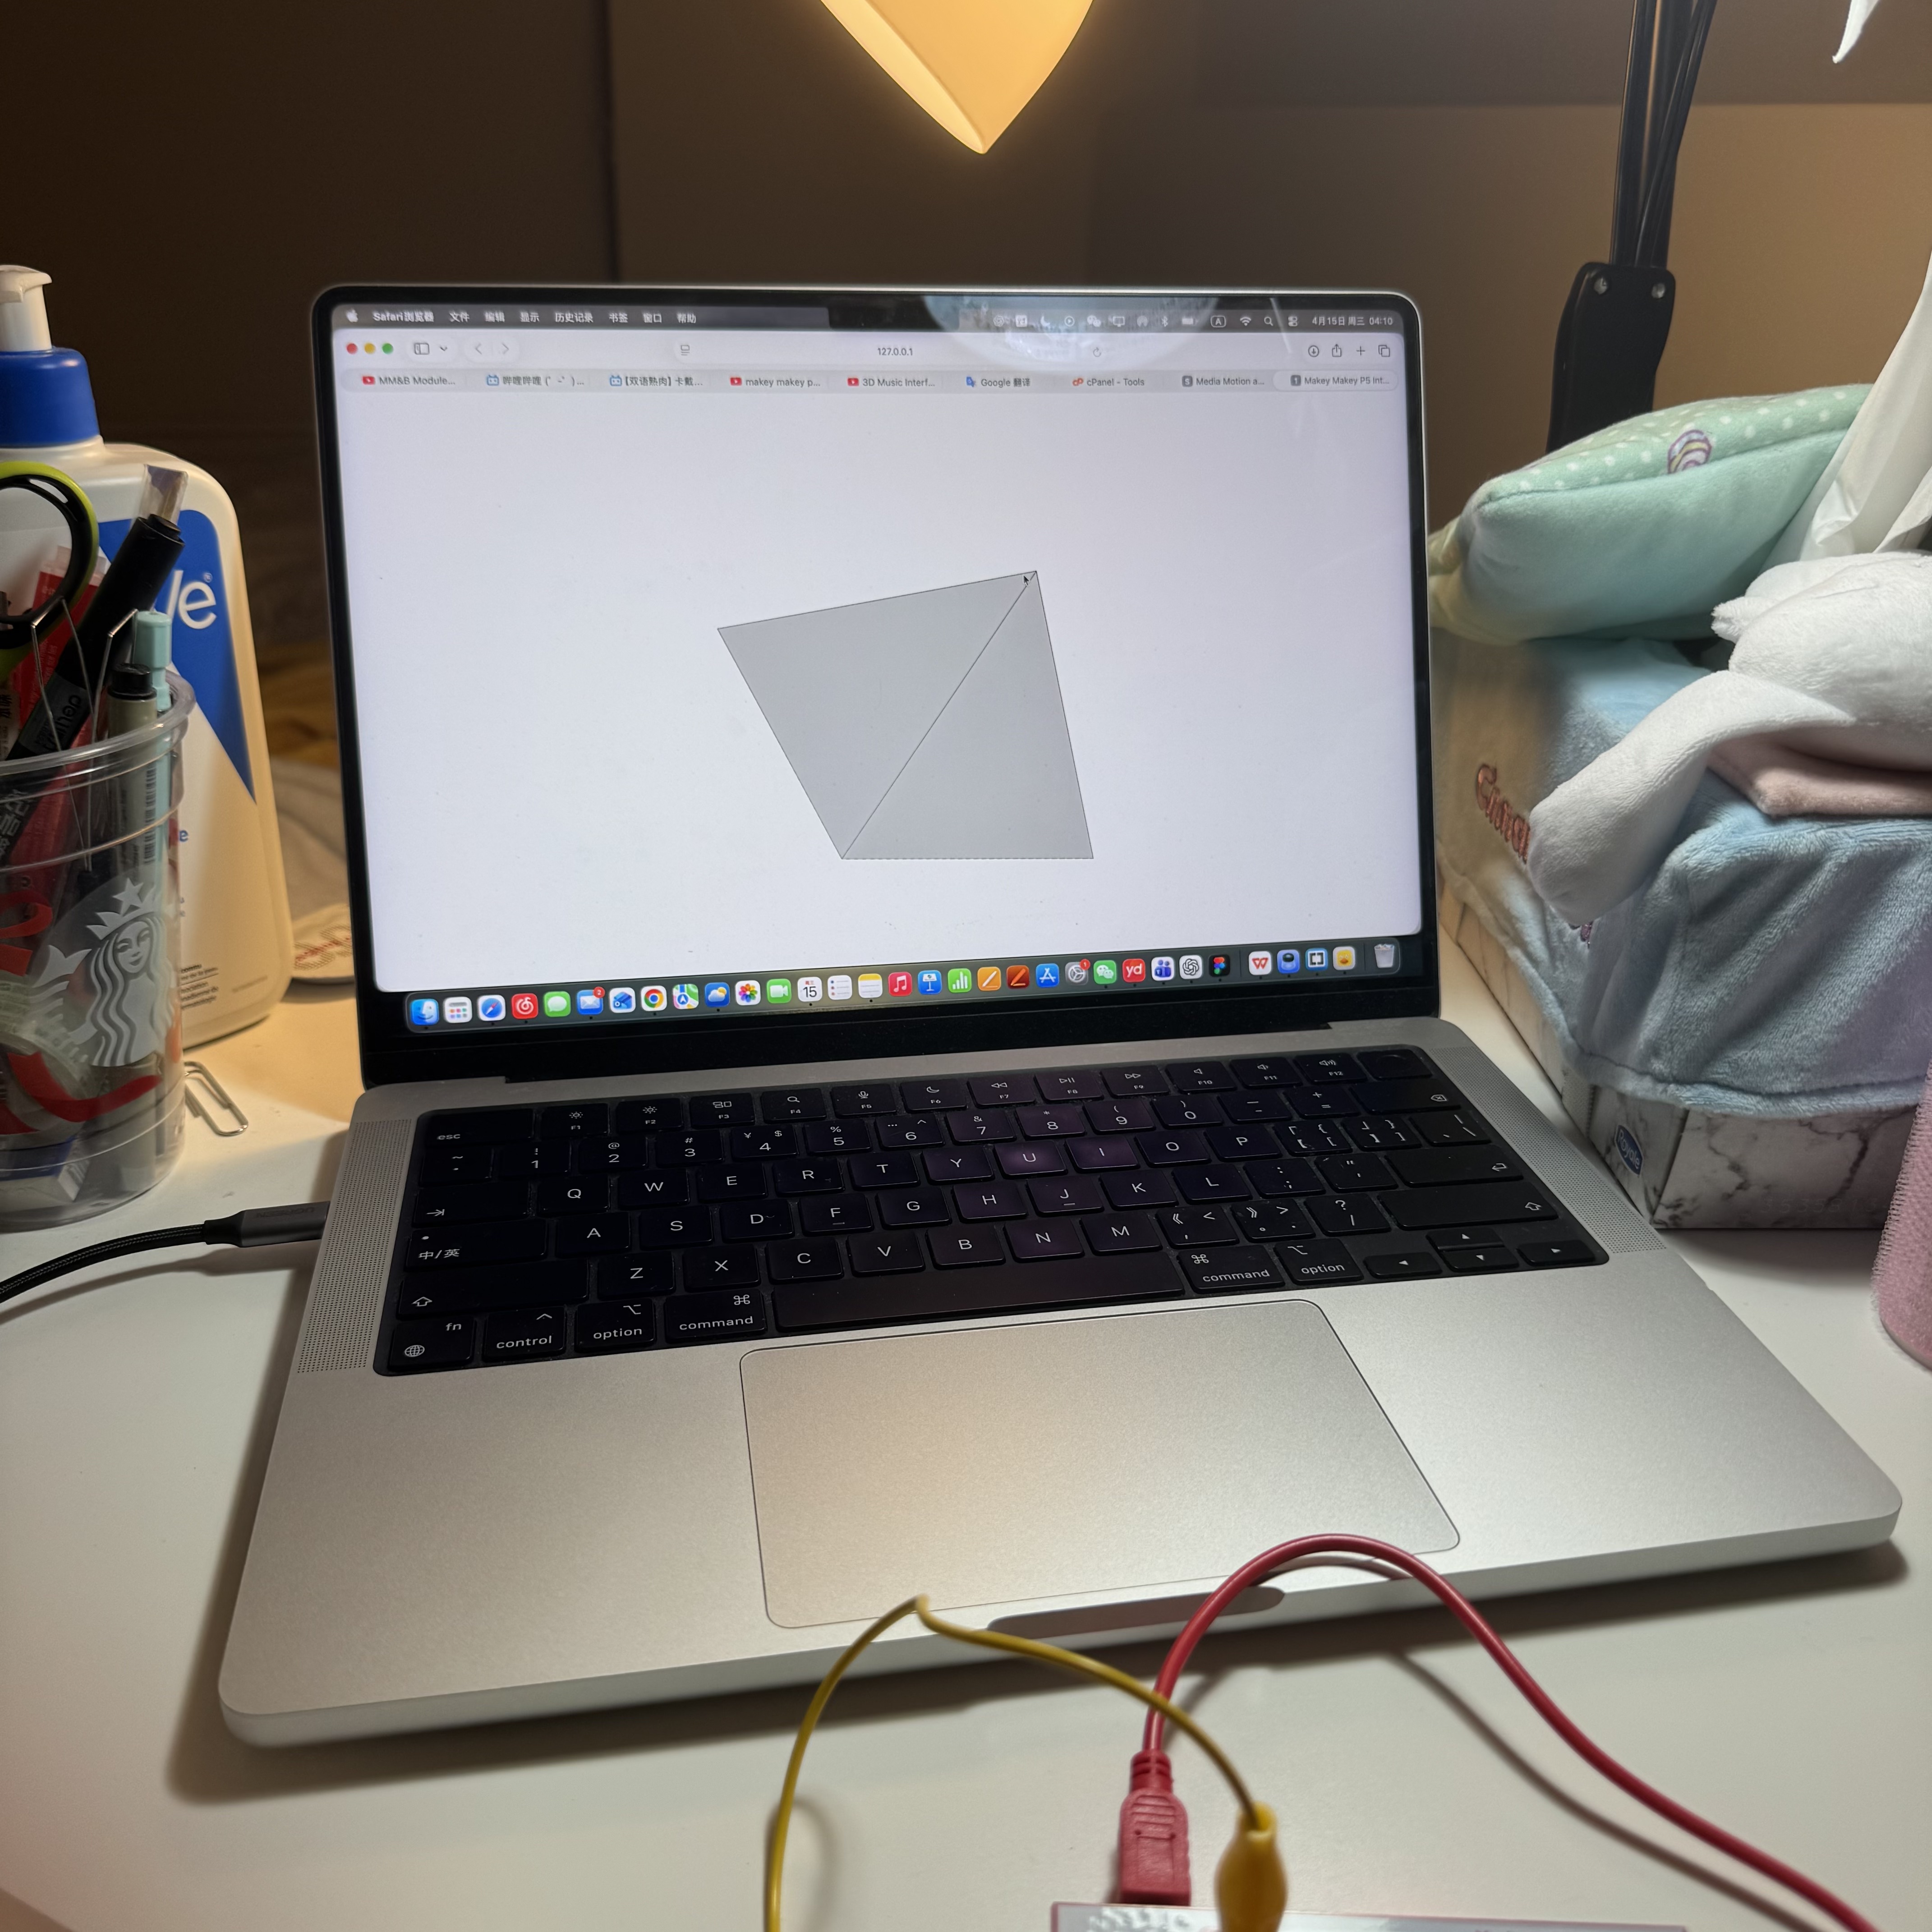
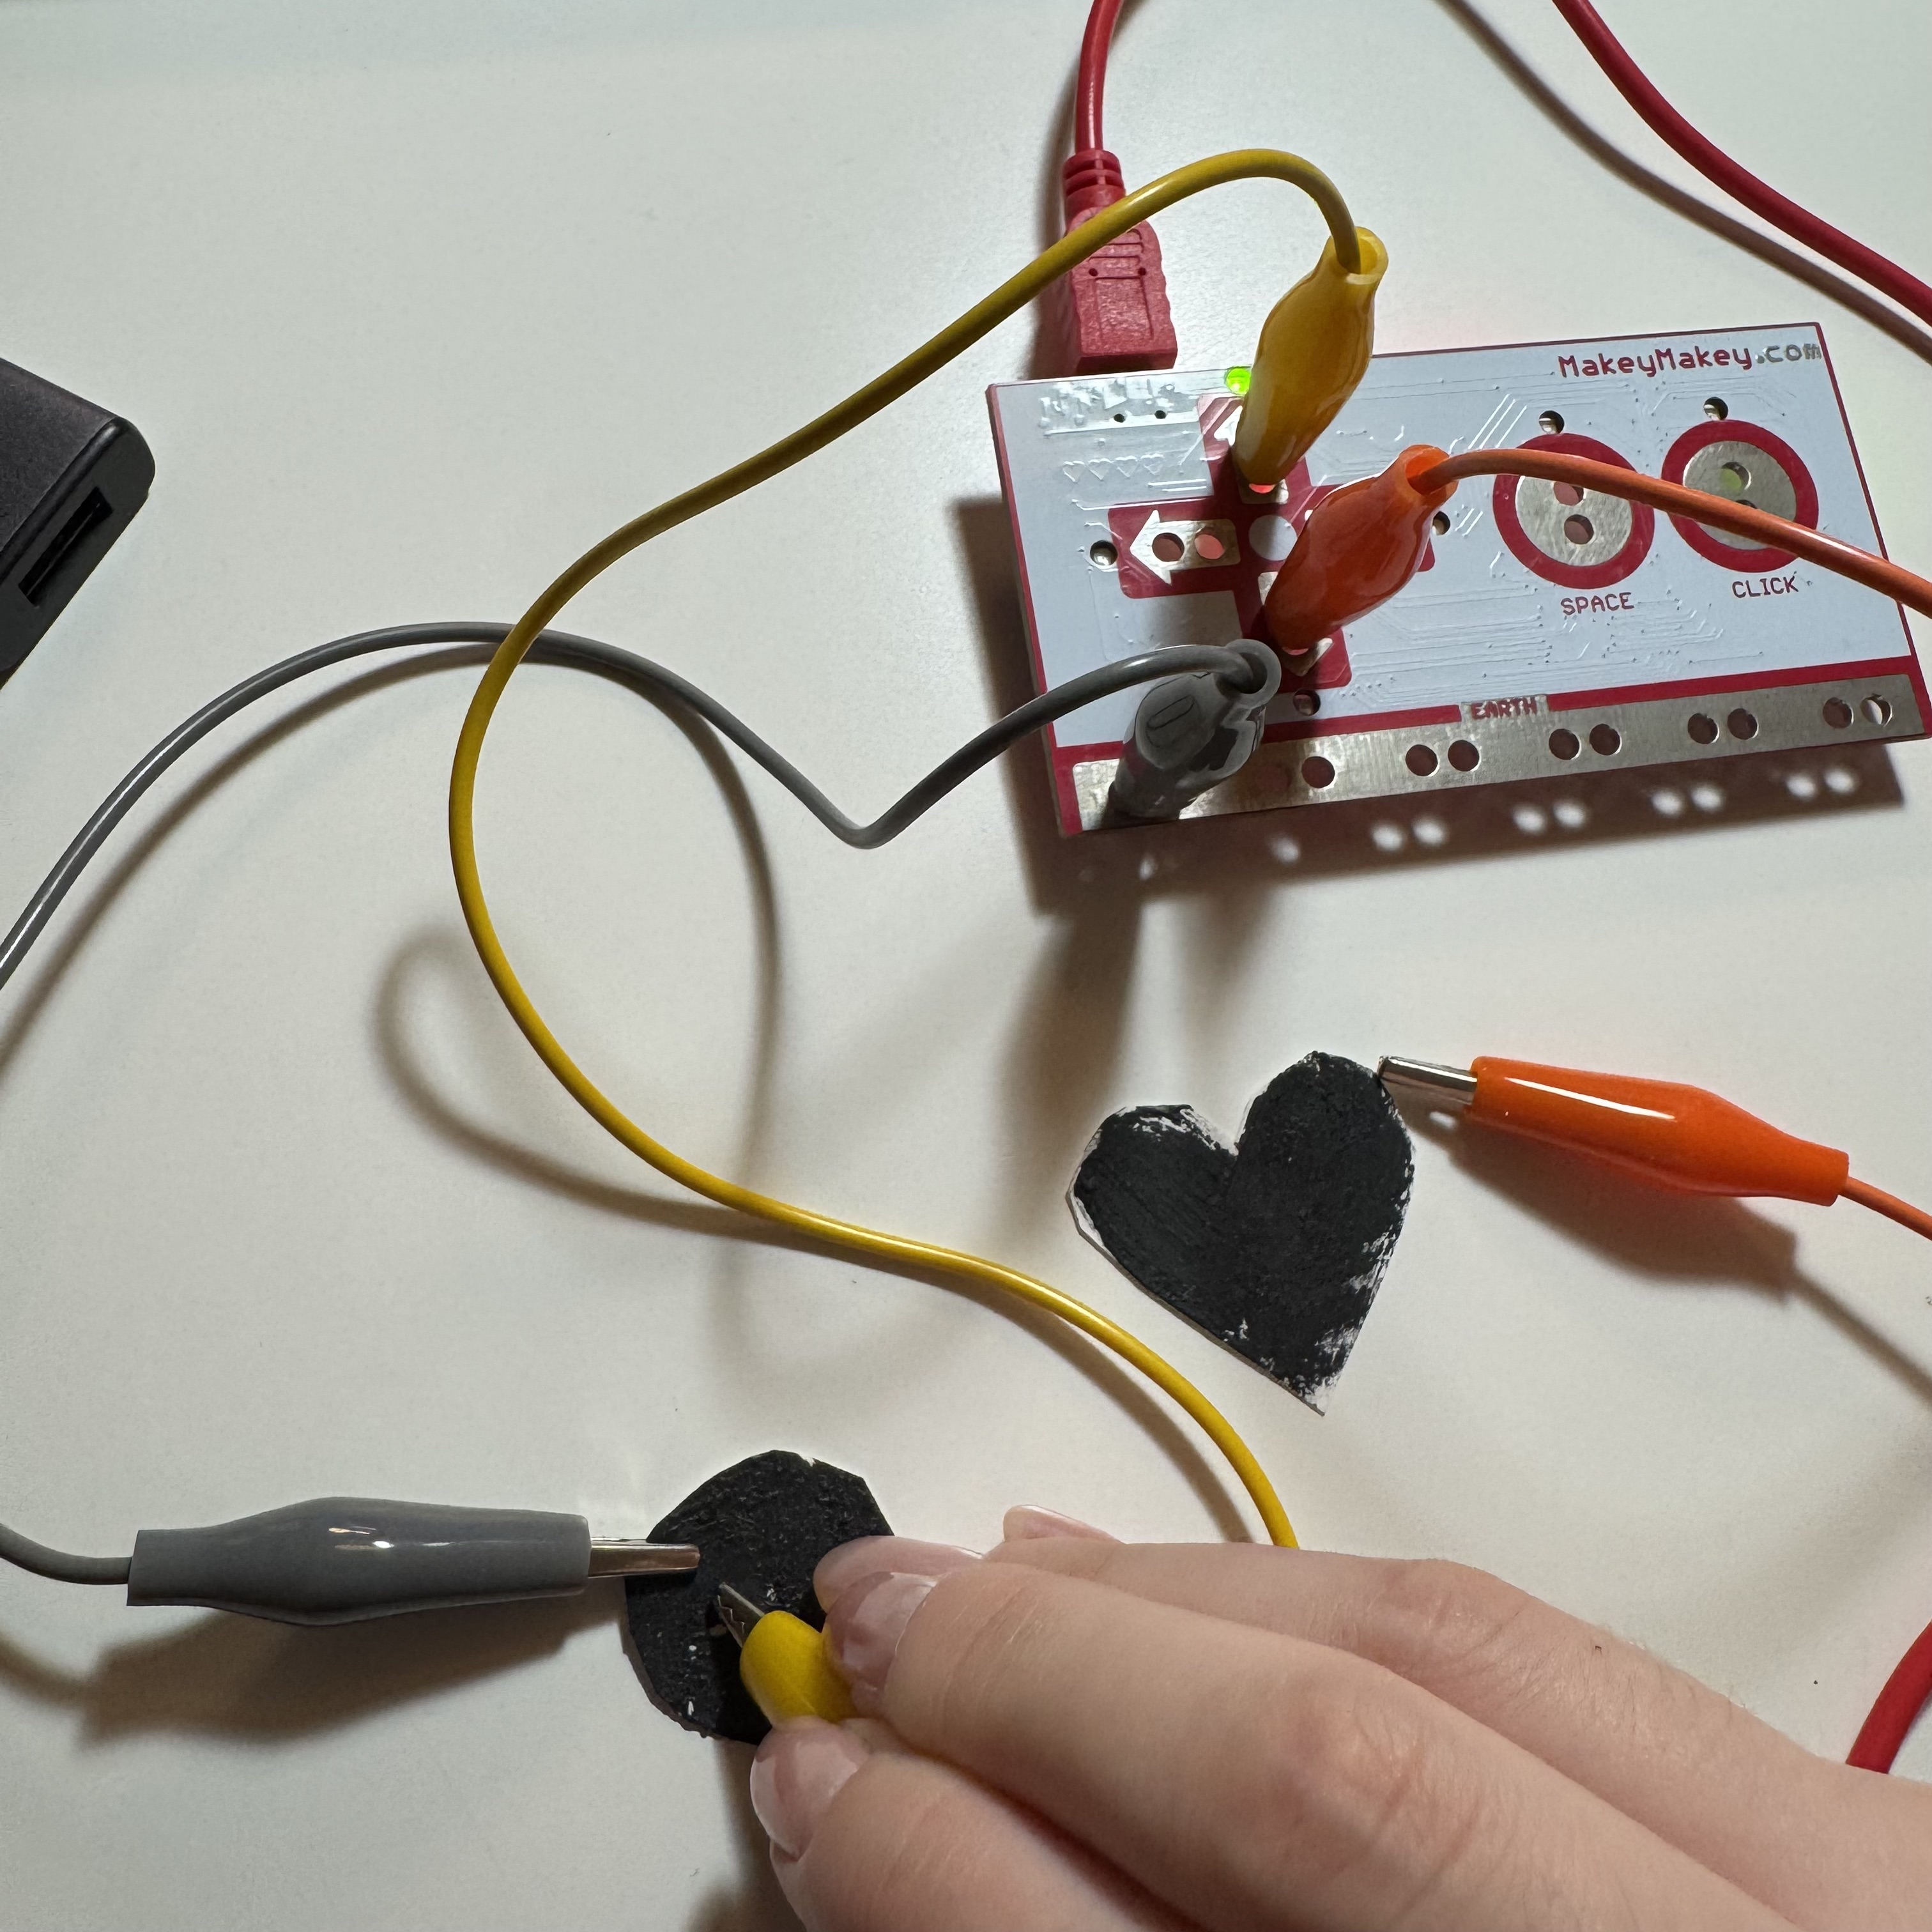
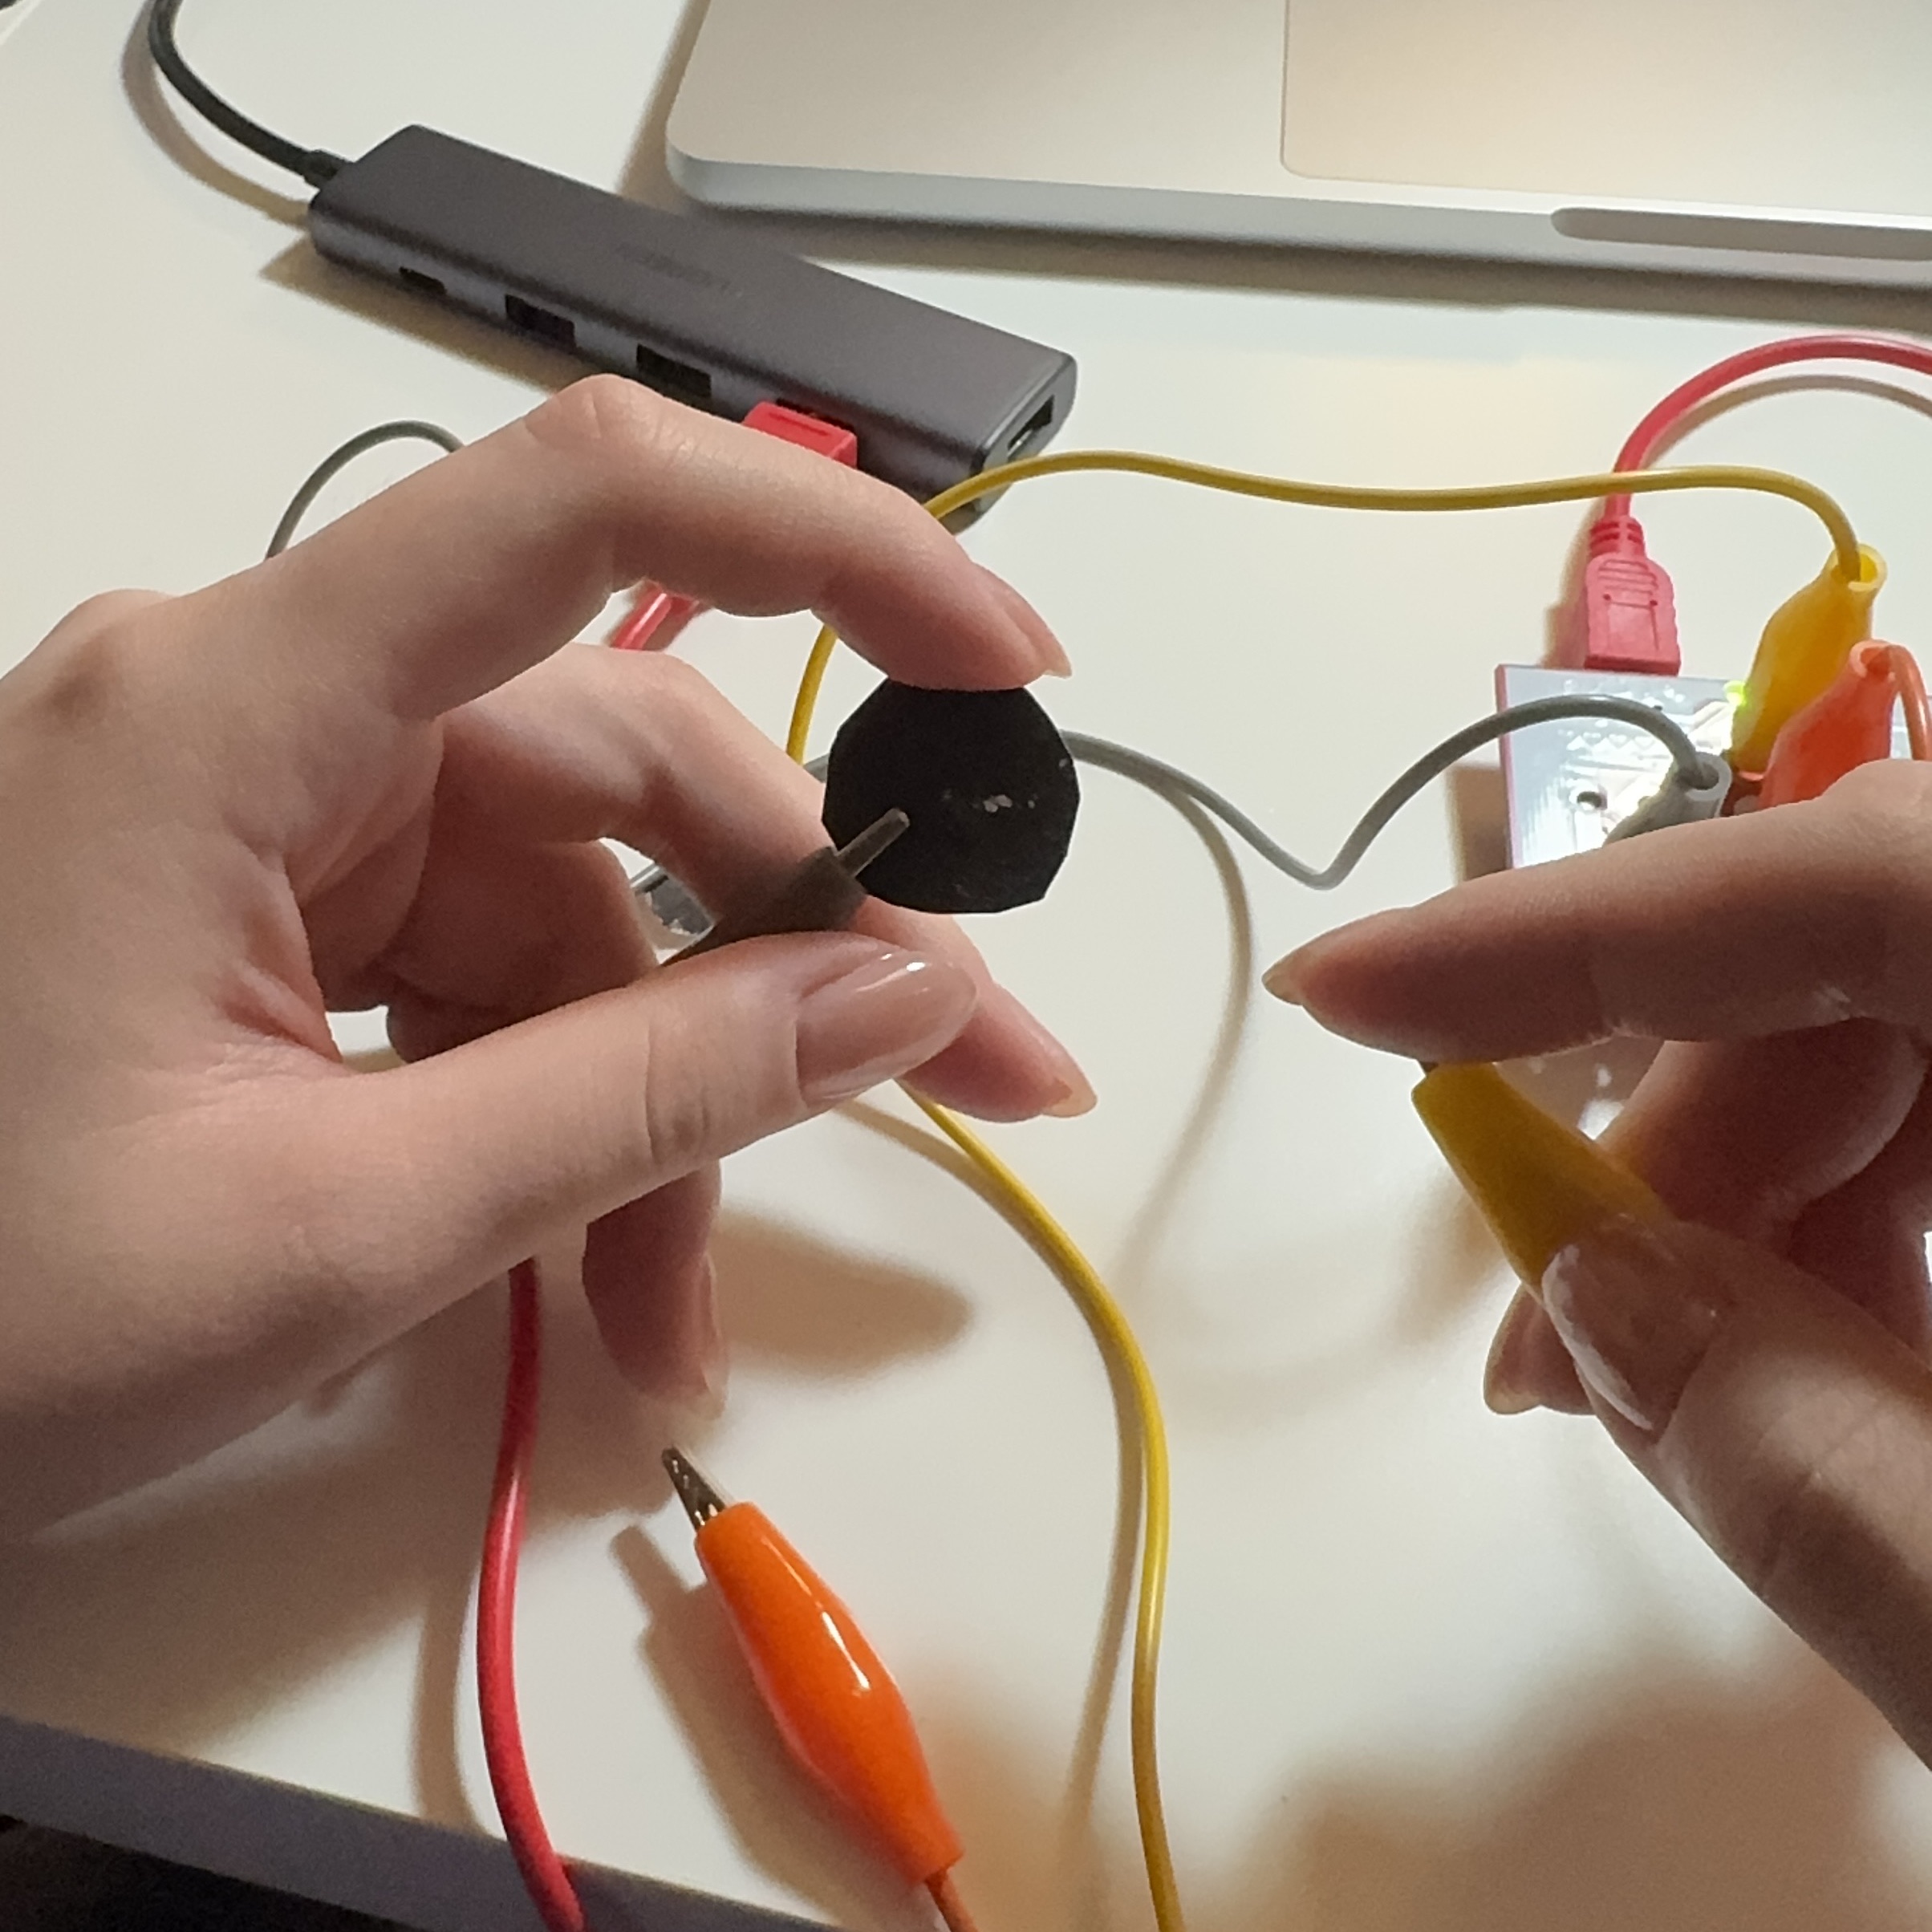
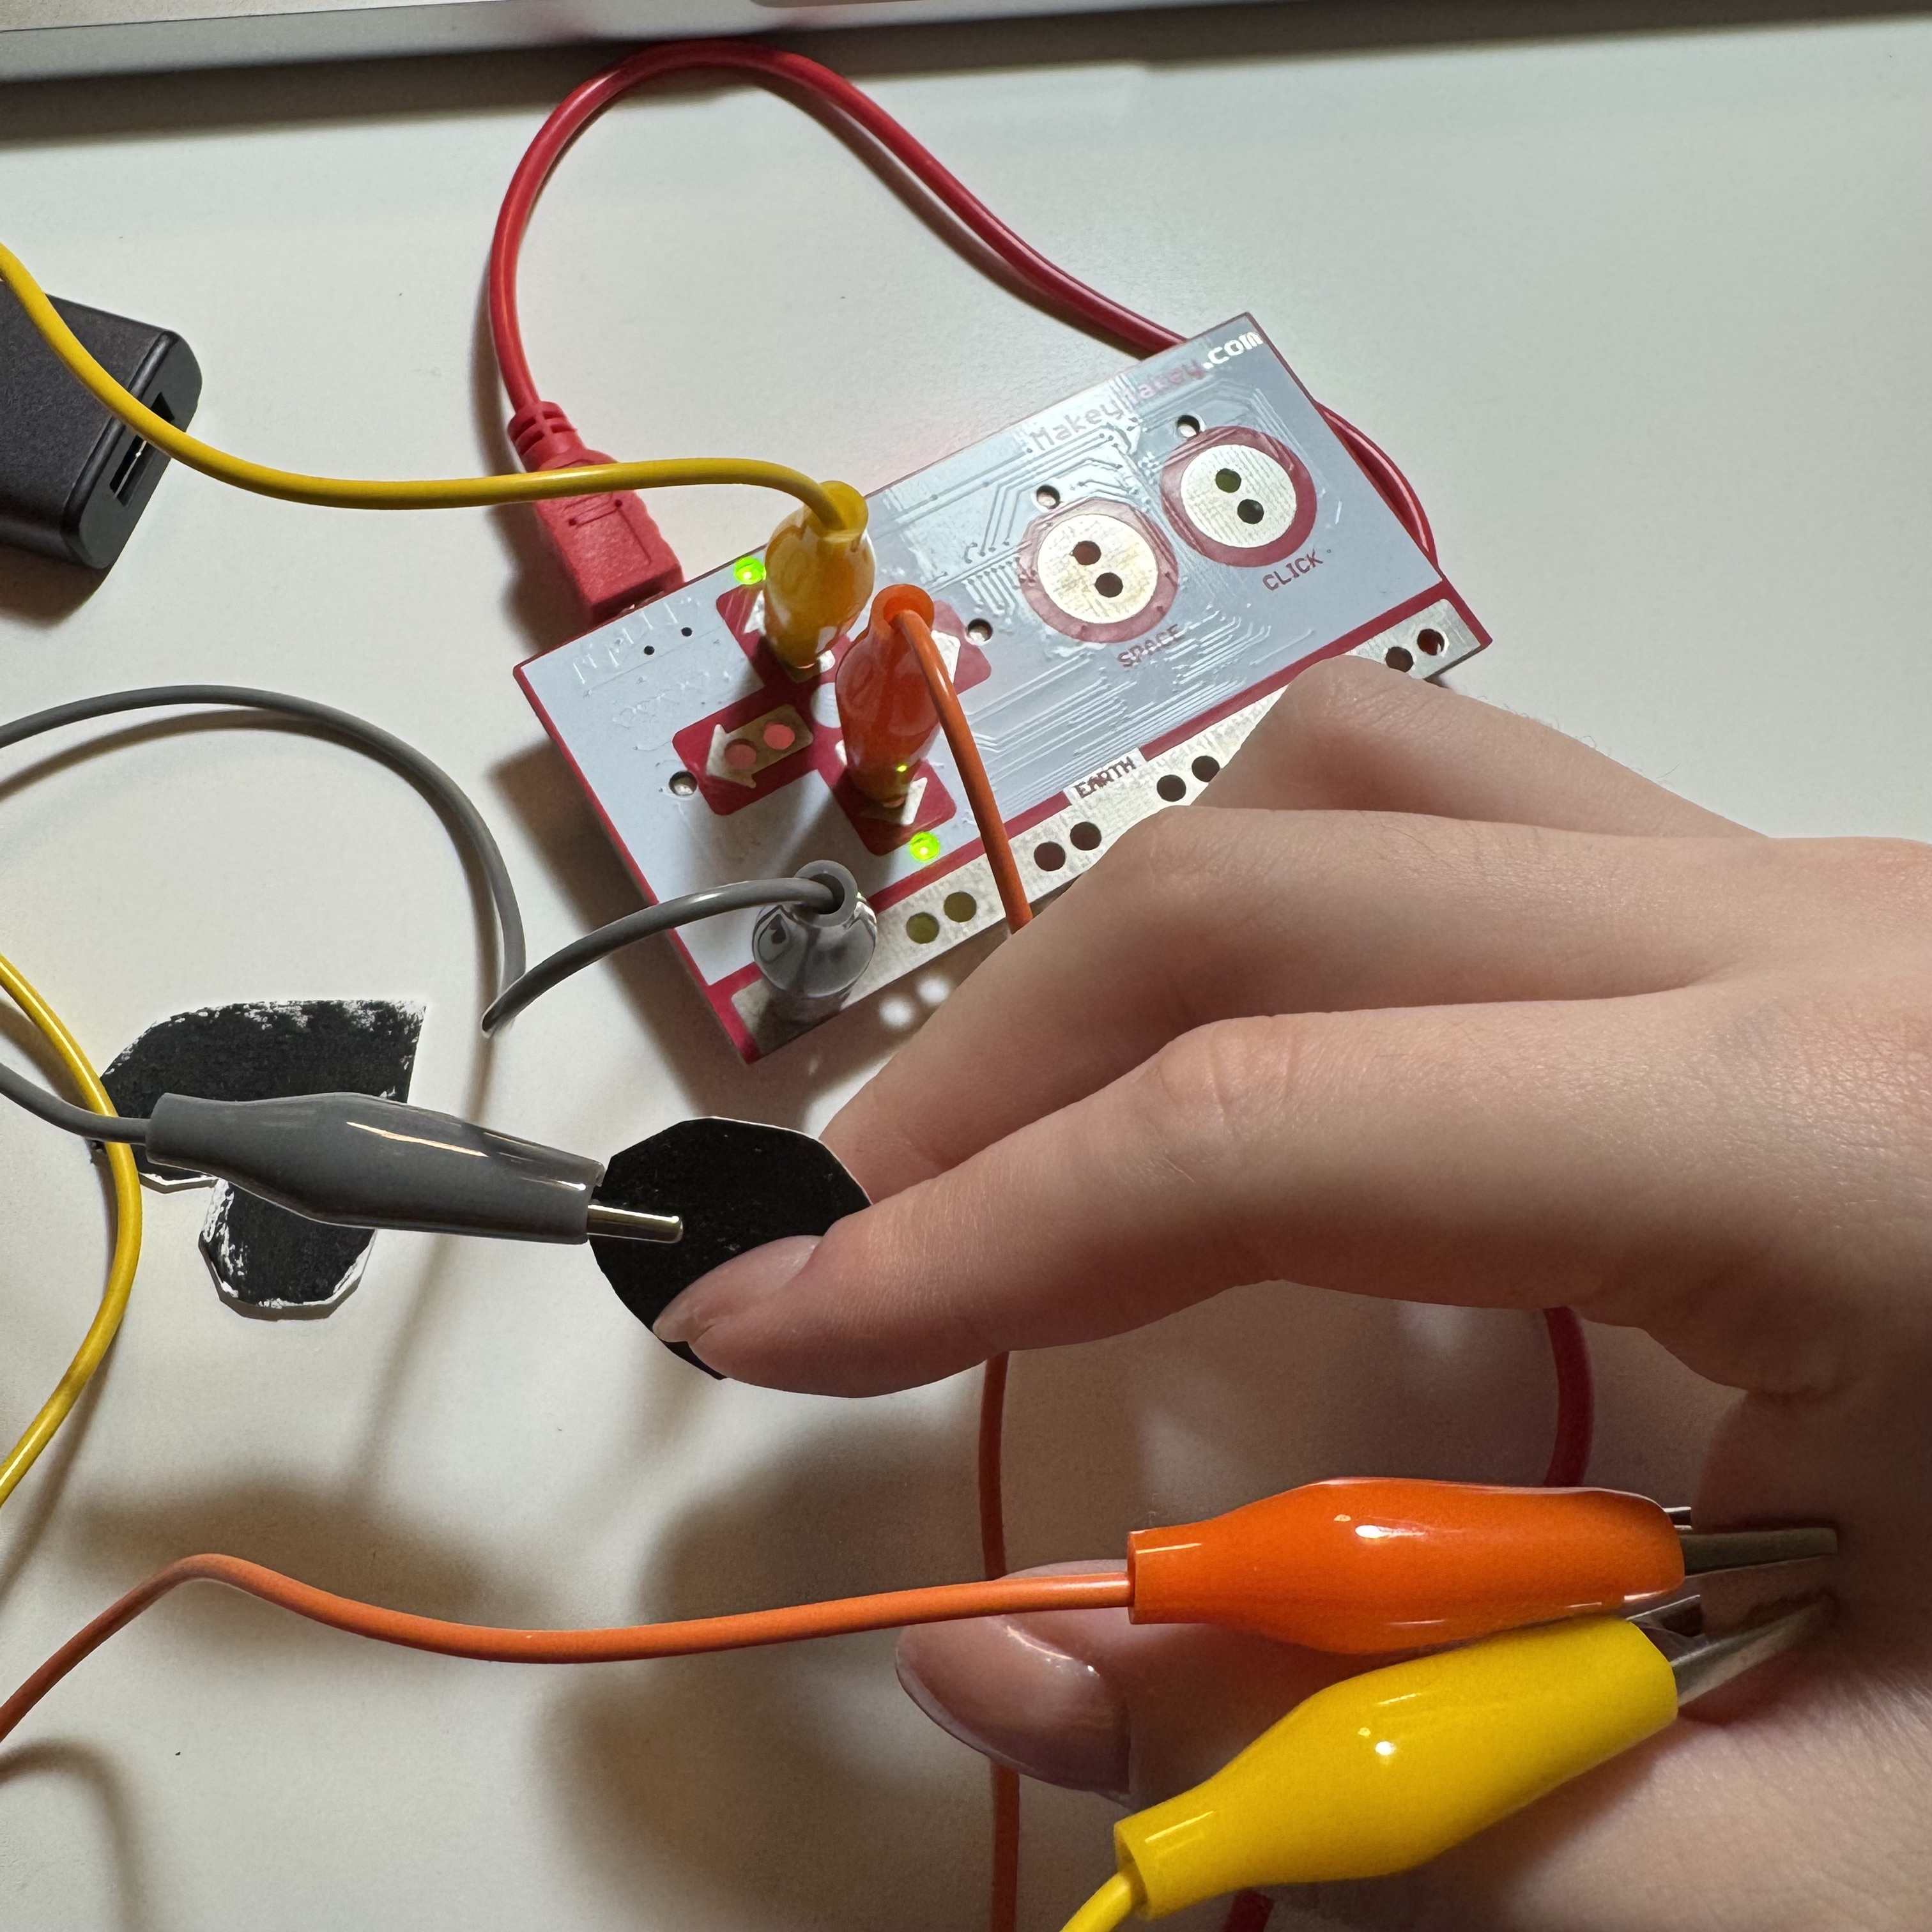
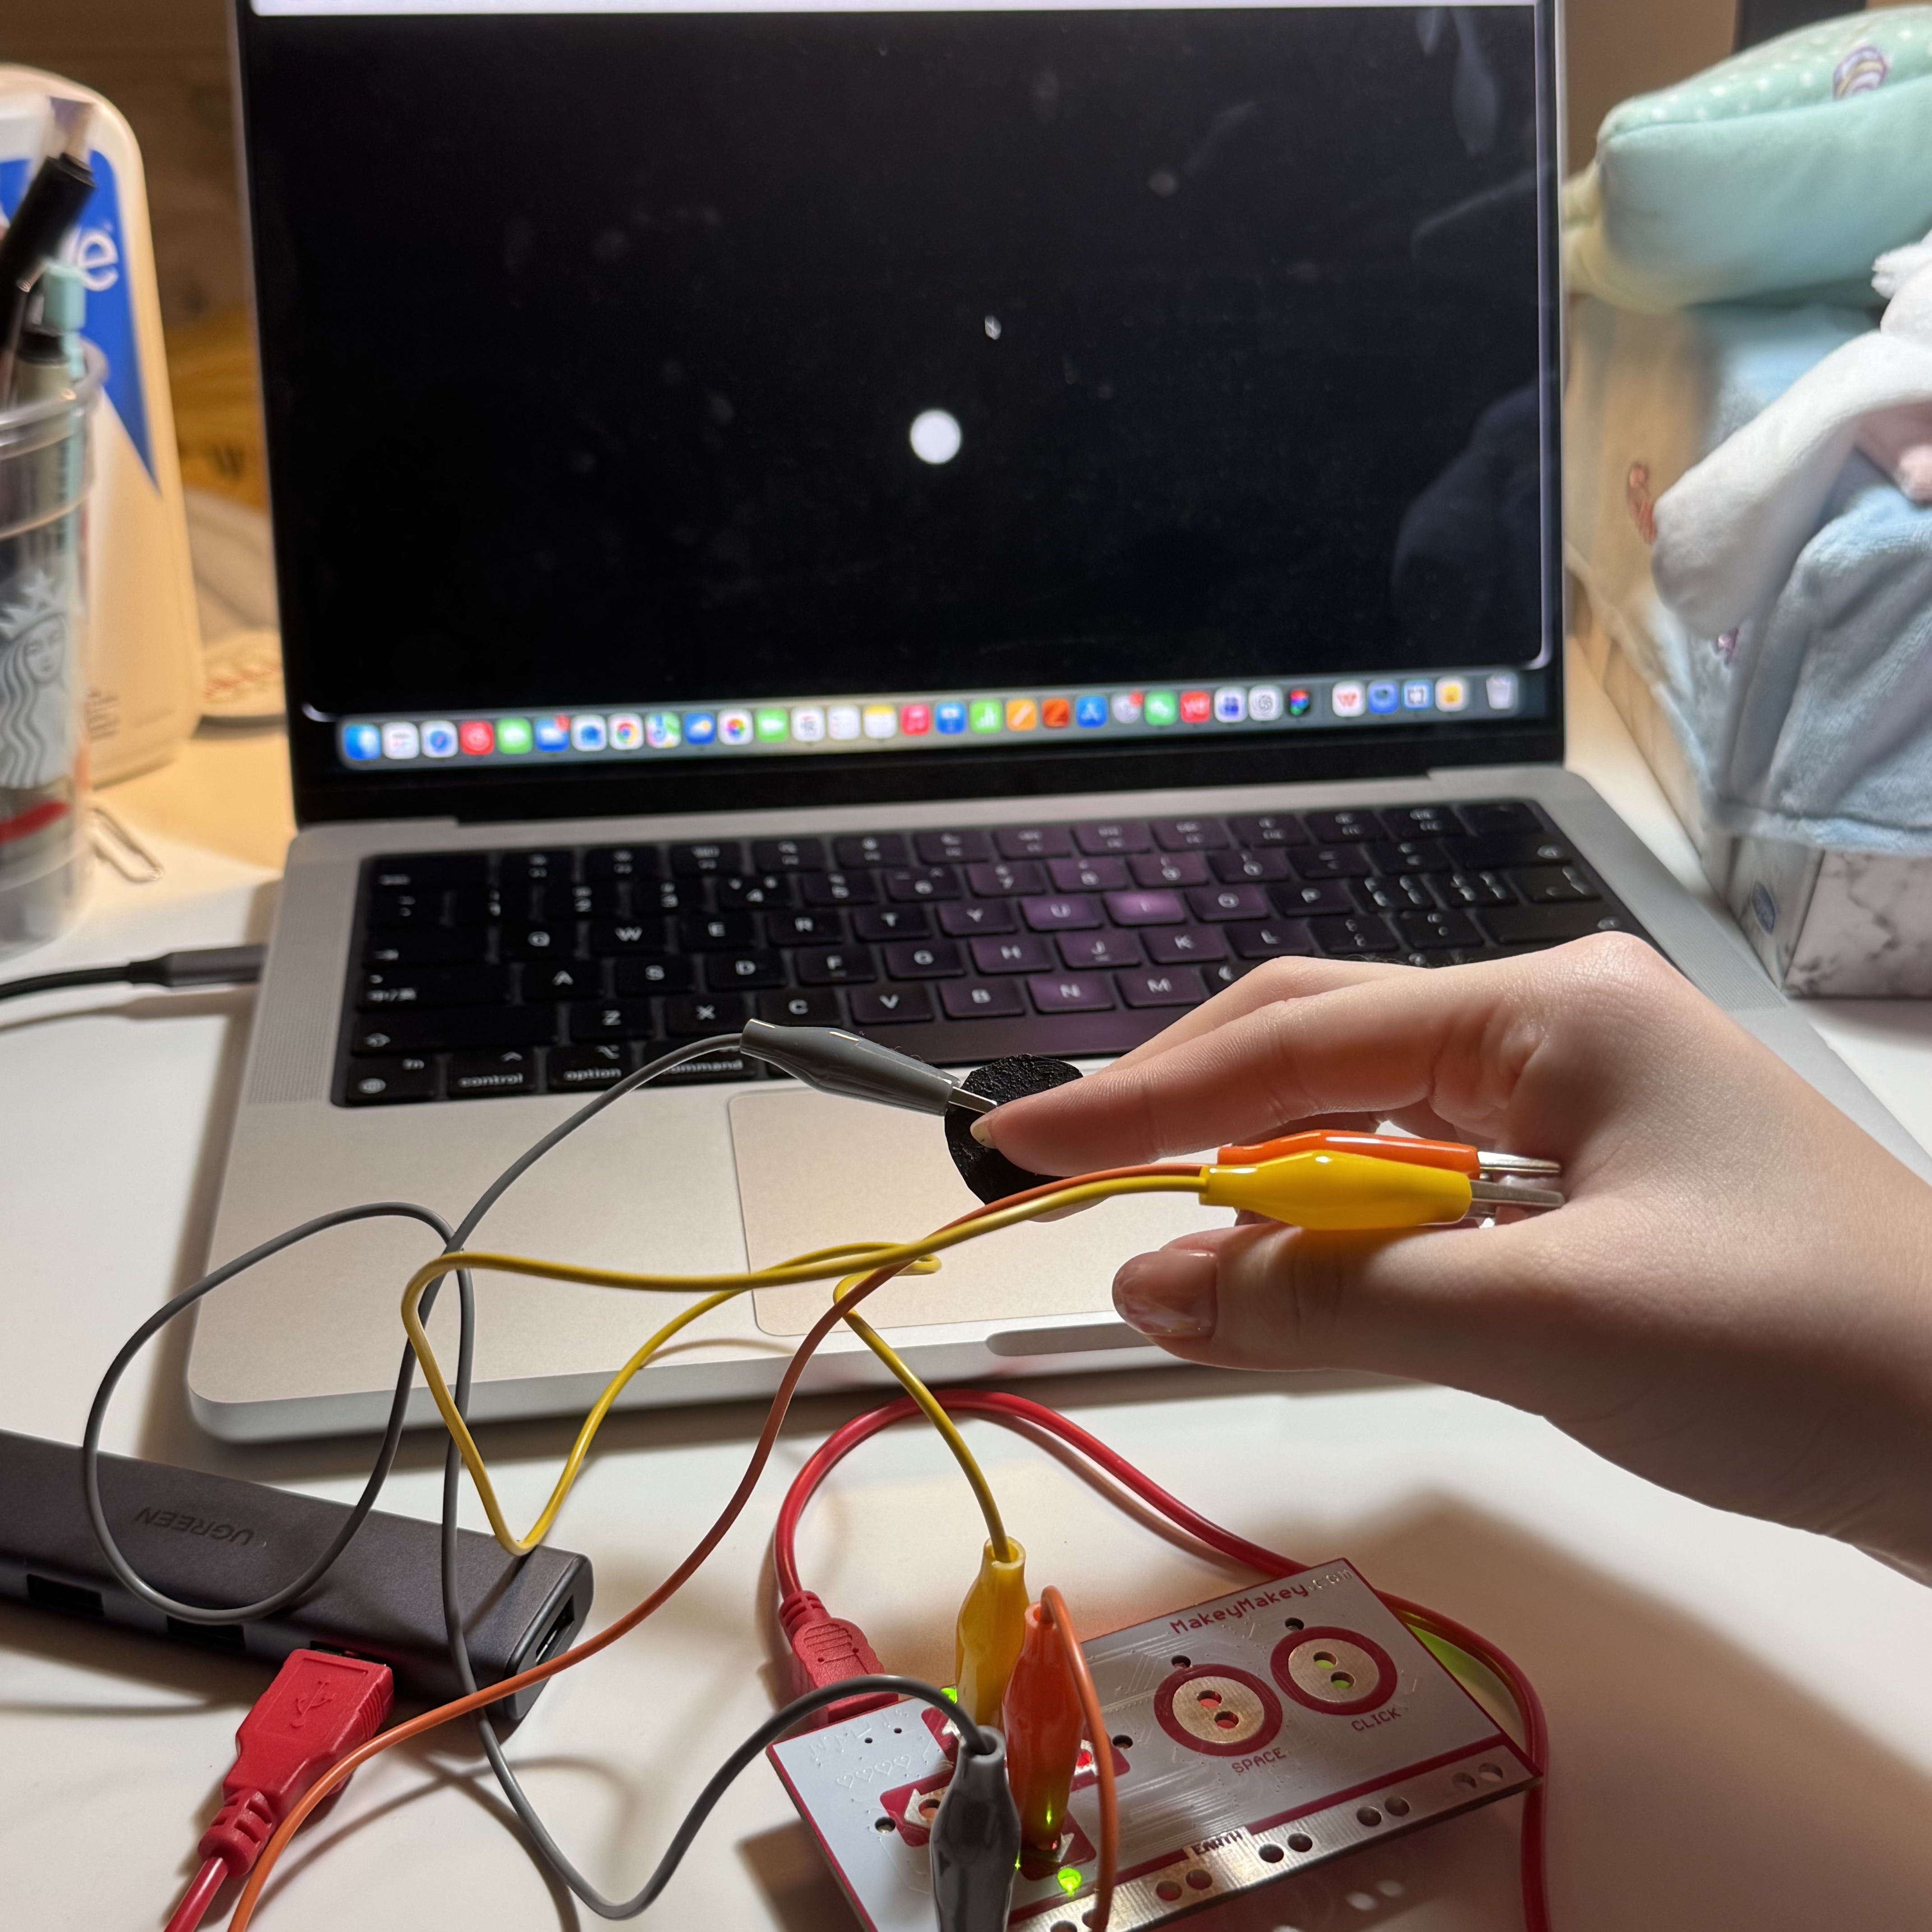
In this module, I explored how physical and digital interaction could be combined into one interactive system using Makey Makey and p5.js. In Activity 1, I focused on testing the provided code and formstorming different digital responses, such as changes in colour, shape, sound feedbacks, and p5.js effects. In Activity 2, I expanded this process by connecting conductive objects, exploring how different items and switching methods could create new forms of interaction. These activities helped me think more about how the body, objects, and code could work together.
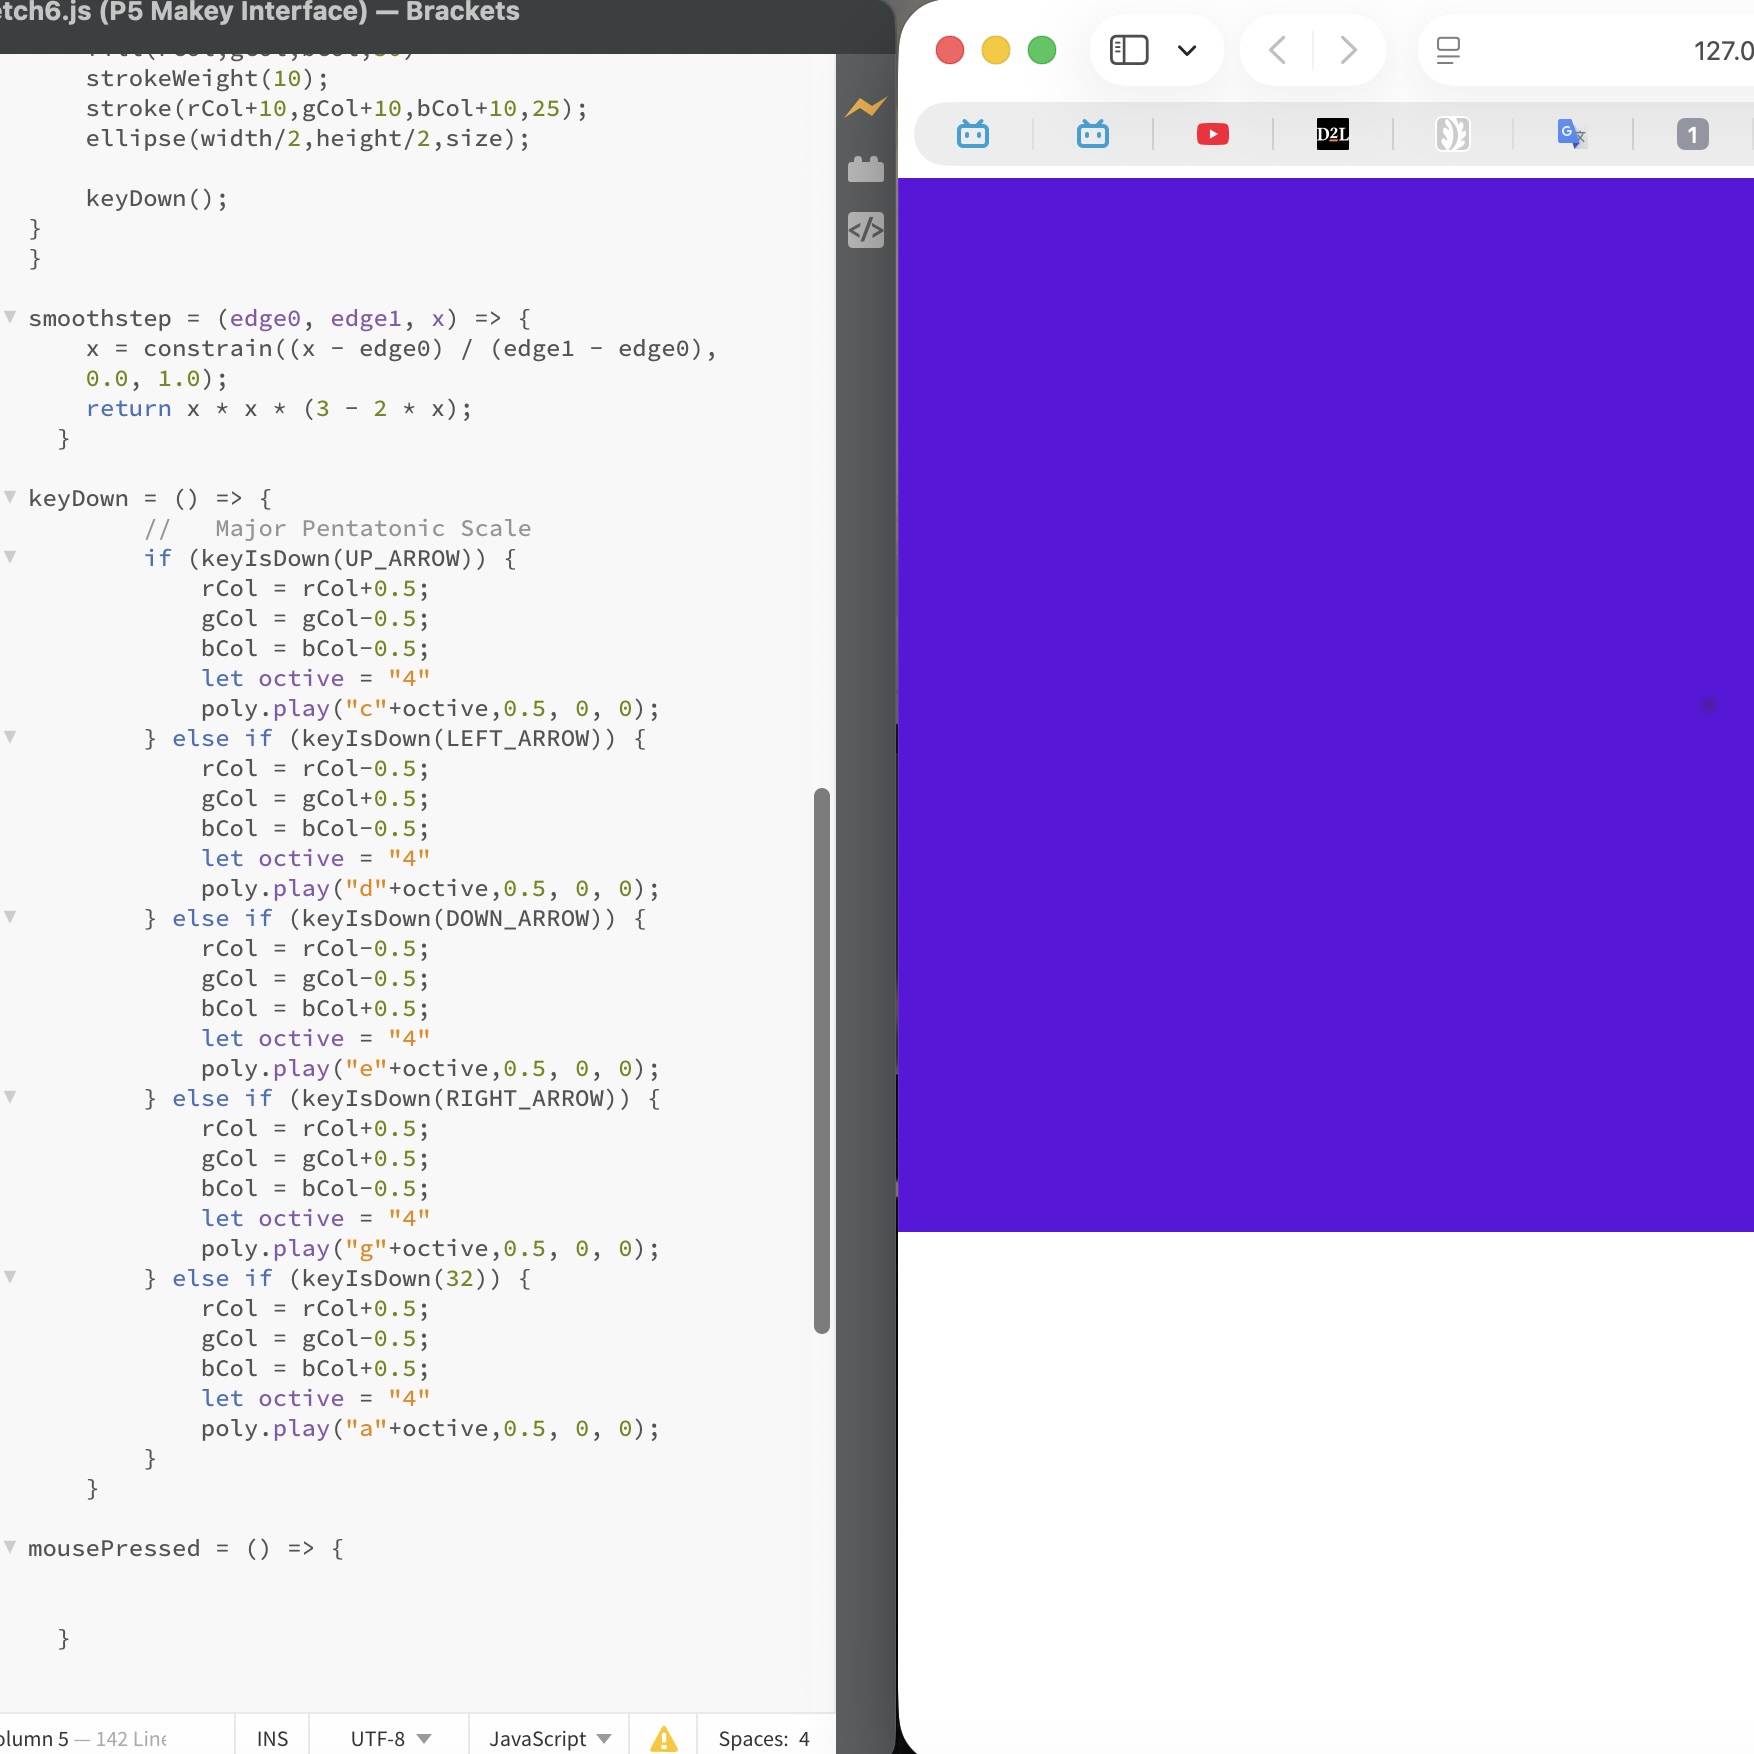
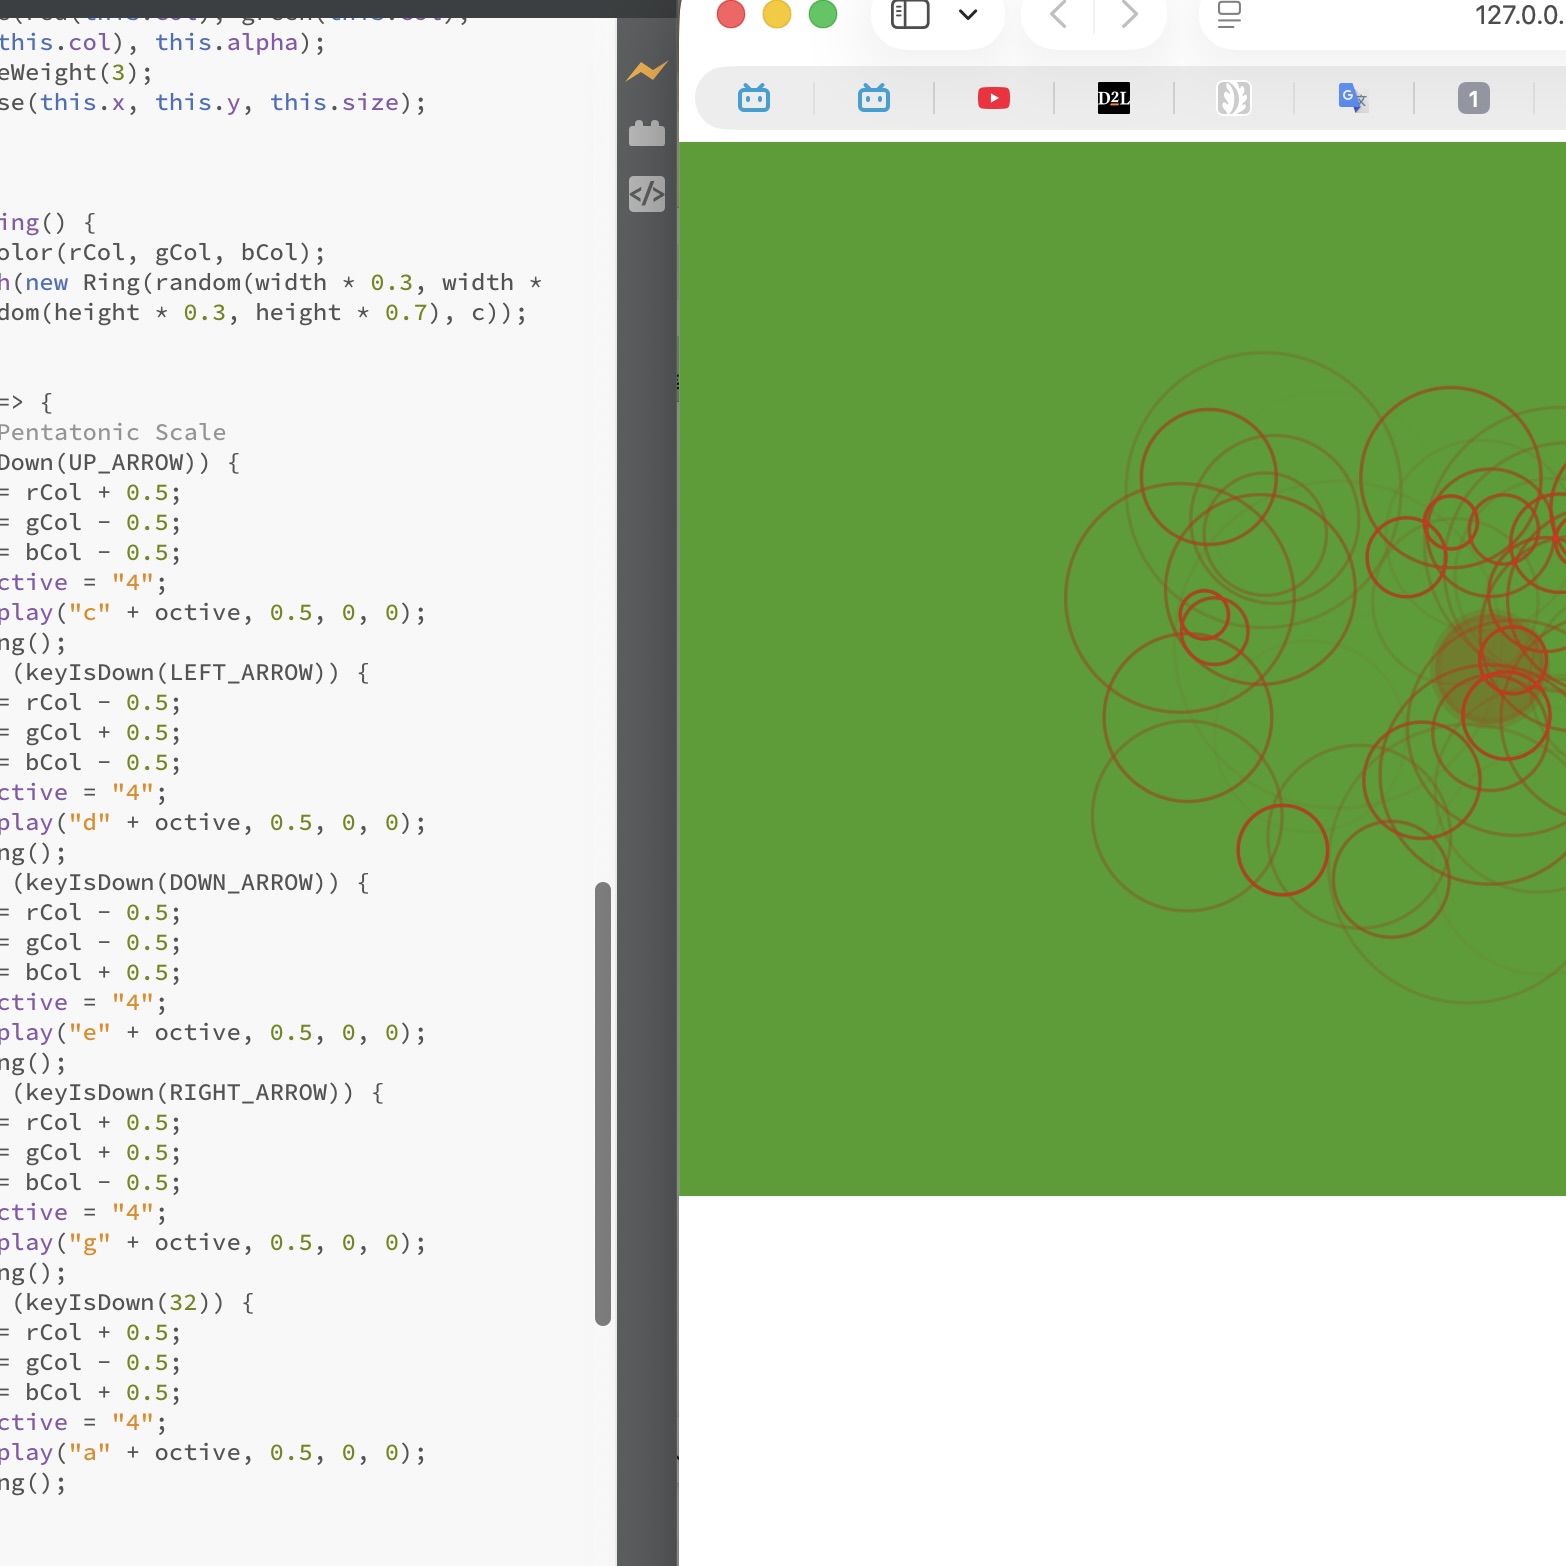
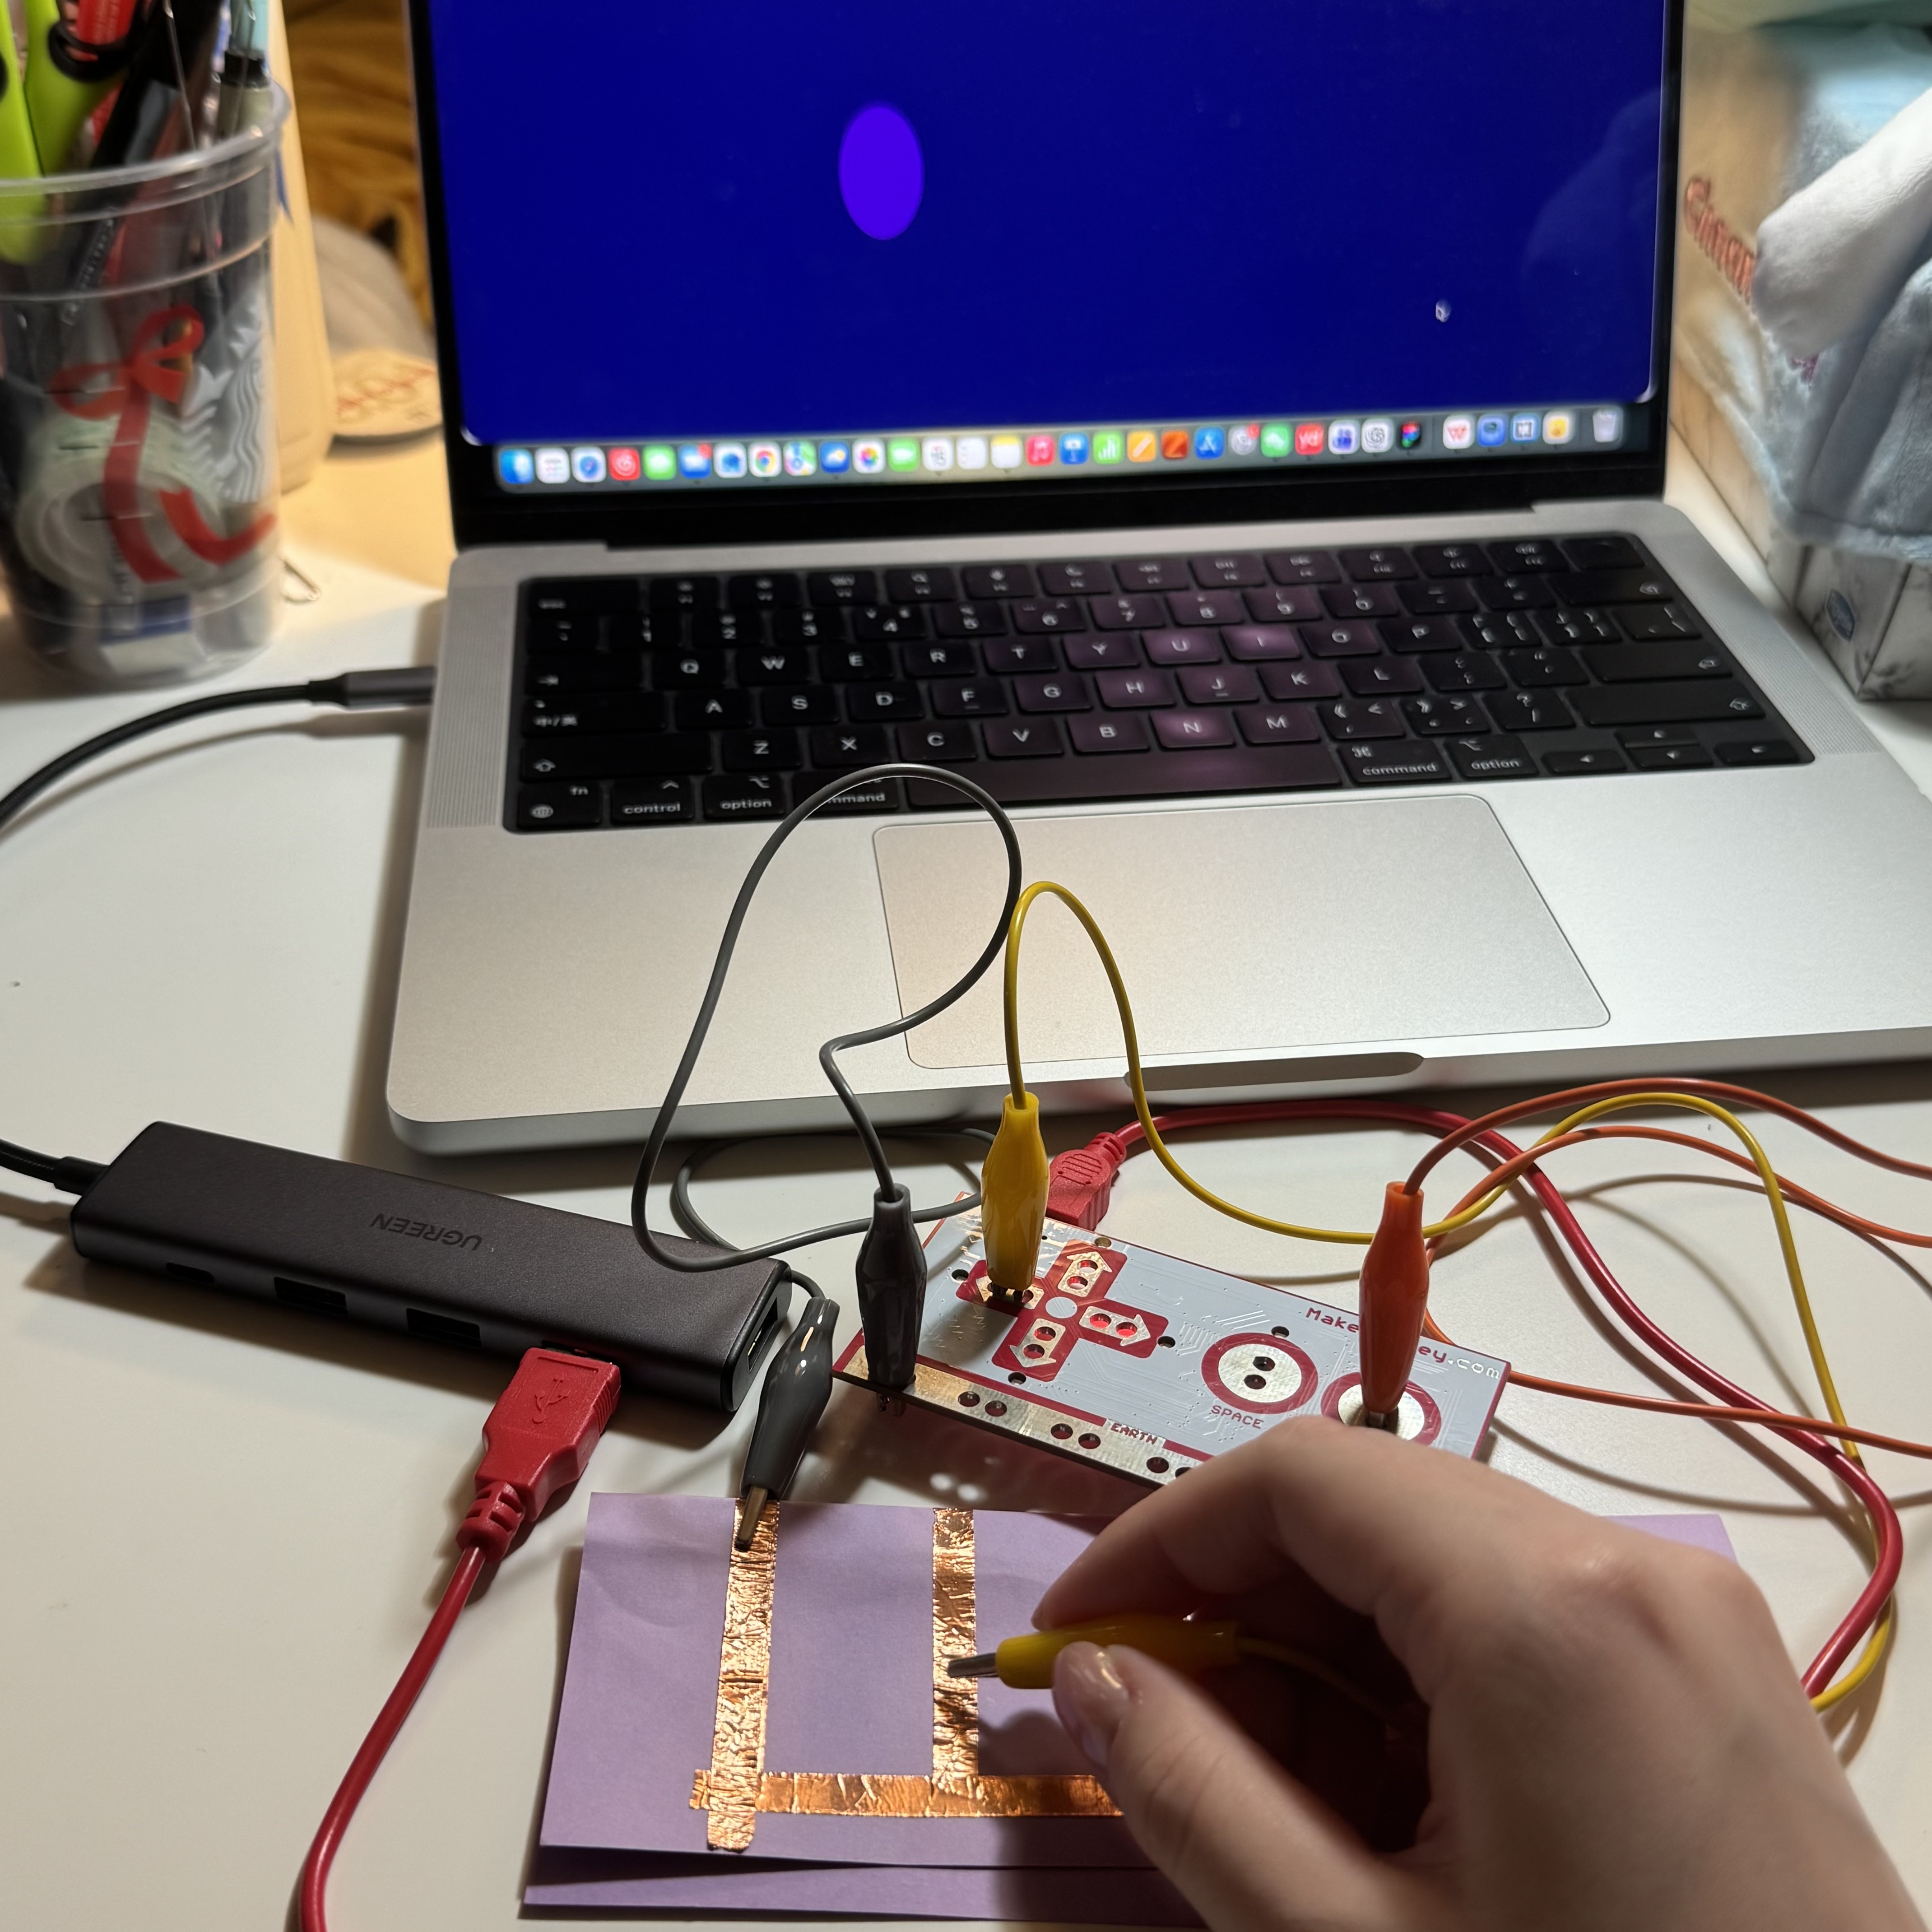
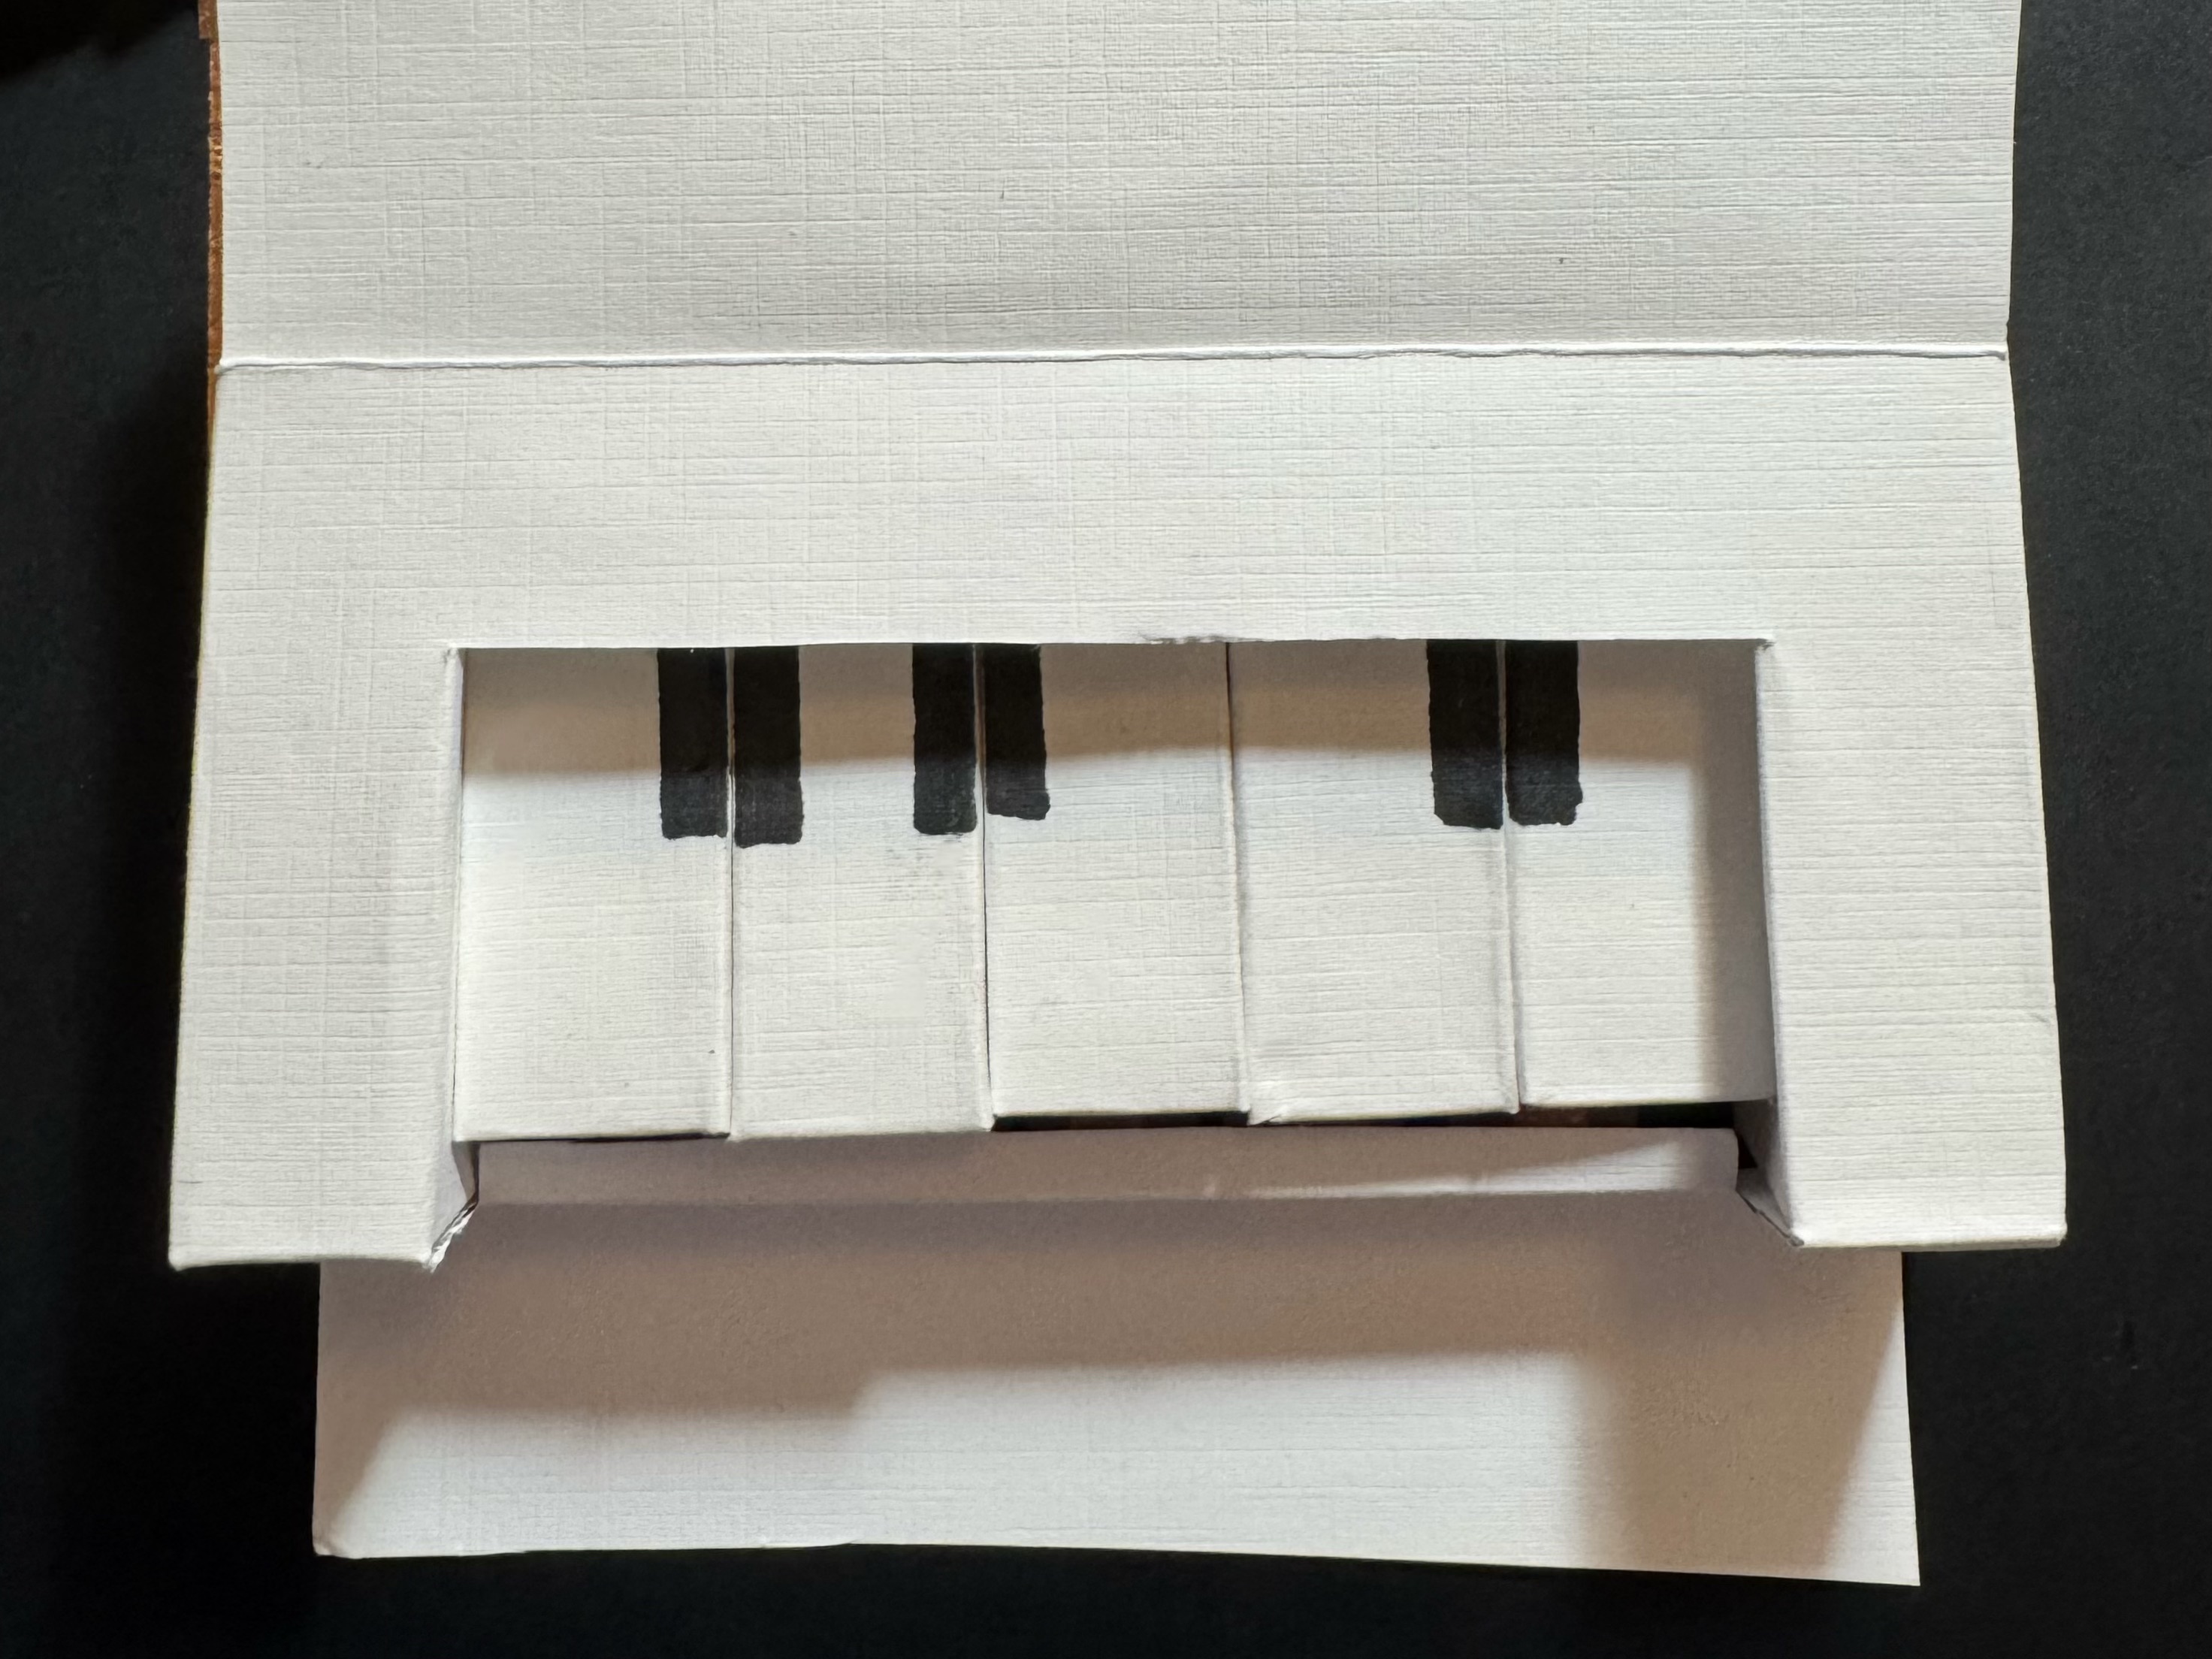
The final design developed from these earlier experiments into an interactive paper piano made from cardstock, Makey Makey, and p5.js. Each handmade key triggers both a piano note and a distinct visual response, transforming the instrument into an audio-visual experience. Overall, this project allowed me to explore the relationship between craft, code, sound, and motion, and to see how a simple handmade object could become a playful and expressive interactive interface.
Activity 1
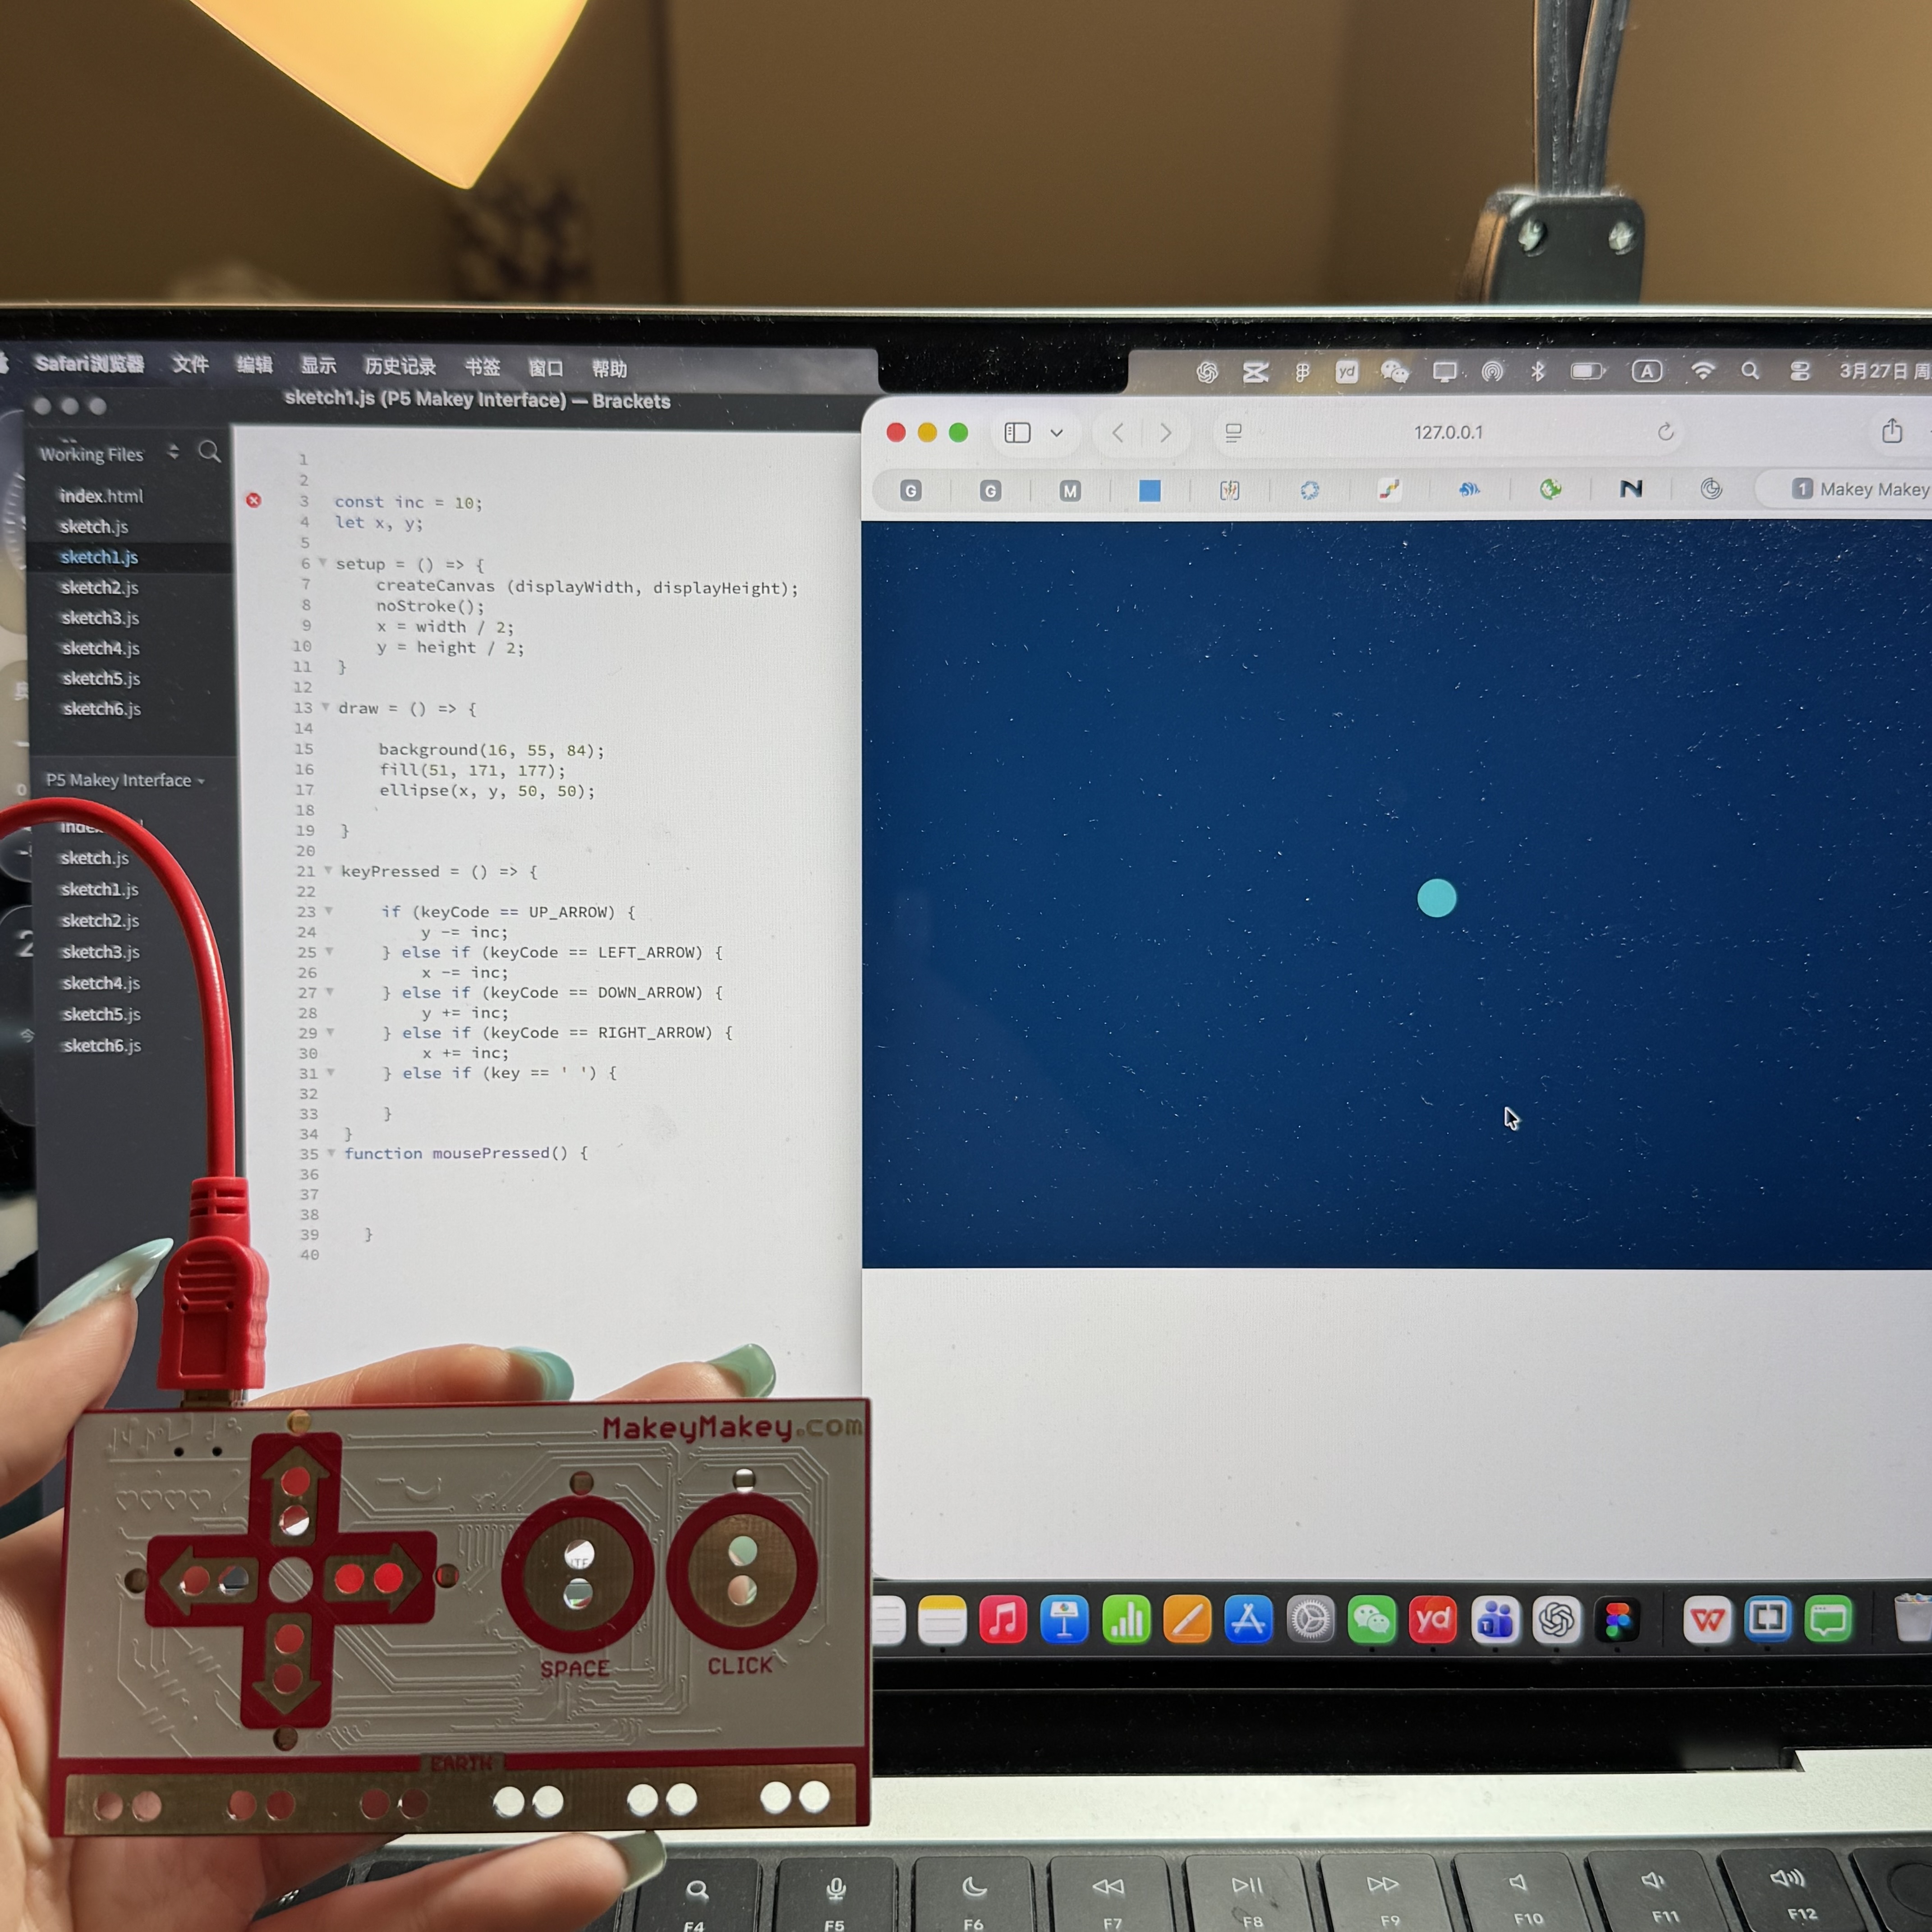
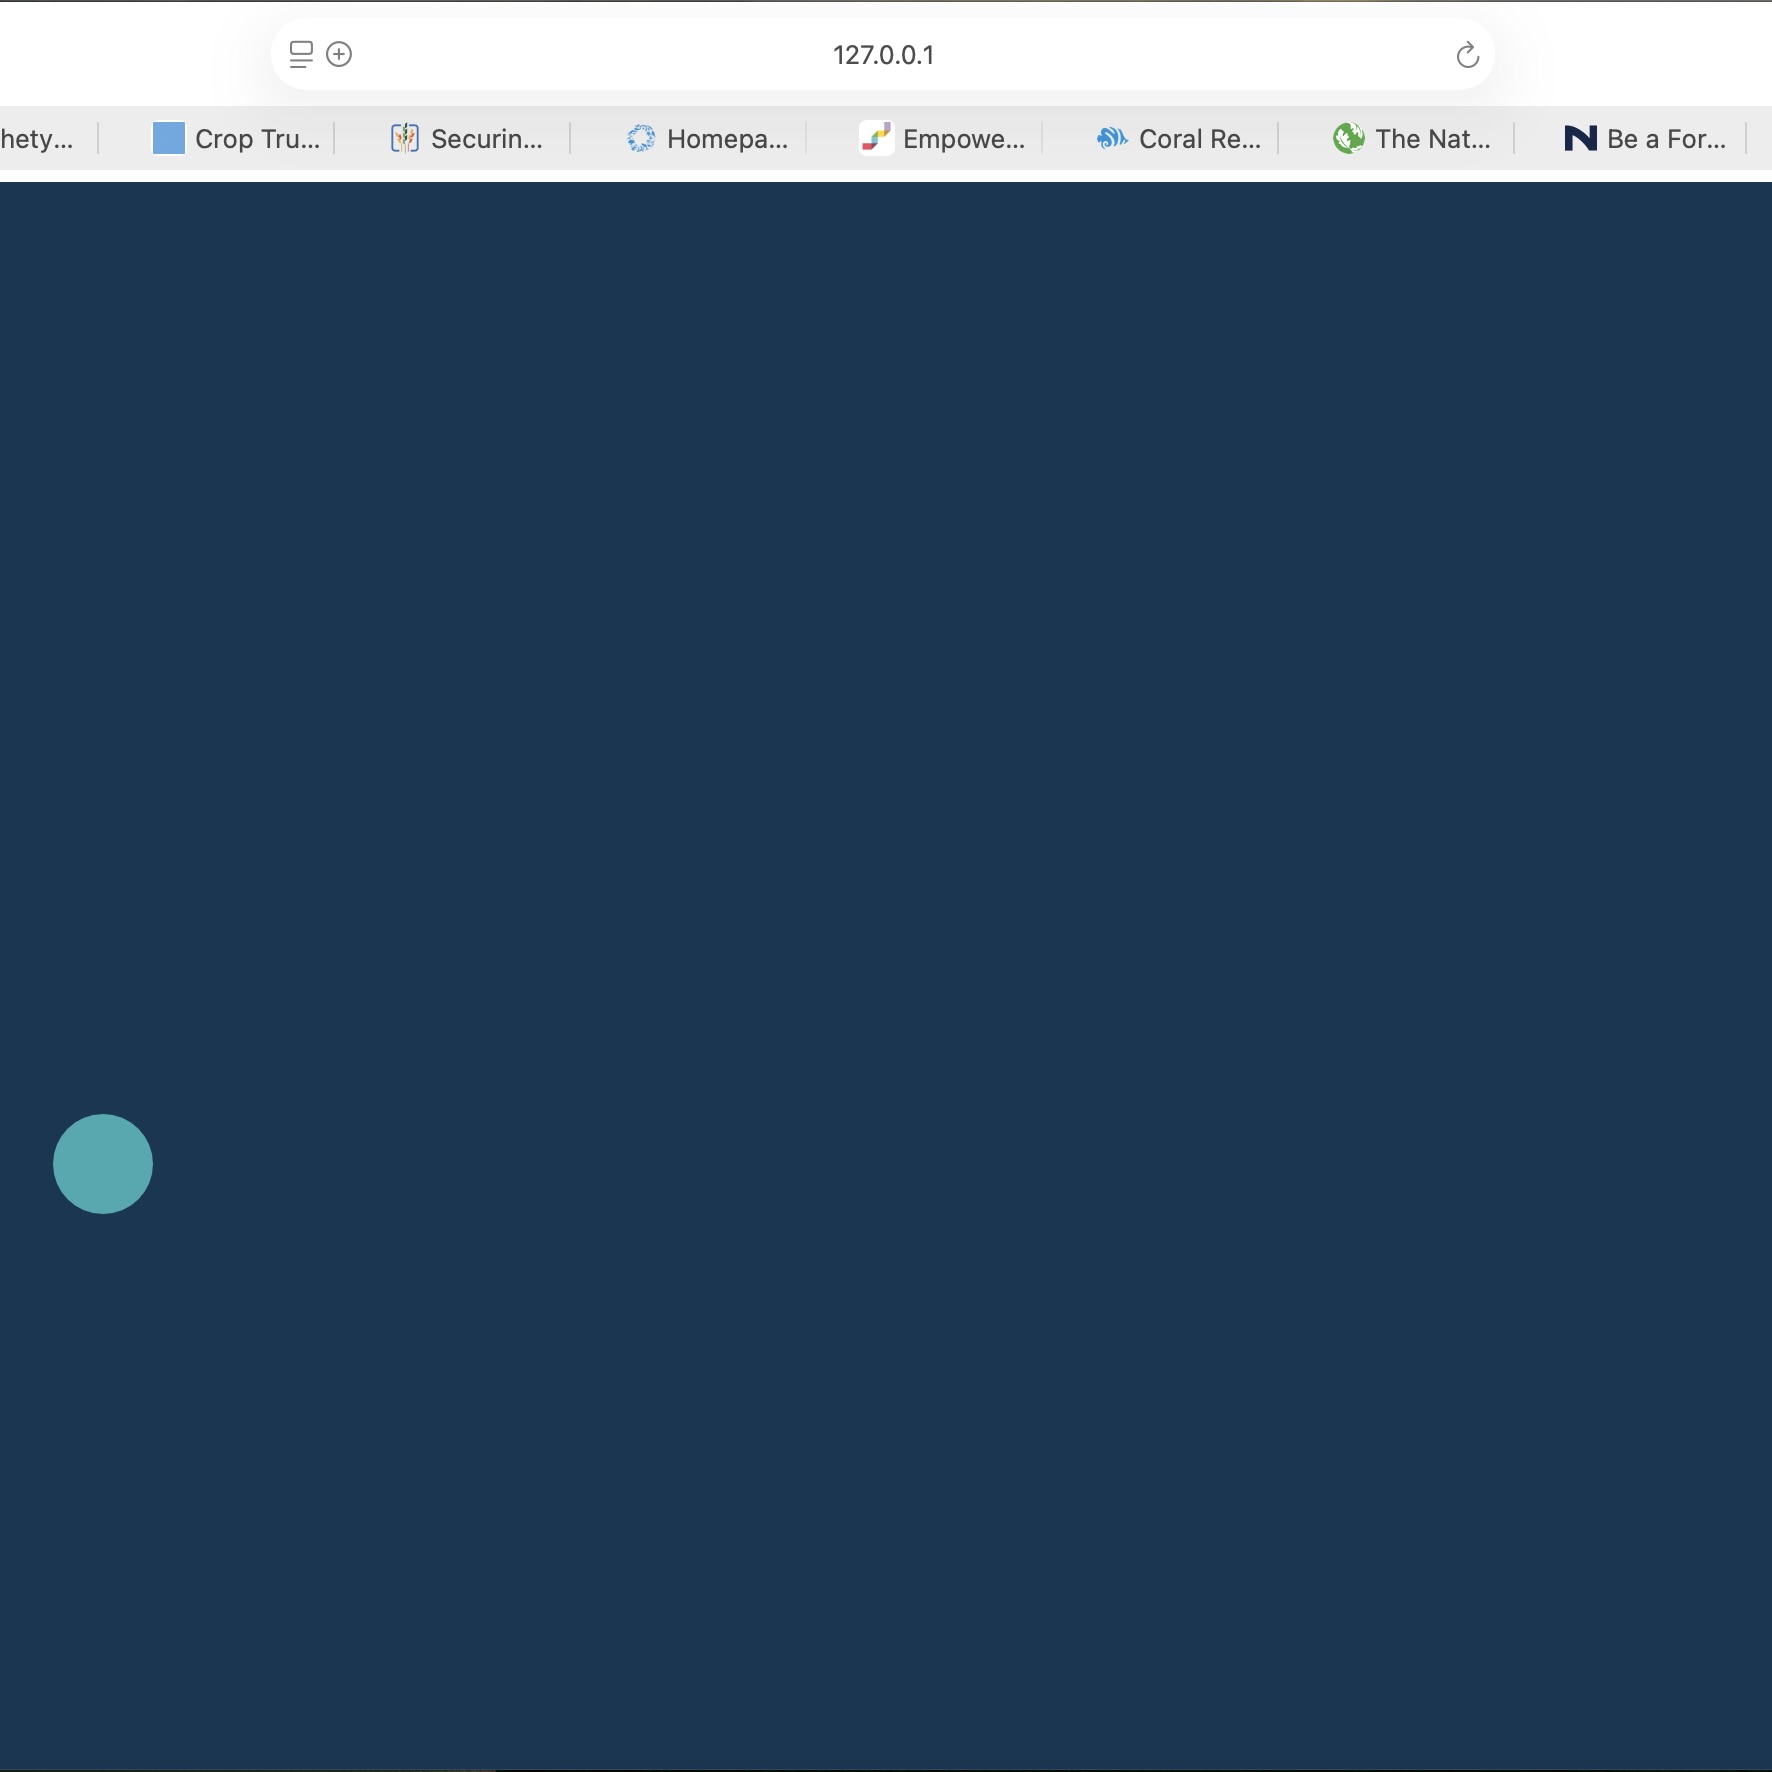

Activity 2


Project 3
Final Project 3 Design
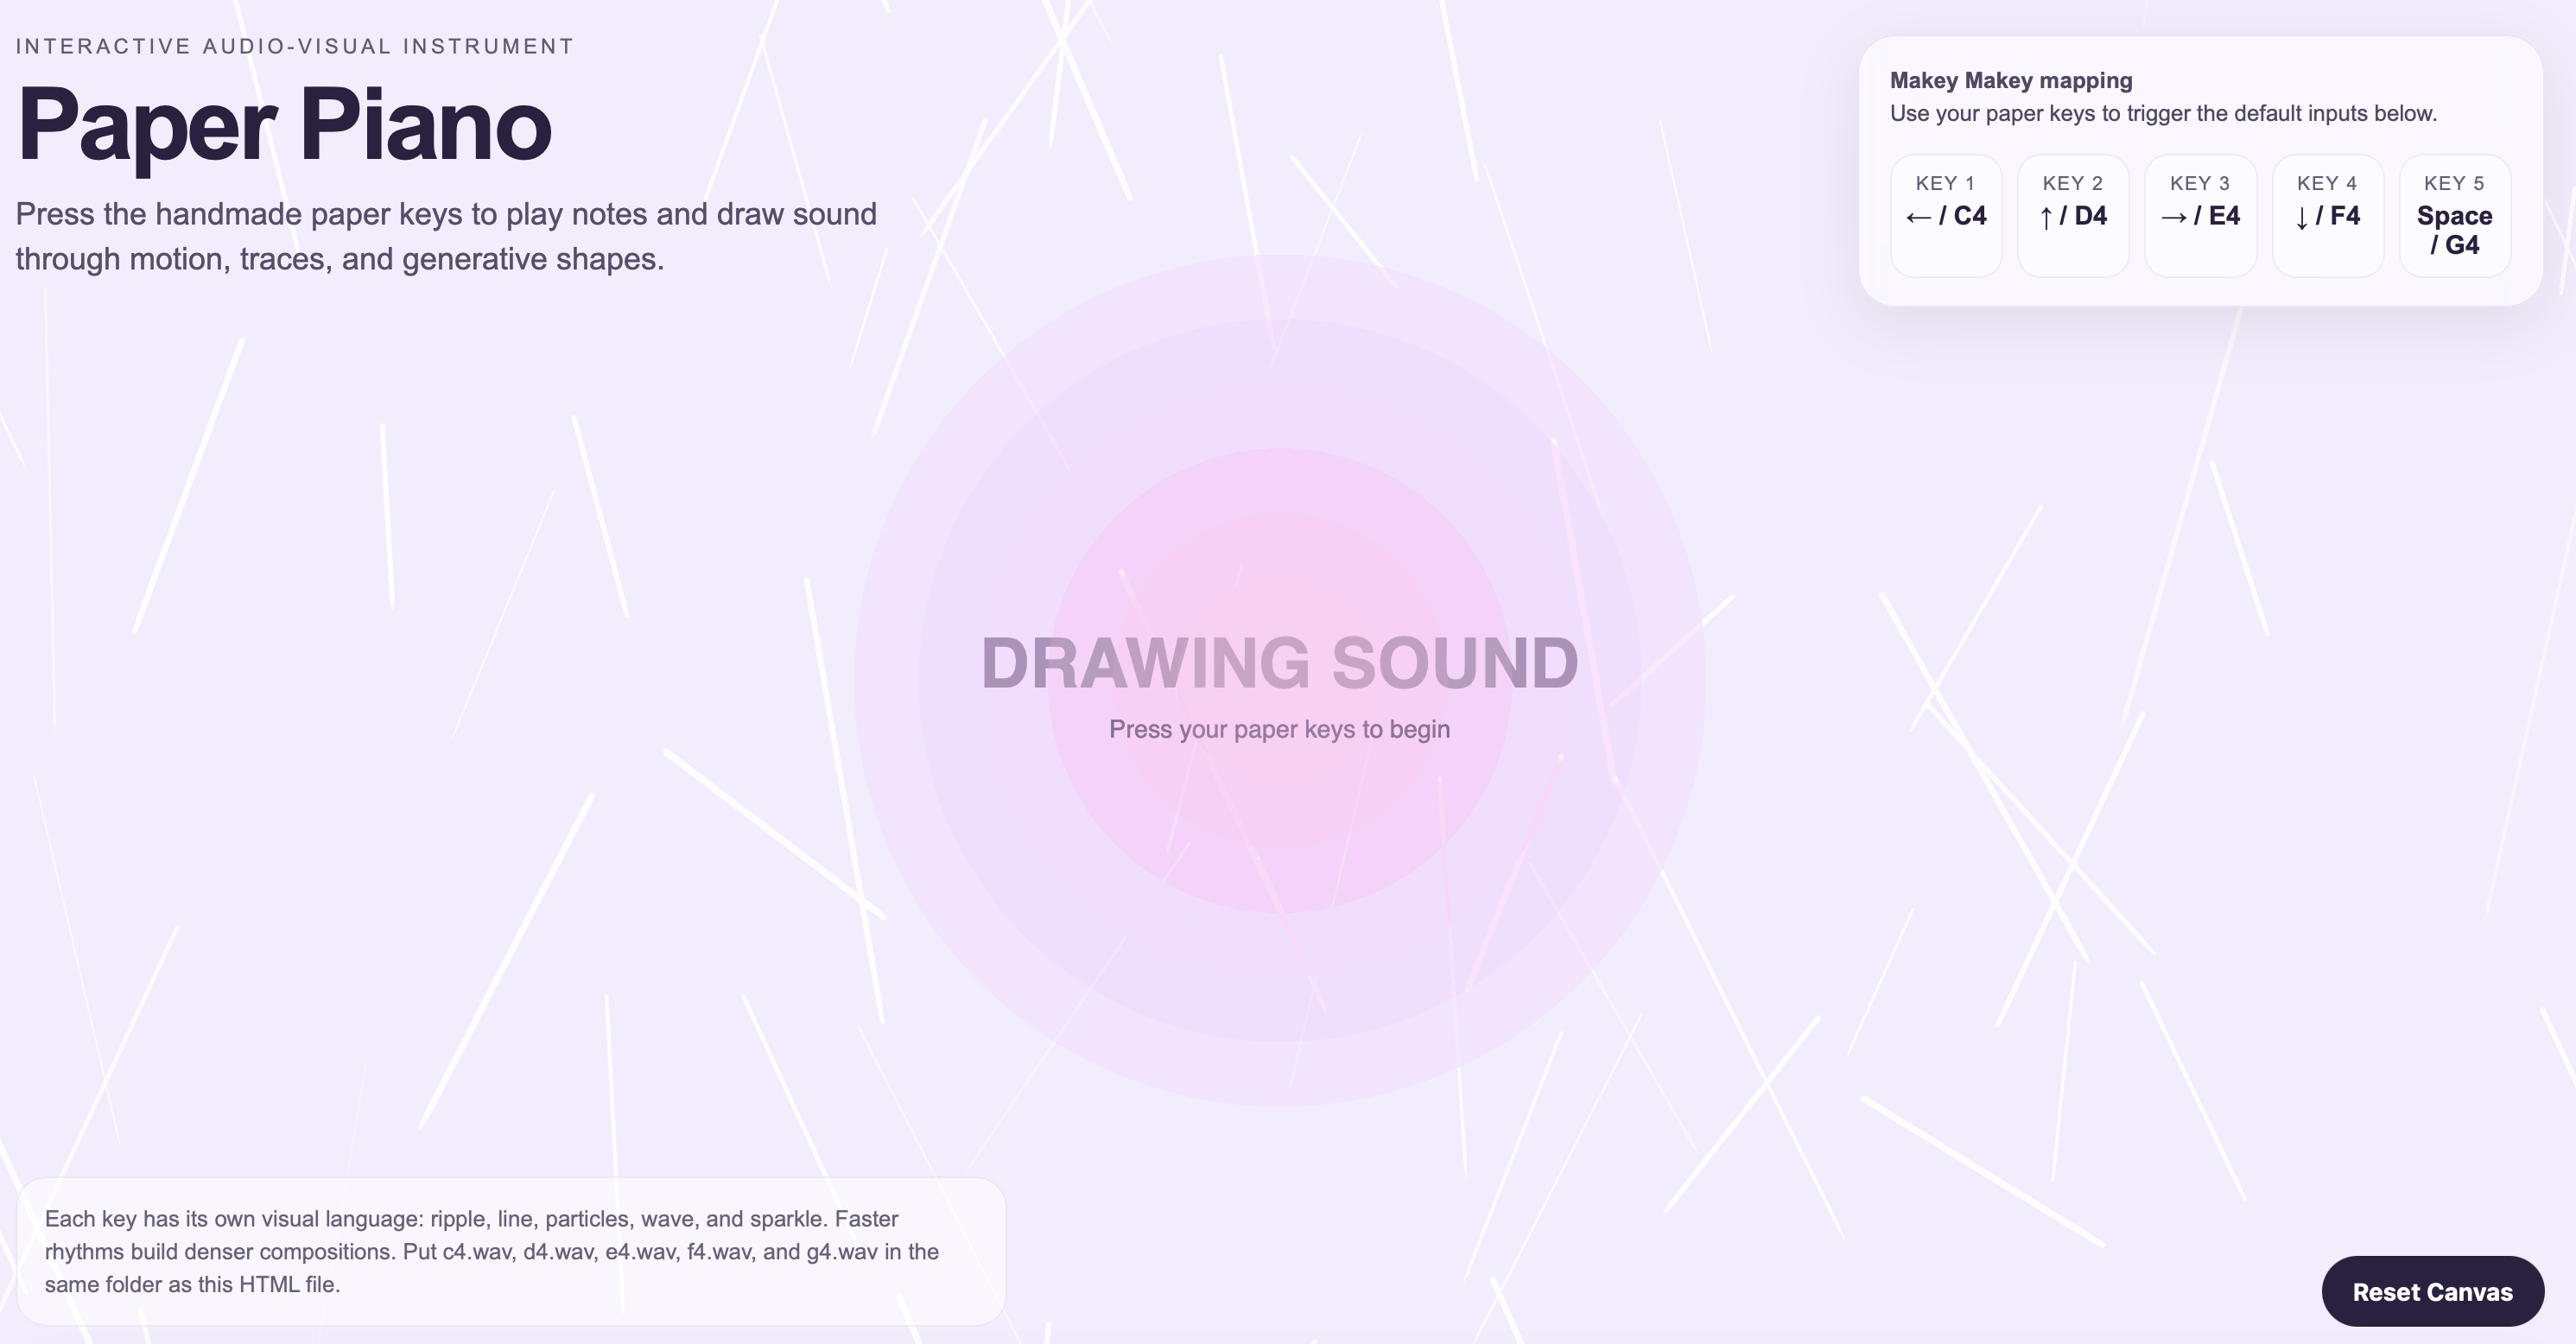
My project is an interactive paper piano made that combines cardstock, Makey Makey, and P5.js. Each piano key is connected to a digital system that extends the experience beyond the paper structure itself. When the user presses one of the five handmade keys, it triggers a piano note as well as a different animated visual on screen, transforming the instrument into an audio-visual experience.
Final Design URL: https://tangyin.phoenix.sheridanc.on.ca/MM&B%20Module%203%20Final%20Design/
Click on the image to see the complete interaction video of this project.
Powered by w3.css